
Setting up and executing combinations is a lot of fun in Hero Realms. These combinations come in many shapes and sizes: draw chains that can cycle through your whole deck in a single turn as a wizard; scrying, discarding, and setting up huge attacks while tracking as the ranger; building up and/or resurrecting champion walls with the cleric; hitting your opponent for huge amounts of damage with the fighter; and making high value market purchases with the thief (sometimes even directly to hand). These are just a few of the combos that produce some of the most satisfying moments you can experience in the game.
On the flip side, watching your opponent take their turn as they scry their deck, top-deck purchases, draw a ton of cards, make you discard your whole hand, and proceed to defeat you without really realizing what happened can be confusing and frustrating. This article will outline some of my favorite combinations in the game from the standpoint of how individual characters and their abilities, faction cards, or a combination of both (pun intended) interact with each other. I admittedly use a fairly loose definition of “combo” in this sense, but hopefully it will offer readers some ideas on how to view card synergies within Hero Realms.

Faction Combos
First let’s take a look at how faction cards combo off of each other. A lot of the major game synergies happen when you can activate faction abilities by playing two or more of the same faction on your turn. I won’t go over an exhaustive list of the combinations you can do, just some of my favorites.

Imperial Combos
Imperial is typically considered the “healing” faction, but also has potent draw and character-readying potential as well. Here are some of my favorite Imperial combos:
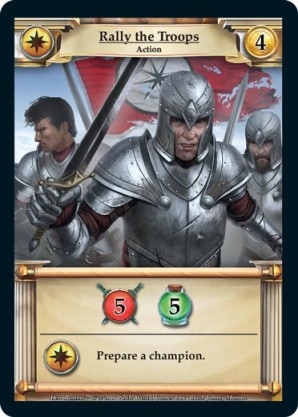
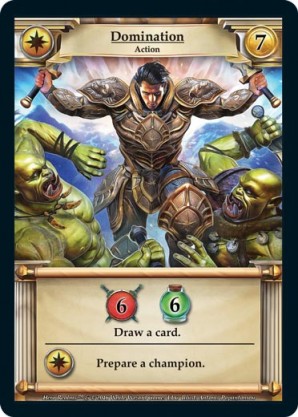
Domination/Rally the Troops + champions: Activating a single champion’s ability 2 or 3 times in a single turn can devastate your opponent, especially if it is a draw, discard, or high damage ability. If you are playing cleric or find yourself going champion heavy, look to combo these cards and make your opponent suffer.
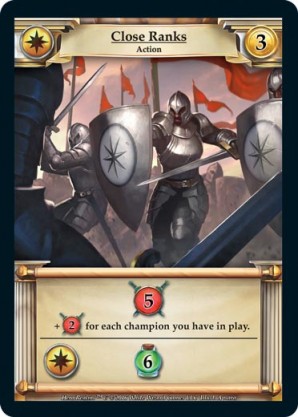
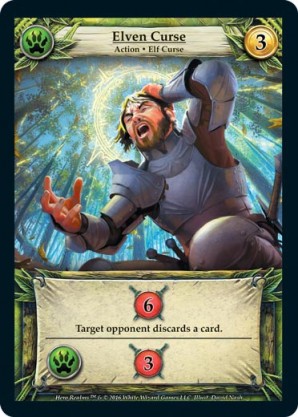
Close Ranks + champions / Imperial cards: This is a powerful card that can deal huge amounts of damage in champion-heavy builds, and also provides a nice healing bonus when factioned. Even if you don’t have a single champion, Close Ranks still deals out nice damage and can give your hero much-needed healing if you can combo it. At 3 cost, Close Ranks may not be quite as good as Elven Curse, but the fact that it’s even close says a lot about the power level of this great card.
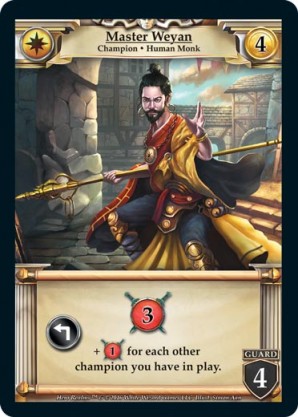
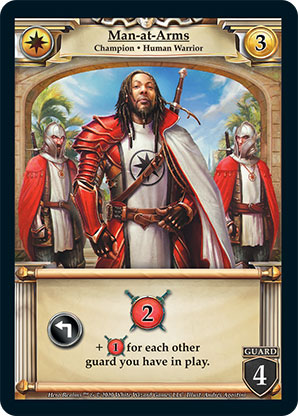
Master Weyan/Man-at-Arms + champions: These two champions can really add up their damage in champion heavy decks, and are great anchors if you are looking to combo your existing Imperial actions off of other cards. Popular with clerics.
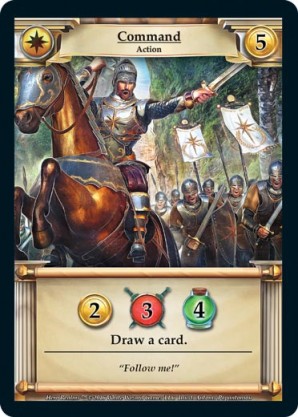
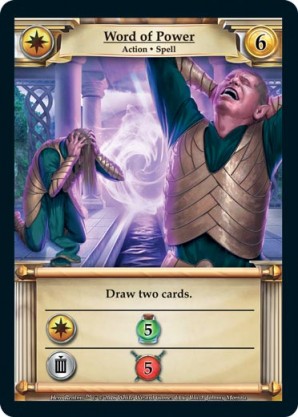
Command/Word of Power + anything: Command is an excellent 5 cost card, and is good even by itself, outside of combos. If you are running Imperial heavy, Command will help cycle through your deck and line up your Imperial combos, as will Word of Power, an amazing +2 draw card that fully unlocks via its +5hp Imperial faction ability.
Guild Combos
Guild is a very strong faction that provides high economy and damage, but can also provide some of the strongest faction combinations in the game when they are activated. In fact, one could argue that the Guild faction combos/abilities are some of the strongest in the game. Several cards offer top-decking (or straight to hand) abilities, and others have rare champion-stunning abilities. Here are some of my faves:
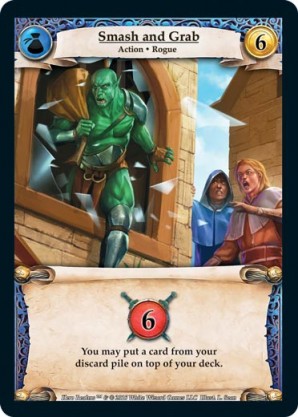
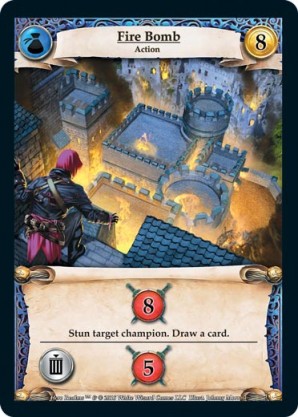
Smash & Grab + ???: S&G is perhaps my favorite card in the game, and can be a big part of some of the craziest combinations you can think of. From simple yet devastating combos like pulling the Fire Bomb (or any other great card) out of discard that you used last to then draw and use again immediately or next turn. Using a Guild strategy, it is possible to top-deck or purchase Smash & Grab directly to your hand, purchase another card from the market, use S&G to top-deck that, then draw again. Some characters have an interesting use for it which I’ll outline in my Character Combos section below.
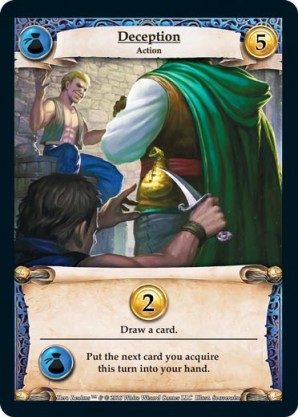
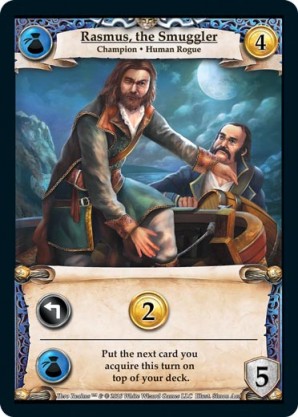
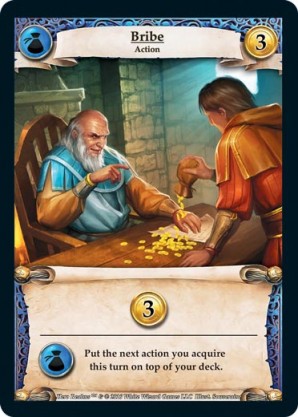
Deception, Rasmus, Bribe: The straight to hand or top-deck potential of these cards is extremely powerful. The potential to buy a card directly into your hand at a crucial point in the mid/late game can be the deciding factor. The thief can even activate these abilities turn one if the market row lines up right! Typically, Guild cards want to faction with each other and these cards will reward you greatly for doing so.
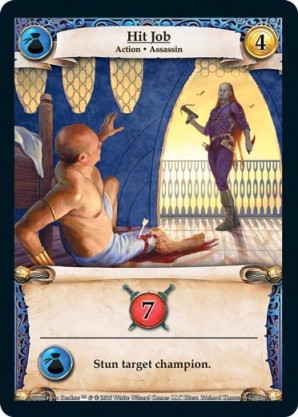
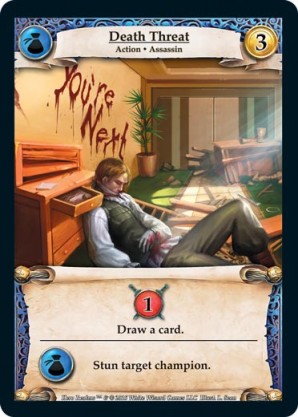
Hit Job/Death Threat: Hit Job offers great cost performance for 7 damage at only 4 gold! And if you can threaten its champion-stun faction ability, your opponent will think twice about buying any champions from the market. Death Threat offers draw in place of damage, so Wizards and Rangers love to use this to help with draw chaining, and are always happy to get the champion stun bonus.
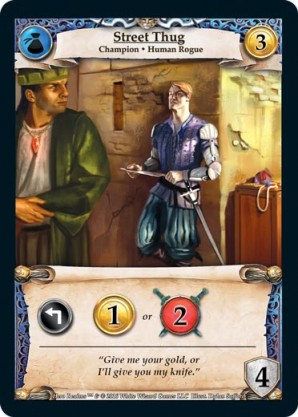
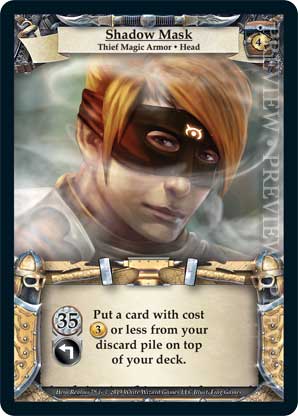
Death Threat + Guild Champion + Recursion (via jprunsfunny): Another fun combo is the repeatable champion stunner! If you have even a lowly Street Thug out, they can combo with Death Threat to stun any champion. This works especially well with the Thief when you can get repeated uses out of Death Threat by recycling with the Shadow Mask, or if you have Smash & Grab to pull Death Threat out of your discard pile.
Wild Combos
The Wild faction hosts what is probably the best overall set of cards in the game. Offering huge damage output, discard, and even draw for relatively low cost, Wild cards can be deadly even without triggering faction abilities, and are truly nightmarish when they do.

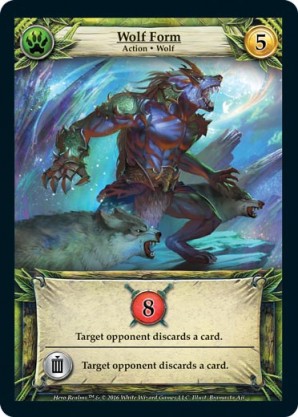

Wild Discards: Lots o’ damage and lots o’ discarding. These cards are why Wild is the most coveted faction in the Hero Realms base set.
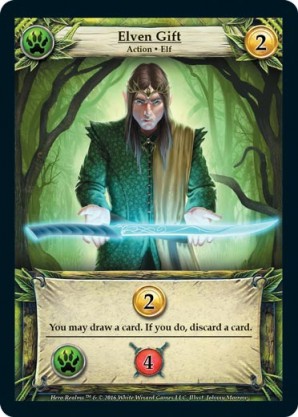
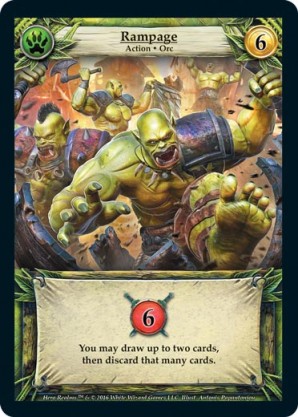
Wild Draw: Lots o’ damage and lots o’ draw. Most characters jump at the chance to purchase these cards when in the market row. At 2 cost, Elven Gift may be the highest cost-performance card in the game. Rampage is another card that can cycle your deck quickly while also dealing significant damage, and is a welcome addition to almost any deck.
Necrombos
Necros is a faction that focuses heavily on sacrifice and damage, which makes it great even without faction combos. If you are able to focus heavily on Necros, you will be rewarded with lots of unlocked draw and extra damage. And there is one special champion who resides in Necros that may be responsible for some of the most fun combos in the game!
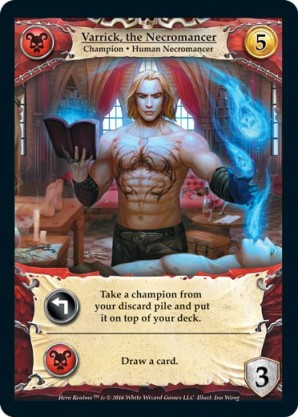
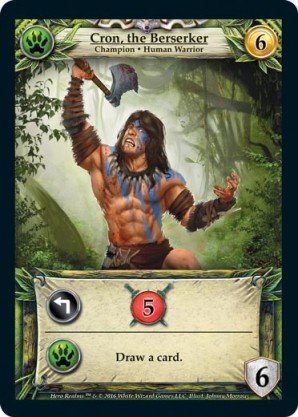
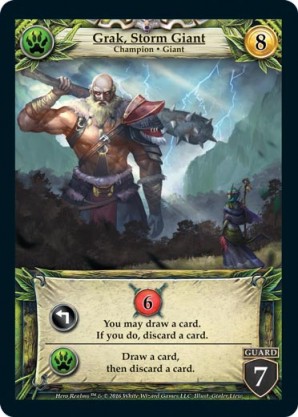
Enter Varrick, who specializes in raising the dead, and brings a champion from your discard pile to the top of your deck. He is the ultimate “hit big” or “whiff completely” champion, as his only other ability is a faction draw. Varrick is quite situational, but when the circumstances align, he can bring back a big champion that was stunned last turn, or even top deck a big champion you just purchased, draw it, and continue even further draw or damage chains. Varrick is especially popular amongst clerics, and is the champion king of combos. Just be sure to protect him with a few guards as you experiment with some of the fun combos you can pull off with Varrick.
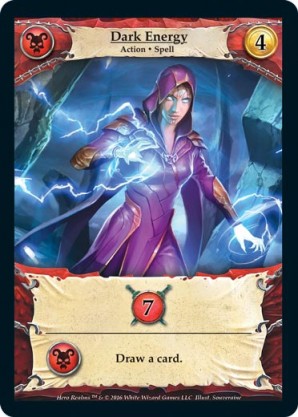
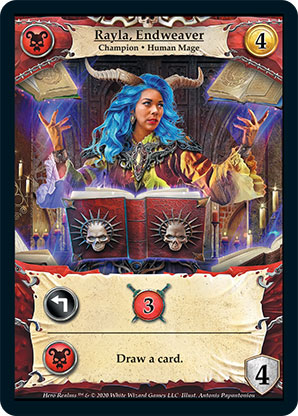
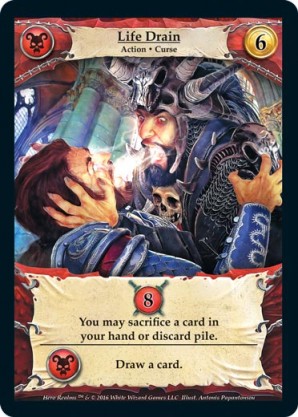
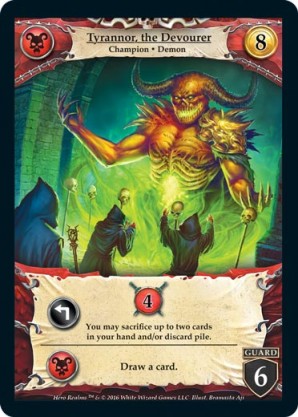
Necros Draw: As you can see, lots of extra draw if you choose to focus on factioning Necros with your deck building. And everybody loves extra draw.
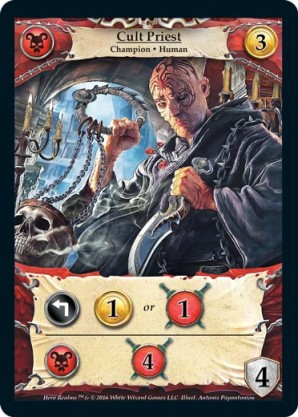
Cult Priest: Just worth mentioning that Cult Priest combos for 4(!) extra damage when you faction it. Often times an overlooked card, Cult Priest can be a nice Necros anchor card to help you unlock your faction abilities. With 4hp, it gives opponents a tough choice on how to deal with it while deployed. And on top of all this, you can also choose to receive 1 gold or deal 1 damage to your opponent. Nice value for a 3 cost card!
Character Pack Combinations
Each character kit comes with its own powerful abilities and combos that work within each starting deck and can also branch out to synergize with the market deck card pool. In this section, I’ll go over a few of the key combos for each character.
Fighter Combos
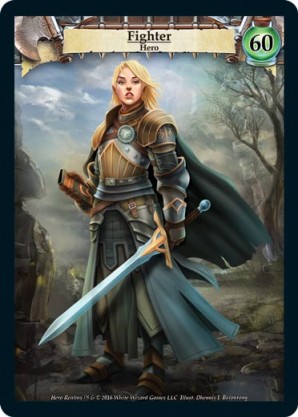
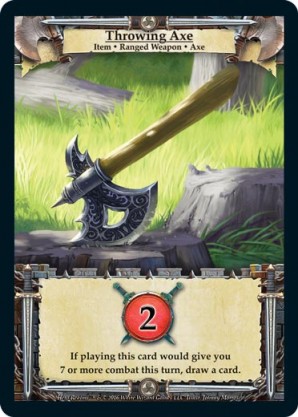
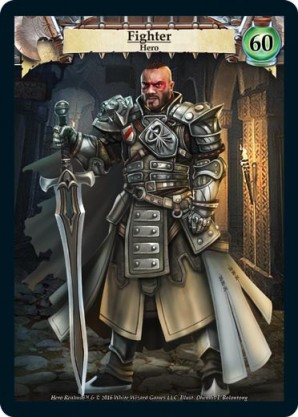
The Fighter mainly relies on lining up its weapon/damage cards to punish the opponent while also hopefully activating the draw on the throwing axe, which activates at 7 damage on the turn it is played. While not as flashy as some of the other characters in terms of draw, deck-manipulation, or discarding, the fighter can string together scary amounts of damage right off the bat.
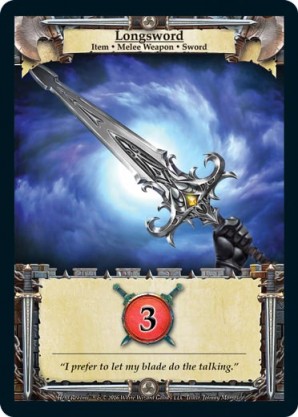
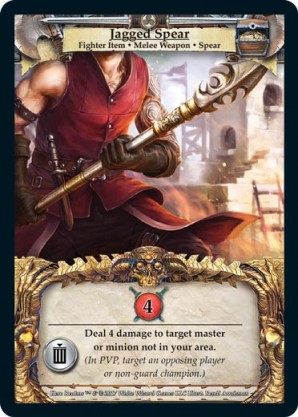
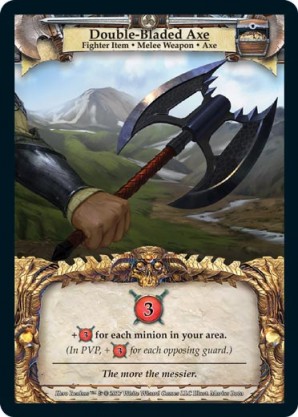
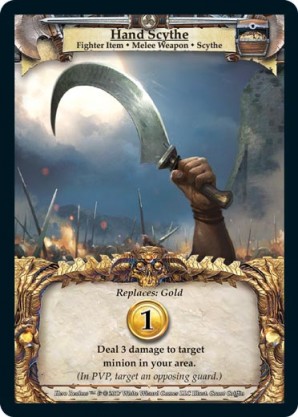
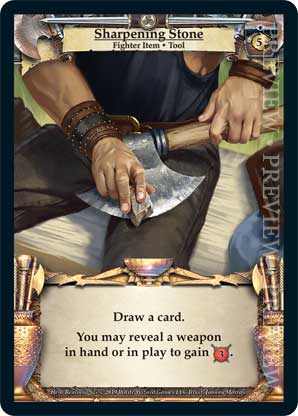
Fighter weapon/damage: After leveling up, the fighter has access to powerful starting deck weapons that can churn out damage right from the start of the game. By lining these weapons up and activating the draw on the throwing axe and extra damage from the sharpening stone, the fighter can threaten quick aggro victories. Read more about the intricacies of fighter play and combos in AgentC13’s Fighter Write-Up.
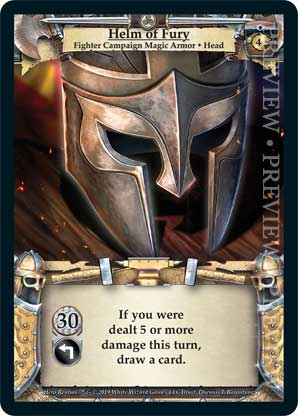
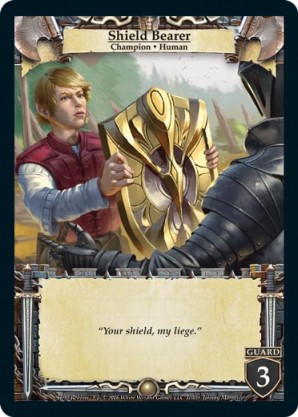
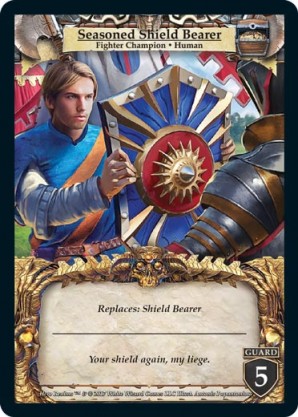
Fighter Guards: If the Helm of Fury is chosen as the Fighter’s armor upgrade, then going for guard-heavy deck building strategies becomes optimal. Coupled with the Experienced Shield Bearer upgrade, the Fighter now has a very annoying 5hp Guard who also triggers +3 damage each turn it stays out. This combo may not be too common in the current meta, but the potential exists for this to be a viable fighter build that centers around this combo.
Thief Combos
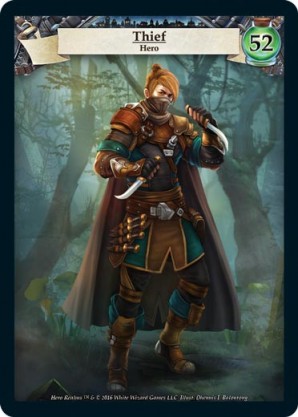
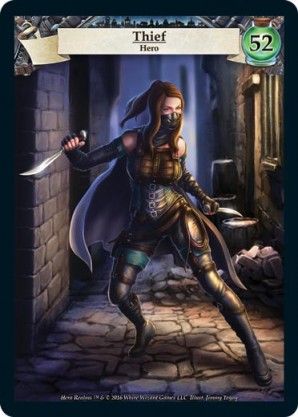
The Thief possesses the most powerful abilities in the game that can sometimes even lock up very early victory conditions. The Thief works naturally well with the Wild faction and can combo discard abilities with Wild effects to debilitate opponents. Many thief builds and possibilities exist that can produce various combos.
While the Silent Boots armor upgrade can be an interesting build choice for more purchase options, the maximum potential of the Thief is really unlocked with the Shadow Mask, which lets you top deck a 3-cost (or lower) card from your discard pile. This allows for some crazy combinations immediately from turn one, and when further integrated with the Thief Heist capabilities, can escalate the game state into an early victory. Let’s take a look at a few of the fun combos you can pull off with the thief.
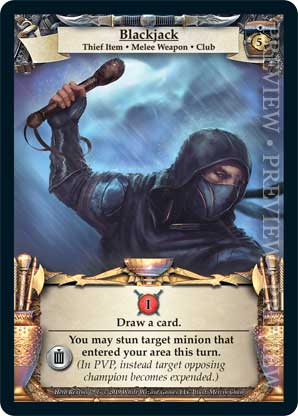

Shadow Mask + draw: Turn one: Buy an Elven Curse, use Shadow Mask to send it to the top of your deck, then draw with it BlackJack. Activate your Lift for 7 healing for yourself, and 2 discards plus 7 damage to your opponent. Turn two: Use Shadow Mask to take your Elven Curse from discard and send it back to the top of your deck, draw it again with knife belt, spend 2 more gold to activate Lift for 7 more healing, and more damage and discards to your opponent.
The Shadow Mask can perpetuate crazy rolling combos like this that can cause deep suffering in opponents. It can also be used to top deck cards from the market row that will faction with cards in your hand that you will be able to access via draw, or set up your next turn.
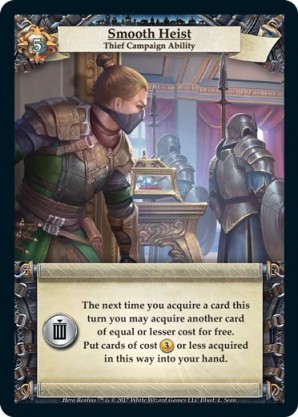
Smooth Heist: I could make a good argument that Smooth Heist is the single most powerful ability in Hero Realms. It can be used in a variety of ways to get multiple high value cards into your deck (or hand!) as early as Turn 1, catapulting the Thief to an early lead that can be hard for an opponent to overcome. If 2 big 7 or 8 cost bombs are in the market row and your economy lines up, you can buy two for the price of one that will make it into your second or third deck of the game.
Smooth Heist also allows you to send 3 cost (or lower) cards you purchase directly to hand, meaning you can trigger crippling early Guild or Wild combos if a few of each respective type lines up together in the market row for you. Don’t be afraid to use your Smooth Heist ability in this way if the opportunity presents itself! Big bombs are enticing, but sometimes purchasing multiple low-cost cards that you can play immediately can put a game out of reach right out of the gates.
Thief Discard: The Thief has various discard abilities available, which combo well with any and all Wild discard effects. When you are a thief, typically it is a good idea to buy up as much Wild as possible, and if you are playing against a thief, do your best to keep Wild out of the market row.
Cleric Combos
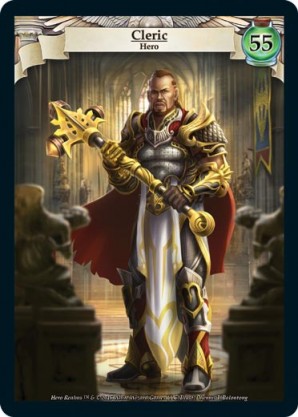
Although maybe not as flashy as some of the other characters in Hero Realms, the Cleric has some interesting combos of their own. The cleric likes to heal, and also buff and resurrect champions, so most Cleric combos will focus on these lines of play. There are quite a few build configurations for the Cleric (check out DaKatsesMeow’s Cleric Article Here), but I will just outline a few of my favorite combos below:
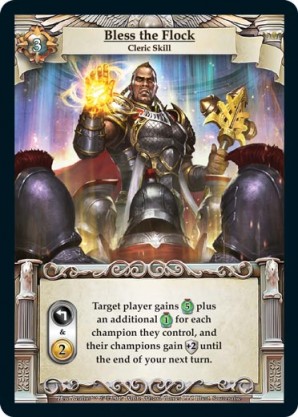
Blessing Champions: There is much to be said about the Cleric champion strategy, how and when to Bless them, which builds and strategies to use, etc. This article isn’t an overview of everything, but rather just a way to highlight some fun combos. But I would be remiss if I didn’t mention on of the strengths of the Cleric-champion synergy.
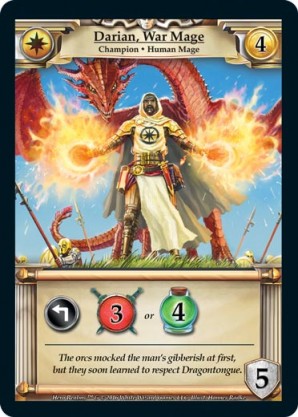
On particular point I’d like to bring up is that by purchasing both guards and non-guards, the Cleric can hide valuable targets like Varrick or Darian behind guard walls that your opponent has little chance of getting through. Even if they do make it past the guards, they most likely won’t be able to take down your buffed Varrick at 6 or 7hp, depending on your Bless ability. In short, mixing up guards and non-guards is a simple, yet very effective way for the Cleric to combo their character abilities with the champions in their deck.
Yes. Varrick is making another appearance! As he rightly should, he is the king of combos, after all. The Cleric of course loves to employ the talents of Varrick, and if you are playing against one, strongly consider hate-drafting Varrick in order to keep him away from the Cleric’s clutches.
Varrick’s ability is even stronger than the Cleric’s resurrect ability in that it can target any champion in your discard, not just one that was knocked out last turn. This makes Varrick an invaluable ally to the Cleric’s strategy, and if properly protected by buffed guards, can create winning conditions for the Cleric fairly easily. When the Cleric can combo one or two more Necros cards (ideally with sacrifice to thin out their deck), Varrick becomes a one-man resurrection factory.
There are lots of fun things you can do with Varrick, so enjoy trying out different combos with him. In one recent Cleric game I played, I used my resurrect ability to take bring Varrick back into play, then used him to revive 3 champions from my discard by readying him with Rally the Troops and Domination!
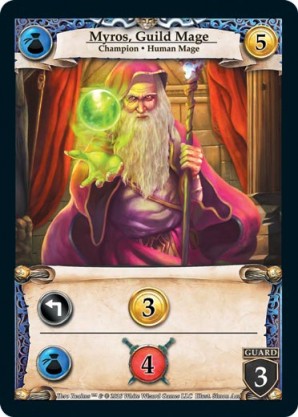
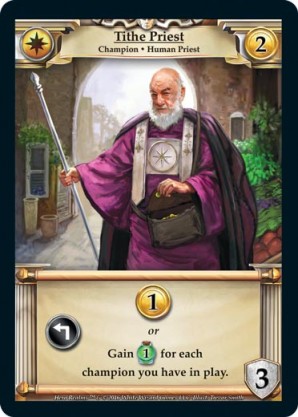
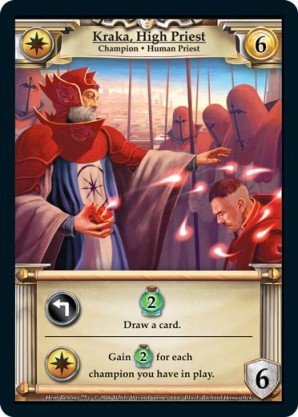
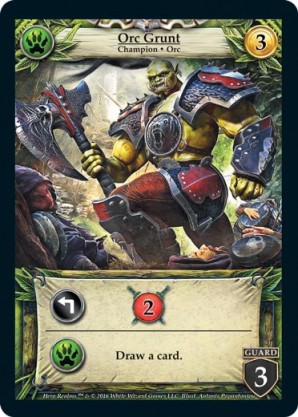
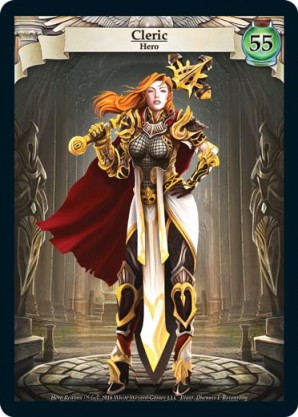
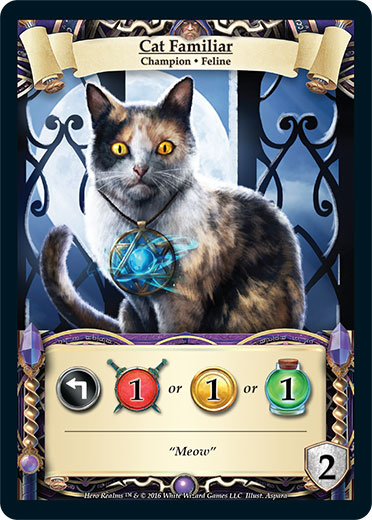
Economy Champions + Cleric: I would be remiss if I didn’t mention the Cleric’s love for champions who can provide some gold output. There are only six of these champions in the entire base game (pictured above), and the Cleric will jump at a chance to purchase one, as they can help sustain the expensive Blessing costs each turn, and are mostly non-guards, which means they can hide behind guards and last in play a bit longer than usual, increasing their value. While often overlooked by other characters, these unique champions offer the Cleric a viable path to establishing a strong champion-based strategy. Even the downtrodden Street Thug can find a home and a chance to be a contributing member to a deck with the welcoming Cleric.
Ranger Combos
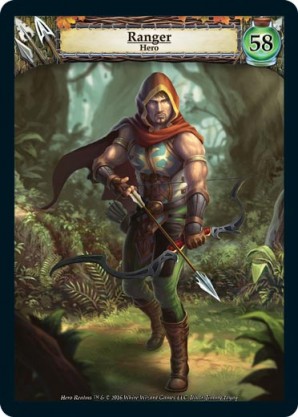
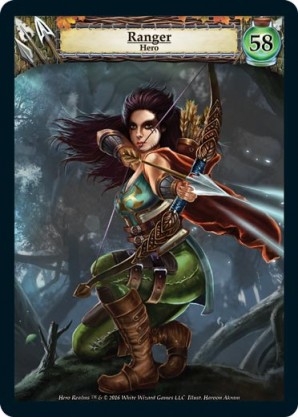
Much can be said about the Ranger and their unsurpassed ability to deck-manipulate and set up amazing draw and/or damage chains that can quickly debilitate opponents. In fact, the central strategy for the Ranger revolves around constructing your deck to take advantage of being able to set up these combos. I will go over a quick list of some of my favorite Ranger combos below.
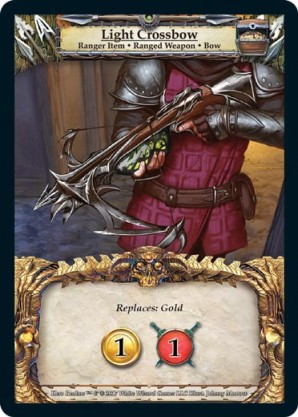
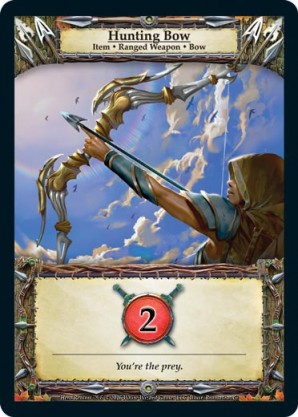
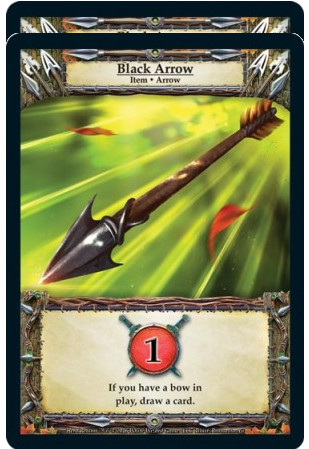
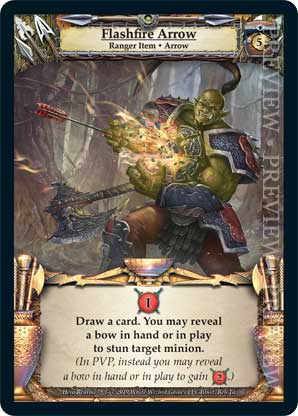
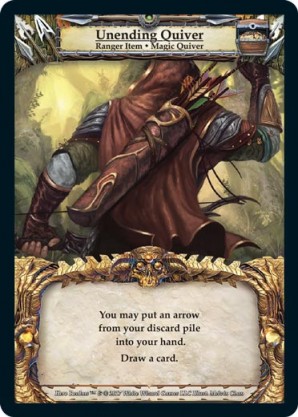
Quiver + Crossbow + Flashfire Arrow + Track: This combo is the backbone of an optimal Ranger build. The quiver draws and also fetches an arrow from the discard pile. The Crossbow gives another chance to line up your arrow draw effects. The Flashfire Arrow draws on its own, even without a bow. This all makes an efficient draw machine that also allows for discard pile recursion via the quiver, this combo coupled with the Ranger Track ability allows them to cycle through their deck at astounding speed. But, the Ranger can’t just rely on these cards, and needs to deck build a bit in order to seal off victories….
Draw Actions: Pictured above are all of the action cards of 6 cost or less with innate draw. The Ranger loves these cards, because they help the draw engine continue and fuel the Track ability to reaching full potential. If the Ranger can Track and then draw at least once per turn, they are almost impossible to beat. That’s why these draw cards are so valuable to the Ranger: they fuel the insane combos that Tracking sets up.
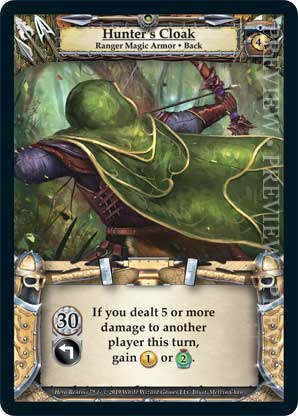
Hunter’s Cloak + Damage: The Hunter’s Cloak allows the Ranger to receive an additional gold or 2 healing after hitting their opponent for at least 5 damage. Of course, damage cards are always at a premium and are needed for virtually every winning strategy, but the Ranger loves to collect them even more, as they can ensure triggering the cloak for the extra gold needed for a purchase, or to heal up and stay alive longer. This is a very simple combo, but an essential one for running an optimal Ranger.
Wizard Combos
I already wrote a whole article on the pleasures and perils of piloting a Wizard, so I won’t go into exhaustive detail about all of the wonderful combos that a wizard can pull off, and instead focus on a few key combos.
The Wizard is the only character with innate, repeatable draw abilities, so of course they love to focus on draw combos. Other types, such as high damage combos and Guild-based top-deck/direct-to-hand combos are also some of the Wizard’s favorites (check out the Draw Actions in the Ranger section, and the Guild Combos section above for details).
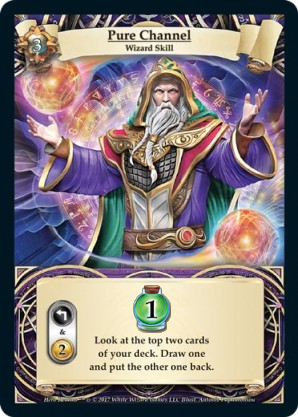
Draw: The Wizard loves draw and has some fun upgrade choices to help maximize your strategy. As for market row purchases, go back up to the Ranger section and under Draw Actions you will see all the cards the Wizard also loves to collect. Command is a particular favorite of Wizards everywhere. Putting together a good draw engine that can produce high damage and hopefully some extra healing for the Wizard is a winning strategic choice.

One of my favorite aspects of piloting the Wizard is using the Runic Robes. They allow the Wizard to hold an important card to set up combos on the following turn, and have some other interesting uses as well. Holding a sacrifice card in your Robes for next turn when you will have better targets in your discard pile is a nice way to combo the Robes and an untimely Necros card.
The Robes can even combo defensively: You can hide away a valuable card that your Thief opponent would most likely steal from your discard, instead playing it the following turn where it will safely reshuffle into your next deck. Holding a ruby or another economy card in your robes for next turn to boost your purchasing power can help you snag early bombs and strengthen your opening. You can even Robe champions who you don’t want to be stunned in your current turn
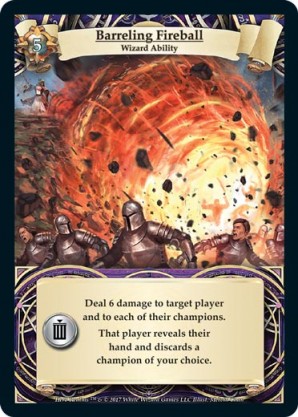
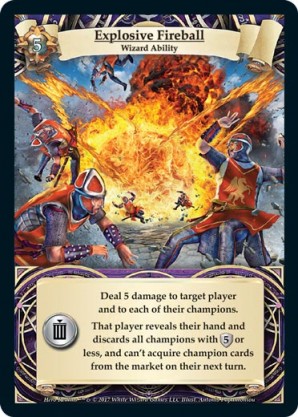
Market Row/Opponent Hand + Fireball: While not a card combo in the traditional sense, the Wizard can use their Fireball abilities to combo with certain game states to punish their opponents. The Barreling Fireball allows the Wizard to discard any champion from their opponent’s hand, and the Explosive Fireball will discard any champions of 5 guard or less. The Explosive Fireball also prevents your opponent from purchasing any champions from the market on the following turn. In order to take advantage of these game state conditions, the Wizard needs to keep an especially close eye on the market row and constantly check opponent hand possibilities. The timing of the Wizard’s Fireball and how it combos with the game state can often be the difference between winning and losing.
All combo'ed out
I hope you’ve enjoyed this exercise in thinking about some of the killer combos in Hero Realms. This article only glimpses at a few of the possibilities for combining cards and unlocking synergies in the game, so be sure to experiment and vary your play to find your own favorites. If you discover some fun and interesting combos, be sure to share with the Hero Realms community on Discord!
Title: Killer Combinations
Category: Deckbuilding
Tags: #Combos, #Jigmelingpa, #Strats
Published on: January 30, 2022
When not bottom-decking Fire Bomb and Domination as an avid Hero Realms player, Jigmelingpa is a weapon of mass instruction otherwise known as Matthew Rooks. A university educator based in Japan, he spends his time enjoying linguistics, games, nature, basketball, movies, music, and eats. He also sometimes plays Hero Realms a little.