
Welcome to A Fighter’s Perspective, a series of articles about my thoughts and experiences playing a Fighter in the deck-building card game Hero Realms by Wise Wizard Games. In this series I want to start off discussing the basic Fighter deck, move on to a deeper analysis of upgrades and abilities, then discuss how opponents will try to counter your strategies and how you can counter the strategies your opponents will use. While S_Freak has a very nice overview of the Fighter, my focus here is is a bit different. You can find part 2 of my series here.
The base fighter deck (level 3 in app) is made up of :
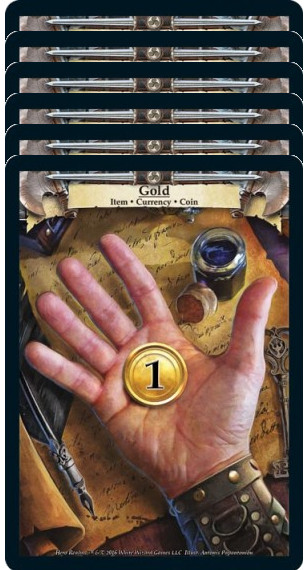
- 6x 1 gold
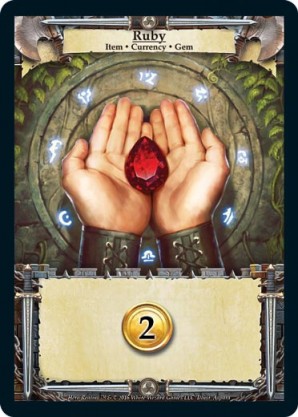
- 1x Ruby (2 gold)
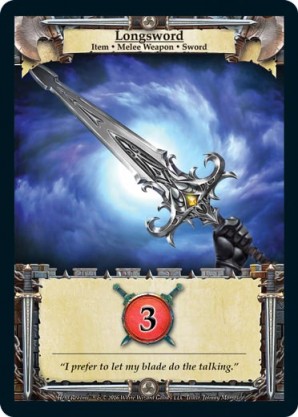
- 1x Longsword (3 dmg)
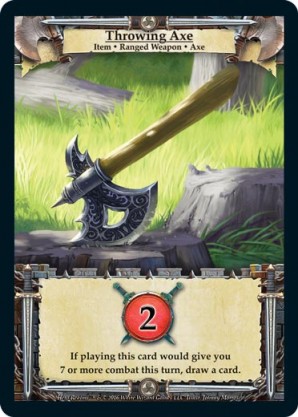
- 1x Throwing Axe (2 dmg + draw possibility)
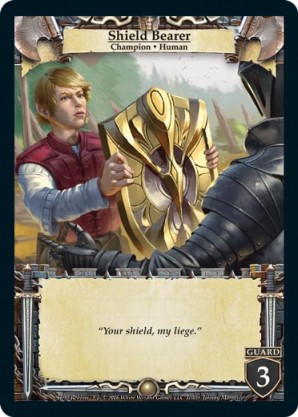
- 1x Shield Bearer (3 Guard)
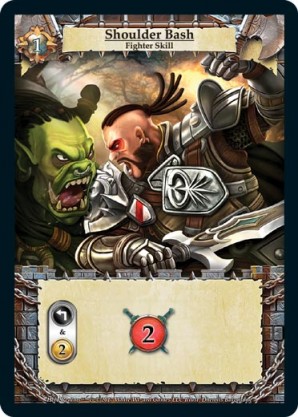
- 1x Shoulder Bash (2 dmg for 2 gold)
- 1x Crushing Blow (Trash for 8 dmg)
The Fighter starts at 60 base health, the most of any hero. When we look at the starting cards, we can see that the Fighter is built to output damage quickly and consistently. This can be very appealing and seem quite easy to new players, but excelling with this hero is not as easy as it seems. High level play requires some forethought and understanding. You cannot only buy aggressive damage cards and expect to beat a tough opponent. You must learn when and how to change your strategy when either the market row or your opponent don’t allow for an easy aggressive damage rush.
I just said that you can’t just blindly aggro your way to a high win rate with the Fighter, but in Hero Reams you win by reducing your opponent’s health to zero. You want to quickly take control and set the pace of the game, smashing your opponent before they have a chance to complicate things. A lean, high damage deck is a great way to do this. The longer the game goes the larger chance your opponent has to throw a wrench into your plans and take control. A smart opponent will force you to adjust (or lose), but an aggressive application of damage is our goal #1.

Let’s look at your basic (level 3) hero and discuss strengths and weaknesses. You start with 8 gold in your deck, which is on the lower end compared to other heroes. It means we can often find ourselves behind other heroes on the economy curve (especially if we spend our starting economy on shoulder bash). Luckily the Fighter tends to need less economy to make their deck ramp up than the other heroes, but if the game goes longer the Fighter is at a disadvantage here. Theoretically, you could start with 4 gold on turn one or 6 gold on turn two which is not horrible, but it isn’t great either. In my experience, you usually have 1-2 gold on turn one and 3-5 gold on turn two. Even though your economy is mediocre, your damage output is the best of any hero. You have a possible 14 damage turn one! Only the Thief and Wizard starting deck approach this, but the Skill and Ability of the Fighter put it at the top. Spending two gold for Shoulder Bash damage on even half of your turns leads to a massive amount of damage the other heroes do not have access to. Crushing Blow deals the same base damage as the best damage cards in the base deck, and you get to use it whenever you want!
In your starting deck, you have a 3 damage Longsword that is great in the early game and still does some work in the endgame. There isn’t much more to say about this card, it’s solid. It’s a core part of your deck that you will likely never sacrifice. The 2 damage Throwing Axe can allow you to draw a card if you reach 7 damage or more when you play it. (Just as a note, this doesn’t take into account damage already spent before playing it, your damage pool must reach 7 or more regardless of what happened earlier in your turn). This card is pretty good in the early game, and great as the game progresses. Your chance of having the damage increases as your deck improves, so it doesn’t weigh things down in the mid or late game. There is absolutely no reason to ever sacrifice this card that I can think of. You also have the Shield Bearer. This is a Guard 3 with no other effect. It can help keep other non-guard champions in play longer or soak 3 damage for you, but it doesn’t do anything else. Your standard targets for a sacrifice effect are going to be a gold or your Shield Bearer.
You have an exhaustible Skill, Shoulder Bash, that does 2 damage for the price of 2 gold (available once per turn). Your once per game Ability, Crushing Blow, is a one time use effect that does 8 damage. Shoulder Bash is something you want to use whenever you have the 2 gold available. It will depend on the game state and class matchup whether you want to get a cheaper card from the row in order to also use this ability, or get the more expensive card and skip the Shoulder Bash. You need to weigh the value of using it compared to the options on the market row that can improve your deck. This sort of decision point is a great example of the simple, but not easy decisions that separate the best Fighter players from the rest.
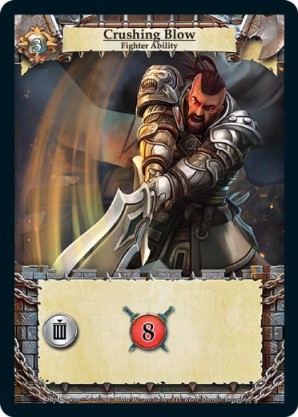
Ideally, we want to save Crushing Blow for 2 different possible uses; taking down a champion wall (or even a single large guard), or a killing blow to finish off the game. This ability effectively gives your opponent 8 less health and absolutely speeds up the tempo of the game. The two other common situations that you may want to think about using it is to trigger a draw with your Throwing Axe, or getting an opponent’s health below the durability threshold for their level 9 armor upgrade. It can be highly effective to use this to trigger a draw with Throwing Axe, keeping weak starters bottom decked when you have a discard pile full of your stronger cards. It can also let you squeeze out one more gold to get that bomb from the row. Shutting off an opponent’s armor upgrade can really give you an edge and make your opponent change their game plan. In the second part of this series, I will get into the class matchups and when it is most beneficial to use Crushing Blow for this. While saving your Crushing Blow to take out champions or deliver a killing blow is a great use, don’t be afraid to sack it if the situation warrants that play.
That brings up another thing that some players don’t really think about when playing fighter, but is pretty vital to understand if you want to excel with it. You need to know when the draw from the Throwing Axe is worth shuffling your deck. This skill is something beyond basics, but even understanding that it can be important (without having it mastered) is a step towards becoming a better player. You need to pay attention to what is in your draw pile and what is in your discard. Just because you can draw a card doesn’t mean that is the smart play.
Generally, you want to avoid drawing when you are going to bottom deck your damage (or other good) cards, but will want to do it when it’s going to do the same to your weaker starting cards (I am looking at you gold!). This is similar to how a Ranger (or Wizard) can control their shuffle via their skills, but it’s effectively weaker than that most of the time. In the physical version order matters and you can play your axe first in order to not trigger a shuffle, but in the app you must choose not to play the Throwing Axe at times that the 2 damage it gives is not worth flipping your deck and losing your best cards from that shuffle. To do so, you need to select the “3 bar Menu” button on the top left of the app, and select “End Turn”, just make sure you apply damage and stuff before doing this. This makes the axe a very versatile tool.
Leveling & Upgrades
As you level up in the app, you get to to improve your Skill and Ability and gain or replace cards in your deck. You can increase your damage output and can drastically speed up the pace of the game, pick upgrades to help deal with your opponents champions, or a few defensive options as well. The first two upgrades are forced, and they bring your deck/skill/ability to the same makeup as the physical character pack we just discussed. After this you get to pick from various choices. Let’s begin by looking at what happens in the app at each new level and then analyzing the options available afterwards.
| Level | Upgrade |
|---|---|
| Level 1 | Precision Blow (3 damage to target guard) instead of Crushing Blow |
| Level 2 | Precision Blow upgrades to Powerful Blow (5 damage to target guard) |
| Level 3 | Powerful Blow to Crushing Blow (Standard deck from character pack) |
| Level 4 | Skill/Ability/Health Upgrade |
| Level 5 | Item Upgrade (Thandar Replacement) |
| Level 6 | Skill/Ability/Health Upgrade |
| Level 7 | Item Upgrade (Thandar Addition) |
| Level 8 | Skill/Ability/Health Upgrade |
| Level 9 | Armor Upgrade (Lost Village) |
| Level 10 | Skill/Ability/Health Upgrade |
| Level 11 | Item Upgrade (Lost Village) |
| Level 12 | Skill/Ability/Health Upgrade |
Which options we choose can greatly affect our Fighter’s playstyle. I am definitely biased here as to what fits my personal tastes, but you need to play what is most fun for yourself. Whatever choices you make, there will be certain matchups or individual games where the other options would be better, so you need to figure out which choices fit best with your personal deck building biases and will help you more in the majority of the games you will be playing.
Don’t be afraid to level more than one Fighter (either by making a new character or using the prestige option to reset a level 12 back to level 1) in order to try out new builds and see if different choices make the game more enjoyable for you. If you don’t agree with my assessments here, I would love to hear some discussion on why you think I am wrong!
Health Upgrade
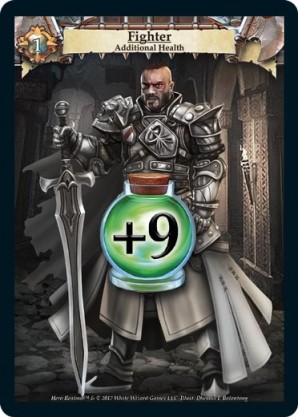
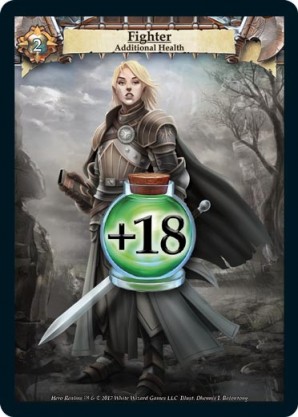
I think it is prudent to get this somewhat early on when leveling. Having an extra 9 health will make a bigger difference in lower level games than 4 more damage (Devastating Blow) or is fairly equal to a longer game where you get 9 uses out of Shoulder Smash. Yes, you miss out on getting a second Ability (Precision Blow) at level 12, but that isn’t nearly as valuable as the first one you will have already upgraded. The health upgrade will absolutely win you mirror matches against another Fighter that doesn’t have it, and it helps against other classes as well. This is why I would recommend getting it somewhat early. The extra 9 health is a bigger factor than other upgrades while leveling, and once you hit 12, it’s so much better than Precision Blow that I wouldn’t think twice about this. In my experience, it gives you one or two more turns than you would have had without it. These turns happen in the endgame when your deck should be humming along nicely, and allow you to finish off a tough opponent. In a mirror match that can be enough to keep them from lethal when you have it in hand, and against another class it can give you enough time to finish them off or make up for a bad shuffle or two.
Crushing Blow

| Level | Name & Effect |
|---|---|
| Tier 1 | Crushing Blow: 8 damage. |
| Tier 2 (Left) | Sweeping Blow: Draw a card OR Stun all opposing Guards. Gain Combat equal to their Defense. |
| Tier 2 (Right) | Smashing Blow: 10 damage. |
| Tier 3 (Left) | Whirling Blow: Draw two cards OR Stun all opposing Guards, Gain combat equal to their Defense. |
| Tier 3 (Middle) | Mighty Blow: 6 damage, You may deal 8 damage to target champion, Draw a card. |
| Tier 3 (Right) | Devastating Blow: 12 damage. |
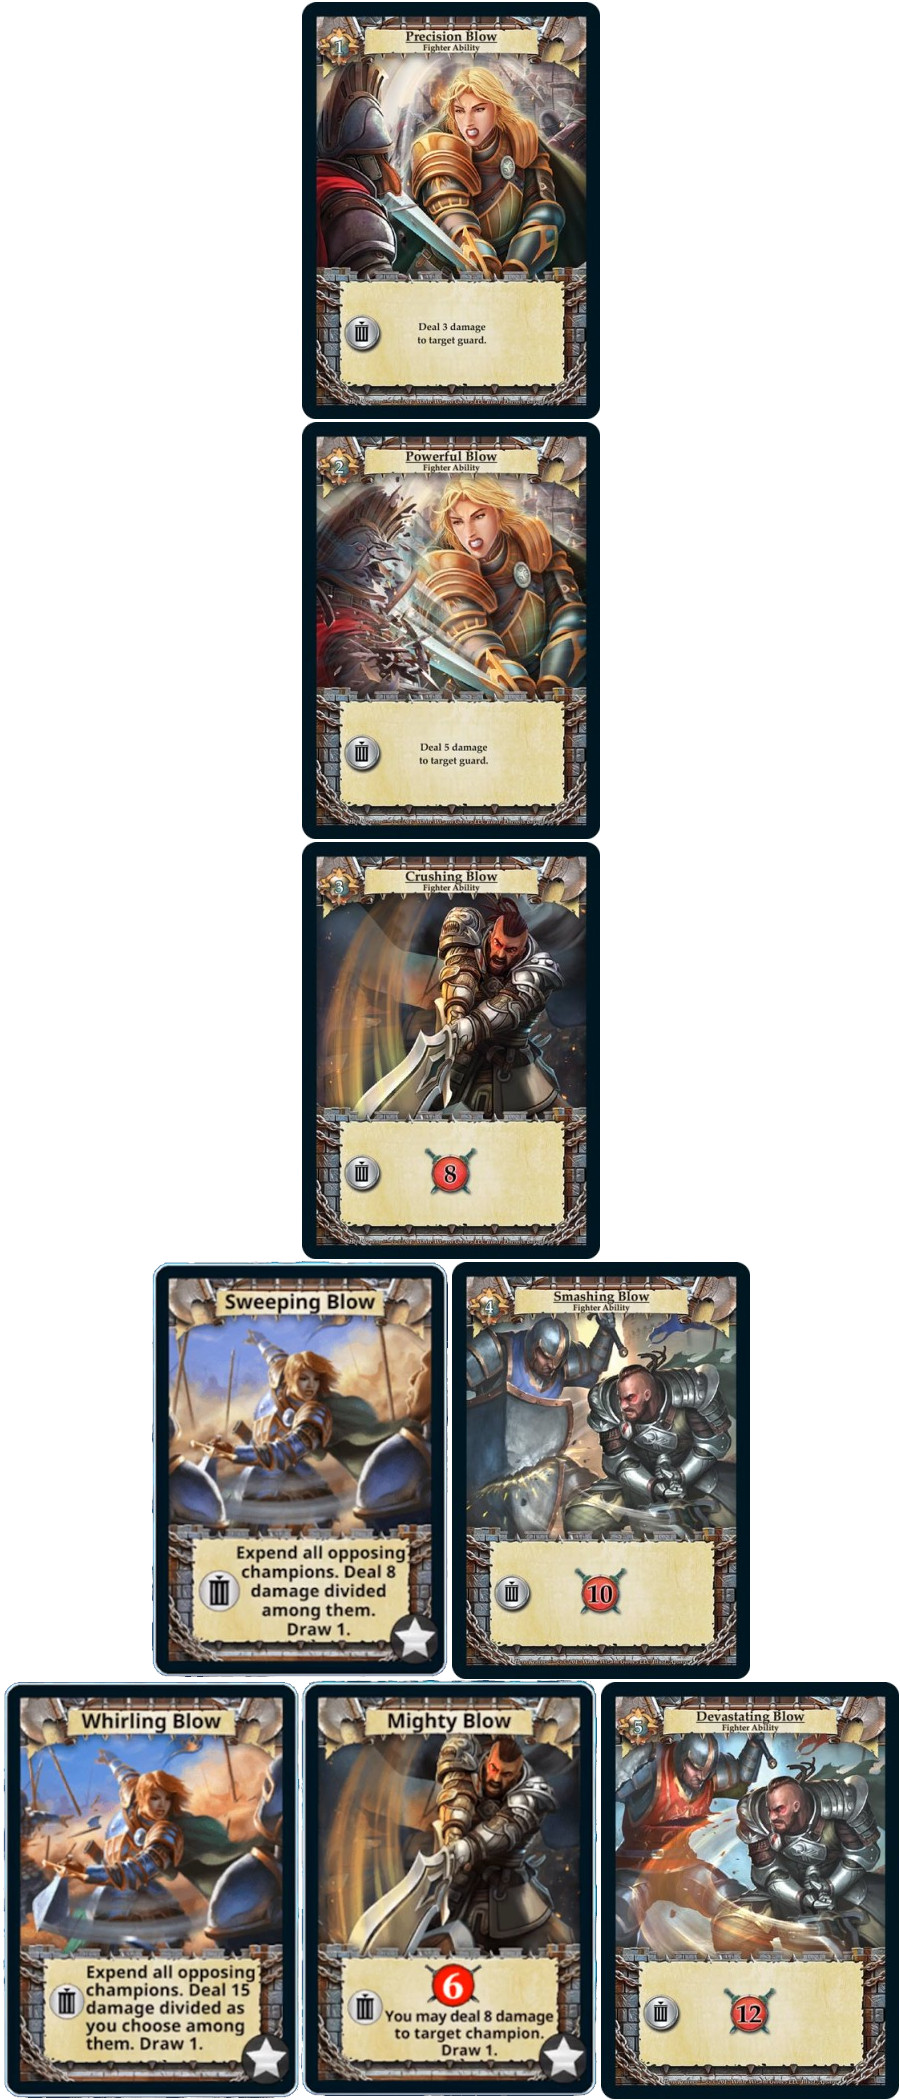
In the Crushing Blow upgrade tree we have three options to upgrade our once per game ability. We can increase the damage to 12 on the right side of the tree. We can add a card draw but change the damage to champions only on the left side of the tree and expend opposing champions. Using the middle of the tree option we can do a bit of both, adding the draw and spitting the damage types. This decision really comes down to a couple of things; are you wanting to advance your win condition, are you wanting to shore up some of your weaker spots, or try to do both. With Sweeping/Whirling Blow (left side) You get the option to draw cards OR stun all opposing guards and you gain combat equal to their defense. The Smashing/Devastating Blow (right side) damage is consistent regardless of what your opponent’s deck is like. Mighty Blow (middle) gives 6 damage, lets you draw a card, and you can deal 8 damage to a champion (Guard or Non-Guard).
WWG has made a couple changes to the Sweeping/Whirling Blow (left side) Abilities since the game was in Alpha/Beta. The most recent has made this ability more appealing (and in my opinion more fun). Whirling Blow can let you draw two cards early game to help your economy curve and speed up your deck. It can be a huge tool in any matchup where your opponent has a decent number of guards, but especially against a Cleric (the worst matchup at level 12). I personally like to use this ability to draw the cards pretty early (usually before my first shuffle, and nearly always before the second) which speeds my deck up early and usually increases my mediocre economy curve. This give the Fighter a better chance in a longer game, but it still struggles there. I will save this ability when playing a Cleric though, as the stun all guards and gain damage scales from their bless and can really help if you get stuck with a champion wall. If you are already countering your opponent’s play with solid strategy, you are less likely to be beating your head against a champion wall, and less likely to need that part of the ability. I would rather put the pressure on my opponent early to change their play than to use this because they are making me do the same.
On the other hand, Devastating Blow is consistent, it effectively lowers your opponent’s health pool by 12 which can be about 20% of their total starting health.
In my experience testing out builds and these Abilities, I would say Devastating Blow is better overall in every matchup except the Cleric, but Whirling Blow is better against the Cleric. So really the choice here is whether you want to weaken your overall chances slightly in order to have a slightly better chance against the Fighter’s worst matchup. In terms of fun (which is completely subjective) I really think the Whirling Blow can make the Fighter gameplay more interesting and allow for different decision points, but that comes at the expense of overall effectiveness.
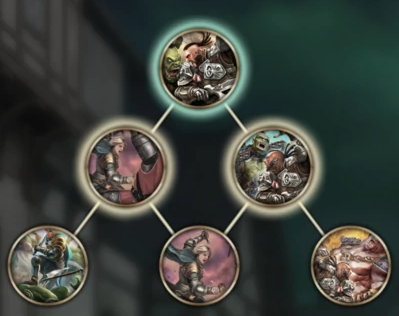
Shoulder Bash
| Level | Name & Effect |
|---|---|
| Tier 1 | Shoulder Bash: 2 damage. |
| Tier 2 (Left) | Knock Back: 2 damage, You may expend target champion. |
| Tier 2 (Right) | Shoulder Smash: 3 damage. |
| Tier 3 (Left) | Group Tackle: 2 damage, Expend up to two target champions. |
| Tier 3 (Middle) | Knock Down: 3 damage, You may expend target champion. |
| Tier 3 (Right) | Shoulder Crush: 4 damage. |
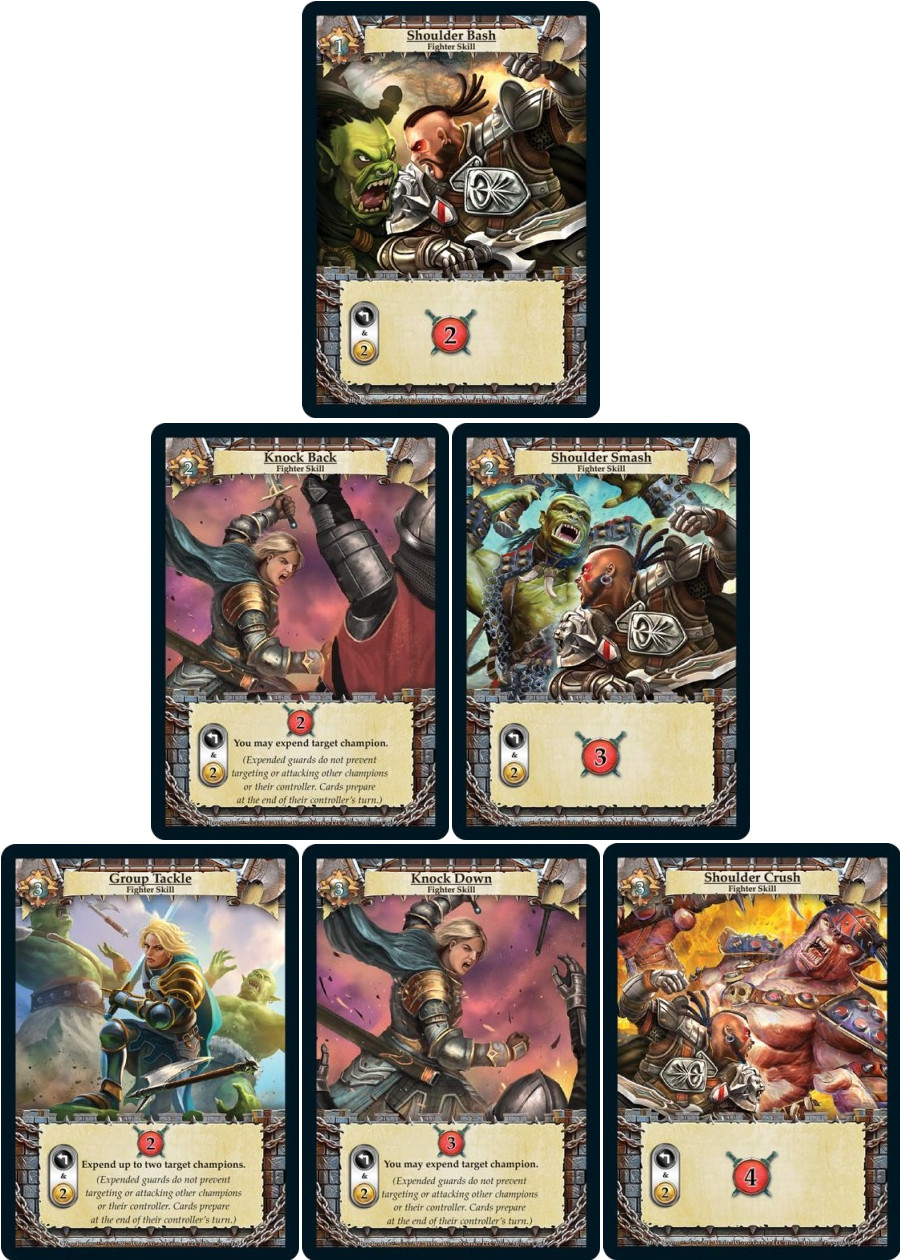
For the Shoulder Bash upgrade tree we again have three options, but this time to improve the once per turn damage ability that costs 2 gold to activate. On the right side we have Shoulder Smash/Shoulder Crush allowing us to increase our damage output up to 4 damage. On the left side we have Knock Back/Group Tackle letting us keep the 2 base damage, but adding the ability to expend up to 2 of our opponent’s champions. Yet again the middle of the tree, Knock Down, does a bit of both, increasing damage output to 3 and letting you expend a single champion.
Now, what does expending a champion do? It exhausts them, making it so you can damage your opponent (or non-guard champions!) even when they have guards out, and your opponent does not get to use that champion’s primary ability on their turn. This is pretty powerful, but you should also know that even expended those champions can trigger their ally ability or trigger ally abilities on other cards of that faction. It can be a double edged sword and I believe that it is almost always better to stun a champion than to exhaust it. The main exception being a time where you can get a killing blow to finish out the game. There are some tricks you can play in leaving a guard out with no ally ability so that you can get extra damage from the Double-Bladed Axe, or taking out a nasty non-guard champion (like Varrick) that is hiding behind guards with enough defense that you can’t manage to take them all out in a turn, though, so it isn’t useless.
The choices here are really similar to the ones we make in the Crushing Blow tree. One big difference though is that the expend action is only trading off 1 damage per expend, it’s a really good value even though it is situational. If you are interested in the expend skill, I would recommend choosing the middle route (Knock Down). If you have the expend option you can reach a non-guard champion hiding behind a big guard, or shut off a champion like Redeemed Ruinos, Veteran Follower, or Snake Pet without having to worry about ally abilities. When I have played a Fighter with Group Tackle I really missed the extra damage each turn. I would find myself 1-2 damage short of getting to trigger my Throwing Axe‘s draw ability often, and many times I want to stun my opponent’s champions anyway so that they can’t use them to ally. All that said, the expend can lead to some shenanigans where you pull off a win that would otherwise be out of reach. Really, if you are finding yourself against a champion wall that you can’t get through, then you are in a bad situation where either of these abilities probably won’t save you! The Fighter excels at pure damage, but really has trouble dealing with a lot of champions, especially if your opponent is letting them soak up all your damage and healing at the same time. Here I would recommend Shoulder Crush or Knock Down.
I did some data collection in Beta on game length (with multiple players who play multiple classes adding data) in a data set which was about 3000 games the average game length for a fighter was 15 turns (total by both players). If you use Group Tackle instead of Shoulder Crush, that would be about 16 damage in a game you miss out on over the course of the game compared to the right side of the tree. If you aren’t using the Skill every turn that would still be around an 8-10 damage difference. Picking Knock Down would cut this difference in half. This could be more or less depending on the game length and matchup, but it is a decent way to gauge the difference in our options.
Here the choice would be whether the difference in damage is worth the chance to expend champions. I know there are many games an opponent doesn’t have many champions, but in our worst matchup (Cleric) they most certainly will have some. I almost always pick Shoulder Crush and any time I have tried Group Tackle overall performance was much worse. Knock Down is a good via media (middle road) though if you are interested in using the expend.
Ruin of Thandar Items
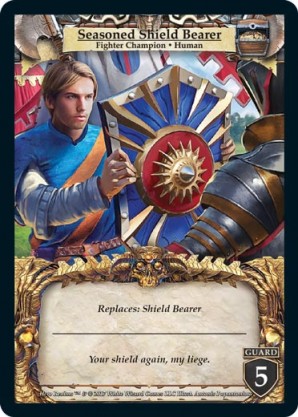
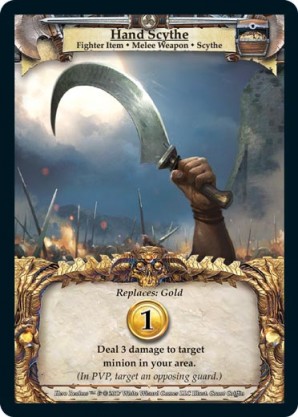
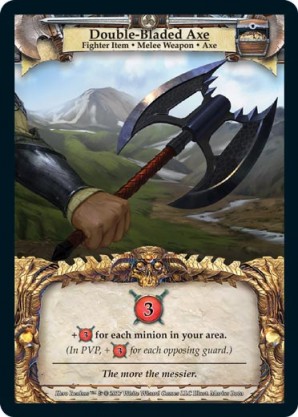
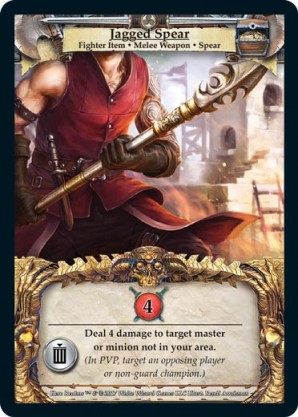
Your Item upgrades are no longer random at levels 5 and 7. You get to pick from two of the items at each level. The level 5 items replace something in your deck (Hand Scythe and Seasoned Shield Bearer). The level 7 items are added to your deck (Jagged Spear and Double-Bladed Axe). This has changed the combinations possible for us, and unfortunately has made the best combo unavailable.
The Seasoned Shield Bearer (SSB) takes the Guard 3 to a Guard 5. In deck 1 and often in deck 2, a guard 5 is tough to get rid of for most heroes. Even in the mid/late game soaking 5 damage (or a stun proc) is still doing some work. The SSB can also synergize really well with the Helm of Fury upgrade when you get that. This is a solid upgrade, though it’s value will differ based on the skill and ability upgrades you take.
The Hand Scythe does 3 damage to a guard. I find this the underwhelming option of the bunch, as I have found it is only better than the gold it replaces about 40% of the time you see it (and in some games that is actually 0%). The benefit of picking Hand Scythe over SSB is that the scythe adds another weapon to your deck, while the SSB does not. This can be a factor for later upgrade decisions (Sharpening Stone vs. Rallying Flag).
The Double-Bladed Axe is interesting, base 3 damage, but +3 PER guard your opponent has in play. This is wonderful against anything Guard 3 or less, as it negates their soak and can even add damage to your pool beyond that (in the case of Guard 1 or 2). It is still quite helpful for bigger guards as well. I would rate this as the second best item upgrade available here in most Fighter builds.
The Jagged Spear does 4 damage and will self-sacrifice for 4 more (to your opponent or non-guard). There are some nice “tricks” you can pull off with the Jagged Spear when using it’s sack ability. It can get you that last 4 damage to reach lethal regardless of your opponent’s guards, or to take out a non-guard with 4 health or less hiding behind some guards. Much like Crushing Blow, this could also be used to get your opponent below the hp threshold for their armor upgrade. It can give you a bit of breathing room in a close game. At 4 damage +4 more when trashed it’s a very solid addition to the Fighter deck. In my opinion, this is the best fighter upgrade available at this stage.
Lost Village Item Upgrades
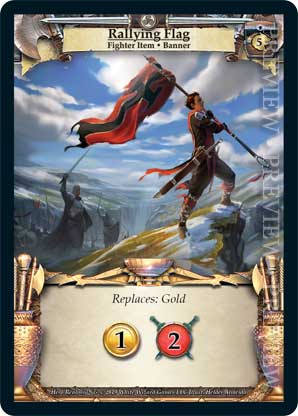
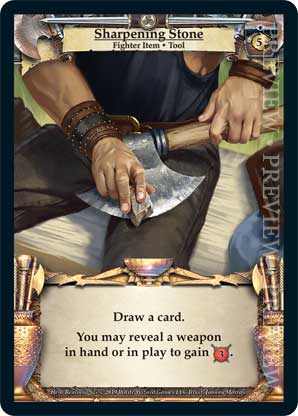
The last item two upgrade options (available at level 11) would be the Rallying Flag and Sharpening Stone. The Rallying Flag replaces a gold and gives 1 gold and 2 damage. It does help a little with damage, and 2 damage per deck over something like 5 or 6 shuffles is 10-12 damage. The Sharpening Stone is basically a cantrip that has a chance to proc for +3 damage, if your item upgrades were all weapons, that gives it four cards as a base that will trigger the bonus damage (worst case scenario that is 4 in 13, or nearly 1 in 3, of your base cards).The Sharpening Stone has the highest possible additional damage, but RNG can definitely make it less consistent. While the Rallying Flag helps with consistent damage, it’s value can decrease when your deck gets better. Because it replaces a gold, it doesn’t thicken your deck. The stone will always have a chance to proc, this chance just gets worse as your deck gets bigger, but because it draws it has no effective change to your deck size. The stone will always draw. There will be times you don’t want to cause a shuffle with it, and times you do. I have tried out both options here and I think either is viable, but one thing to consider here is how many weapons you have in your build. If you picked up the Seasoned Shieldbearer, then there is one less weapon for the Sharpening Stone to possibly trigger the damage from and the better call might be the Rallying Flag. Really, The Sharpening Stone has the highest potential, and the Rallying Flag is most consistent. No matter which you pick there will be times the other option would be better for a specific game. So go with whichever seems more appealing to your specific build and playstyle.
Lost Village Armor Upgrades
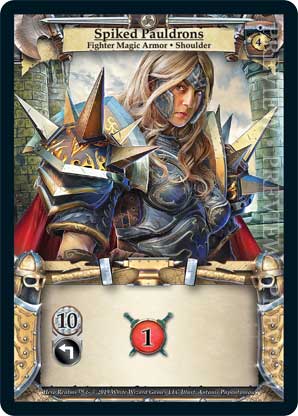
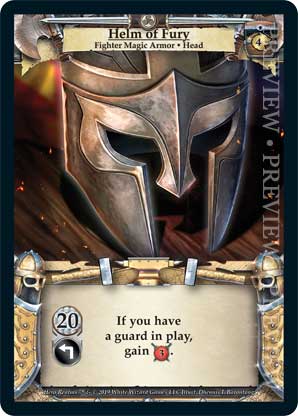
Like every other hero we have a choice between two armor upgrades at level 9. Helm of Fury is +3 damage when you have a guard out and are above 20 hp. The Spiked Pauldrons are +1 damage when above 10 hp. One is consistent, one is conditional. There are good synergies for both choices. An early Shield Bearer (especially an upgraded one) can make the helm pretty consistent early on and improve it’s value. The +1 damage from the pauldrons is active pretty much the entire game (let’s face it, if you are below 10 health you are probably dead, even with the best of luck, you can only hope for another turn or two). It isn’t as much damage per turn, but using the same data points as we discussed with Shoulder Bash, it would be 8 damage. That means you need at least 3 turns above 20 hp with a guard out in order for the Helm to be slightly better overall (3 turns would be about even, and 4 would give it a solid lead). Also, +1 damage is enough to help you get to the 7 damage often when playing your Throwing Axe, and this can be vital in some situations. I think the Spiked Pauldrons are the best pick here usually, but Helm of Fury can be better when luck is on your side.
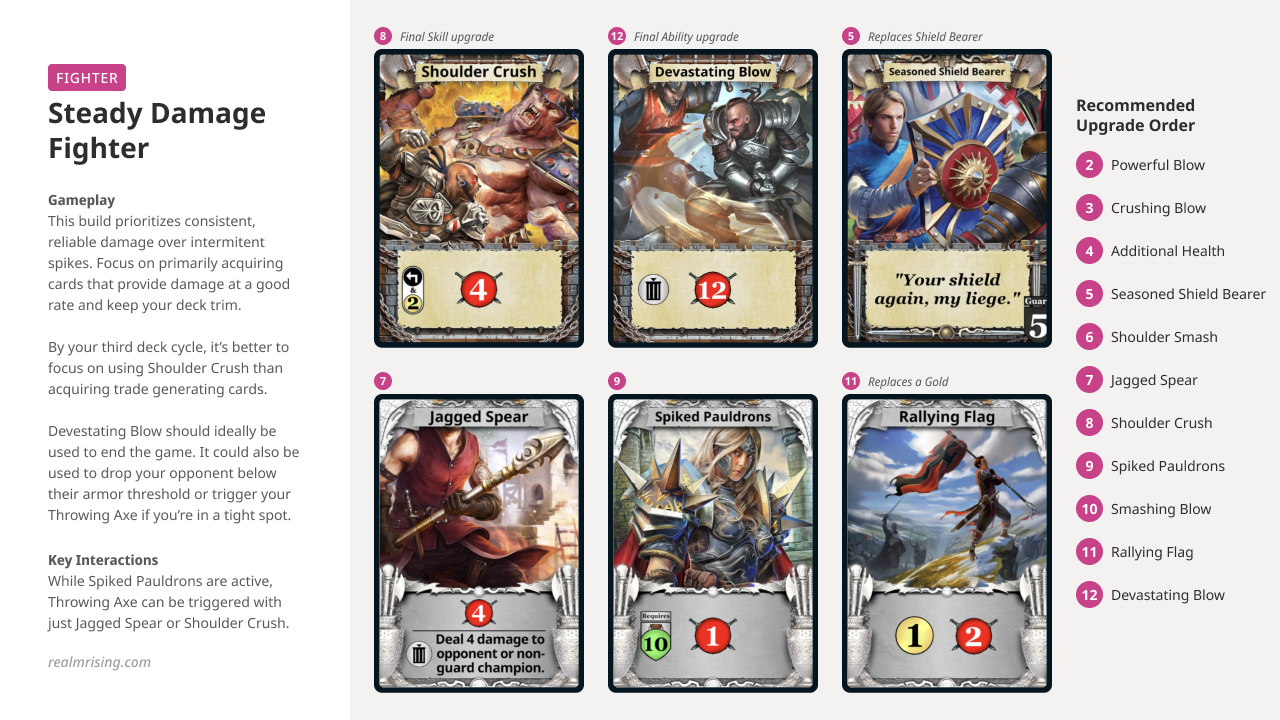
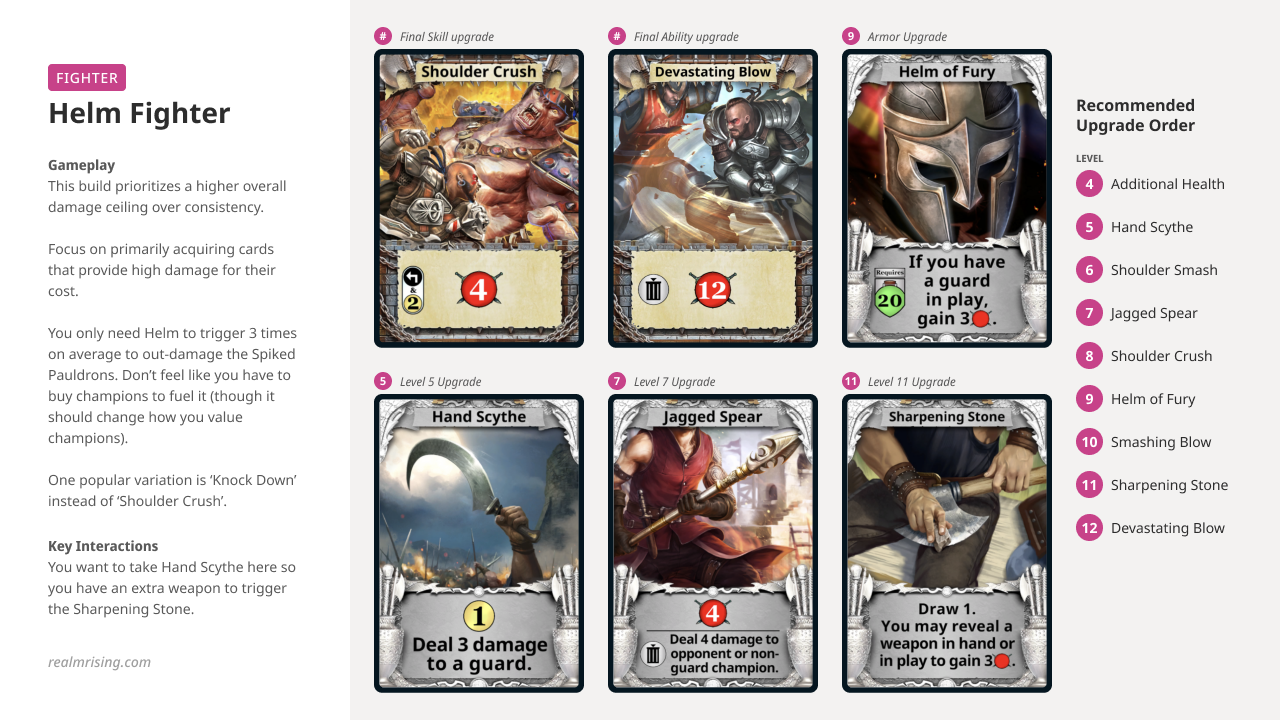
Here are a few sample builds to try out:

That’s it for part 1! In the next article I will cover how the basic deck archetypes interact, what an opponent may do to counter a Fighter’s aggressive playstyle, and the matchups with other hero classes.
Title: A Fighter’s Perspective, Part 1: The Basics
Category: Characters
Tags: #agentc13, #Analysis, #Base Set, #Basics, #Classes, #Fighter, #FightersWantAKittyToo, #Guide, #Hero Realms, #HR Digital, #WWG
Published on: November 25, 2021
Tim "agentc13" McKenzie is a Hero Realms Legend (2021 Origins Game Fair) and an avid player of board/card games. He works in the cable telecommunications industry, has been happily married for over 17 years, has two awesome daughters, and two quirky cats.
He streams Hero Realms weekly at https://www.twitch.tv/agentc13.
He is always welcoming of challenges in game (IGN: agentc13), and frequents the Realms Rising and WWG Discord.