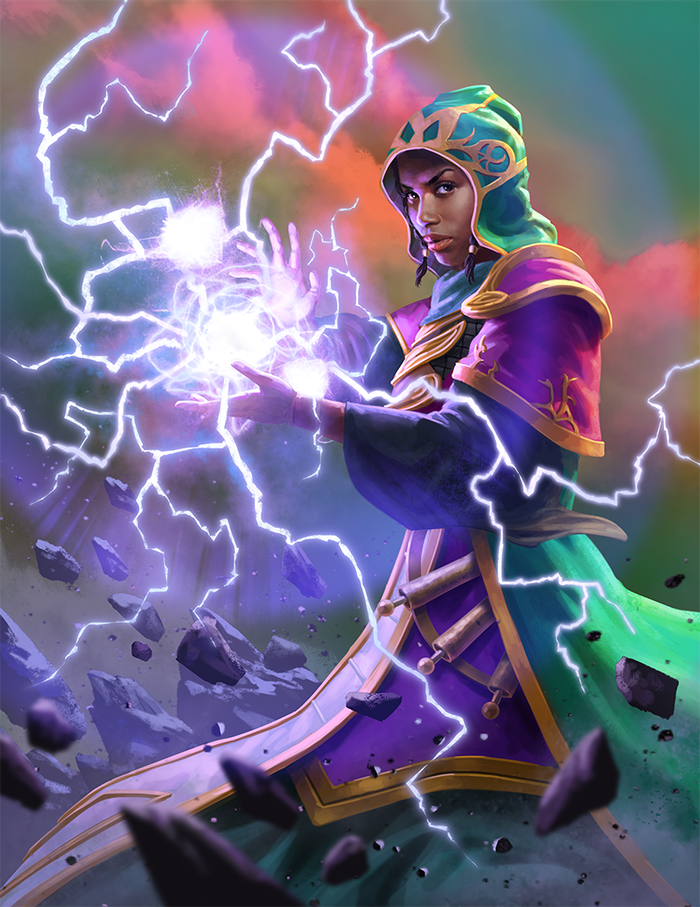
The wizard is the quintessential glass cannon in Hero Realms. Capable of massive damage output and extended draw chains, but also low on health and thus susceptible to a quick demise, the wizard can be an absolute joy to pilot as you cycle through your whole deck on a single turn, or a painfully frustrating experience if your pointy-hatted character doesn’t manage their health and succumbs to a quick aggro rush. Welcome to the wonderful world of wizardry!
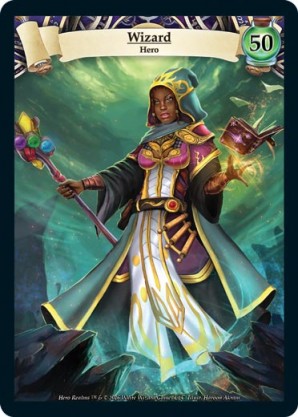
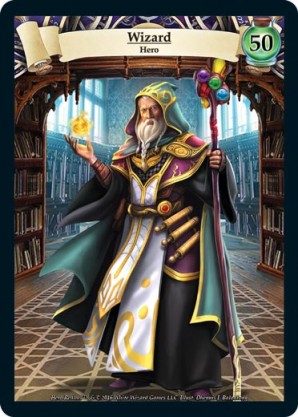
The wizard suffers from one of the weaker starting deck configurations of all the heroes in the game, the lowest health total of all characters at 50 HP, and faces an uphill battle in some key matchups. At the lower levels, the wizard is especially vulnerable because of the -1hp penalty incurred whenever using the channel ability, making it a dicey proposition for a single card draw. Leveling up your wizard from 1 to 12 can be an arduous task filled with many dangers, but for those players who stick with it, take their lumps, and select the right upgrade combinations, the wizard can be one of the most enjoyable and satisfying characters to pilot in the game. This article will outline some strategies and play concepts to help players unleash their own magical glass cannon upon the Realms.
The wizard has already been expertly summarized in S Freak’s wonderful class overview, so I will just give a very simple breakdown of abilities and deck configuration before jumping into the strats. Conversely, if you are looking for a guide on advanced wizard strategy (including Level 13 and beyond), check out the Advanced Wizardry Guide here.
Abilities
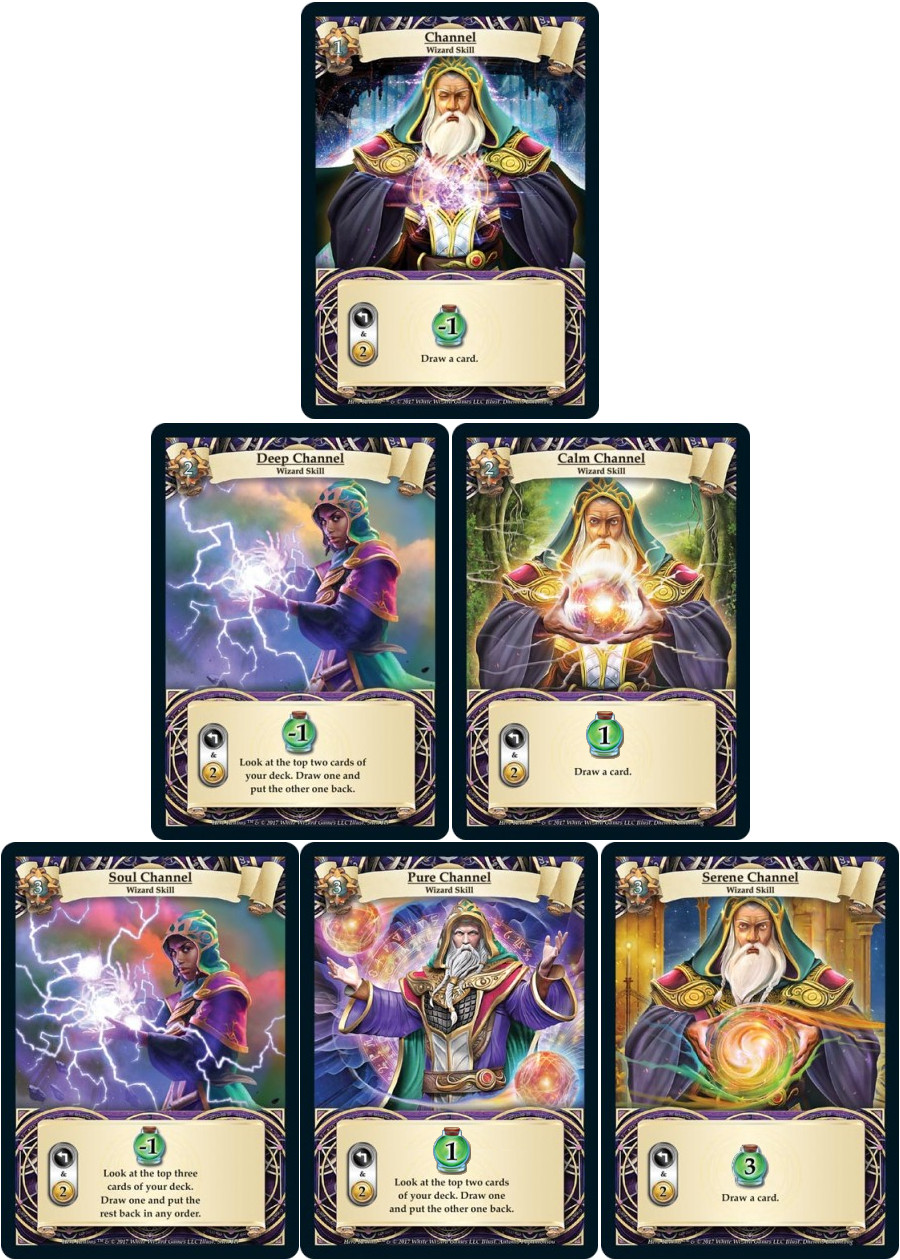
The wizard’s reusable ability and their bread and butter is Channel: spend 2 gold to draw a card. The base channel unfortunately also costs the wizard 1 health, making it the only base ability in the game that actually hurts the character when used. Fortunately, the wizard’s channel ability improves significantly after being fully upgraded. The Soul Channel allows you to scry 3(!) cards before your draw, but the wizard still loses one health. The Pure Channel scries 2 cards before drawing a card and healths a single hit point. The final build option is the Serene Channel, which foregoes scrying in exchange for healing the wizard 3 hit points when drawing a card. The Channel build you choose will affect the playstyle of your wizard, so choose wisely and plan your strategy accordingly!

The wizard’s one-time use ability is the Fireball, which hits all opponent champions and the opponent for 4 damage each at its base level (attained when reaching level 3). When properly timed, the fireball can turn the tide in a game and stop your opponent in their tracks. The fully-upgraded fireball options also vary quite a bit and can affect the strategy you employ while trying to vanquish your opponent: The Barreling Fireball deals 6 damage to your opponent and each of their champions, and also allows you to select and discard a single champion from their hand. The Explosive Fireball does 5 damage to each champion and your opponent, forces your opponent to discard all champions from hand that cost 5 or less, and also prevents your opponent from purchasing any champions from the market row on their next turn! When properly timed, these effects can be absolutely devastating, and turn the tides in a game.
These first two fireball upgrade options can be used for decimating large groups of champions, but also discarding a key champion or champions from your opponent’s hand, or in the case of the Explosive Fireball, slowing down your opponent by preventing them from purchasing anything but Fire Gems if the market row is fully populated by champions. When the market row lines up just right, this can be an effective strategy to buy the wizard some time while your opponent loses a valuable opportunity for building their deck via market row purchases. Sometimes, it can be a good idea to drop your Explosive Fireball when the market row has nothing but champions even when your opponent has no champions deployed, or when you know you can force your opponent to discard one or more of their best champions from hand.
The final fireball build option is the Searing Fireball, which has no special effects but does a hefty dose of 7 damage to your opponent and each of their champions. In my opinion, your best option is the Explosive Fireball, as the extra effects you can get from the ability far outweigh it’s weaker cousin the Barreling Fireball, or the extra 3 damage from Searing Fireball.
While there are special situations where you can strategically trigger your fireball to devastating effect, typically it is best to save your fireball for when you will get maximum damage out of it, which means waiting until your opponent has multiple champions out on the board, or a high defense champion that could be trouble for you if you choose not to stun it. Just be careful when facing clerics; it’s often best to save your fireball until after they use up their resurrection ability, otherwise the champions you fireball will just be revived next turn.
When leveling up your wizard, you will get multiple chances to upgrade your abilities at levels 4, 6, 8, 10, and 12. Generally, it’s best to focus on getting your channel fully-upgraded first, as you will be using it frequently every game. The fireball is less of a priority, as it is only a one-time use ability, and you also may find yourself wanting to wait on fireball upgrades to snag a health upgrade to improve the survivability of your wizard.
Deck Configuration
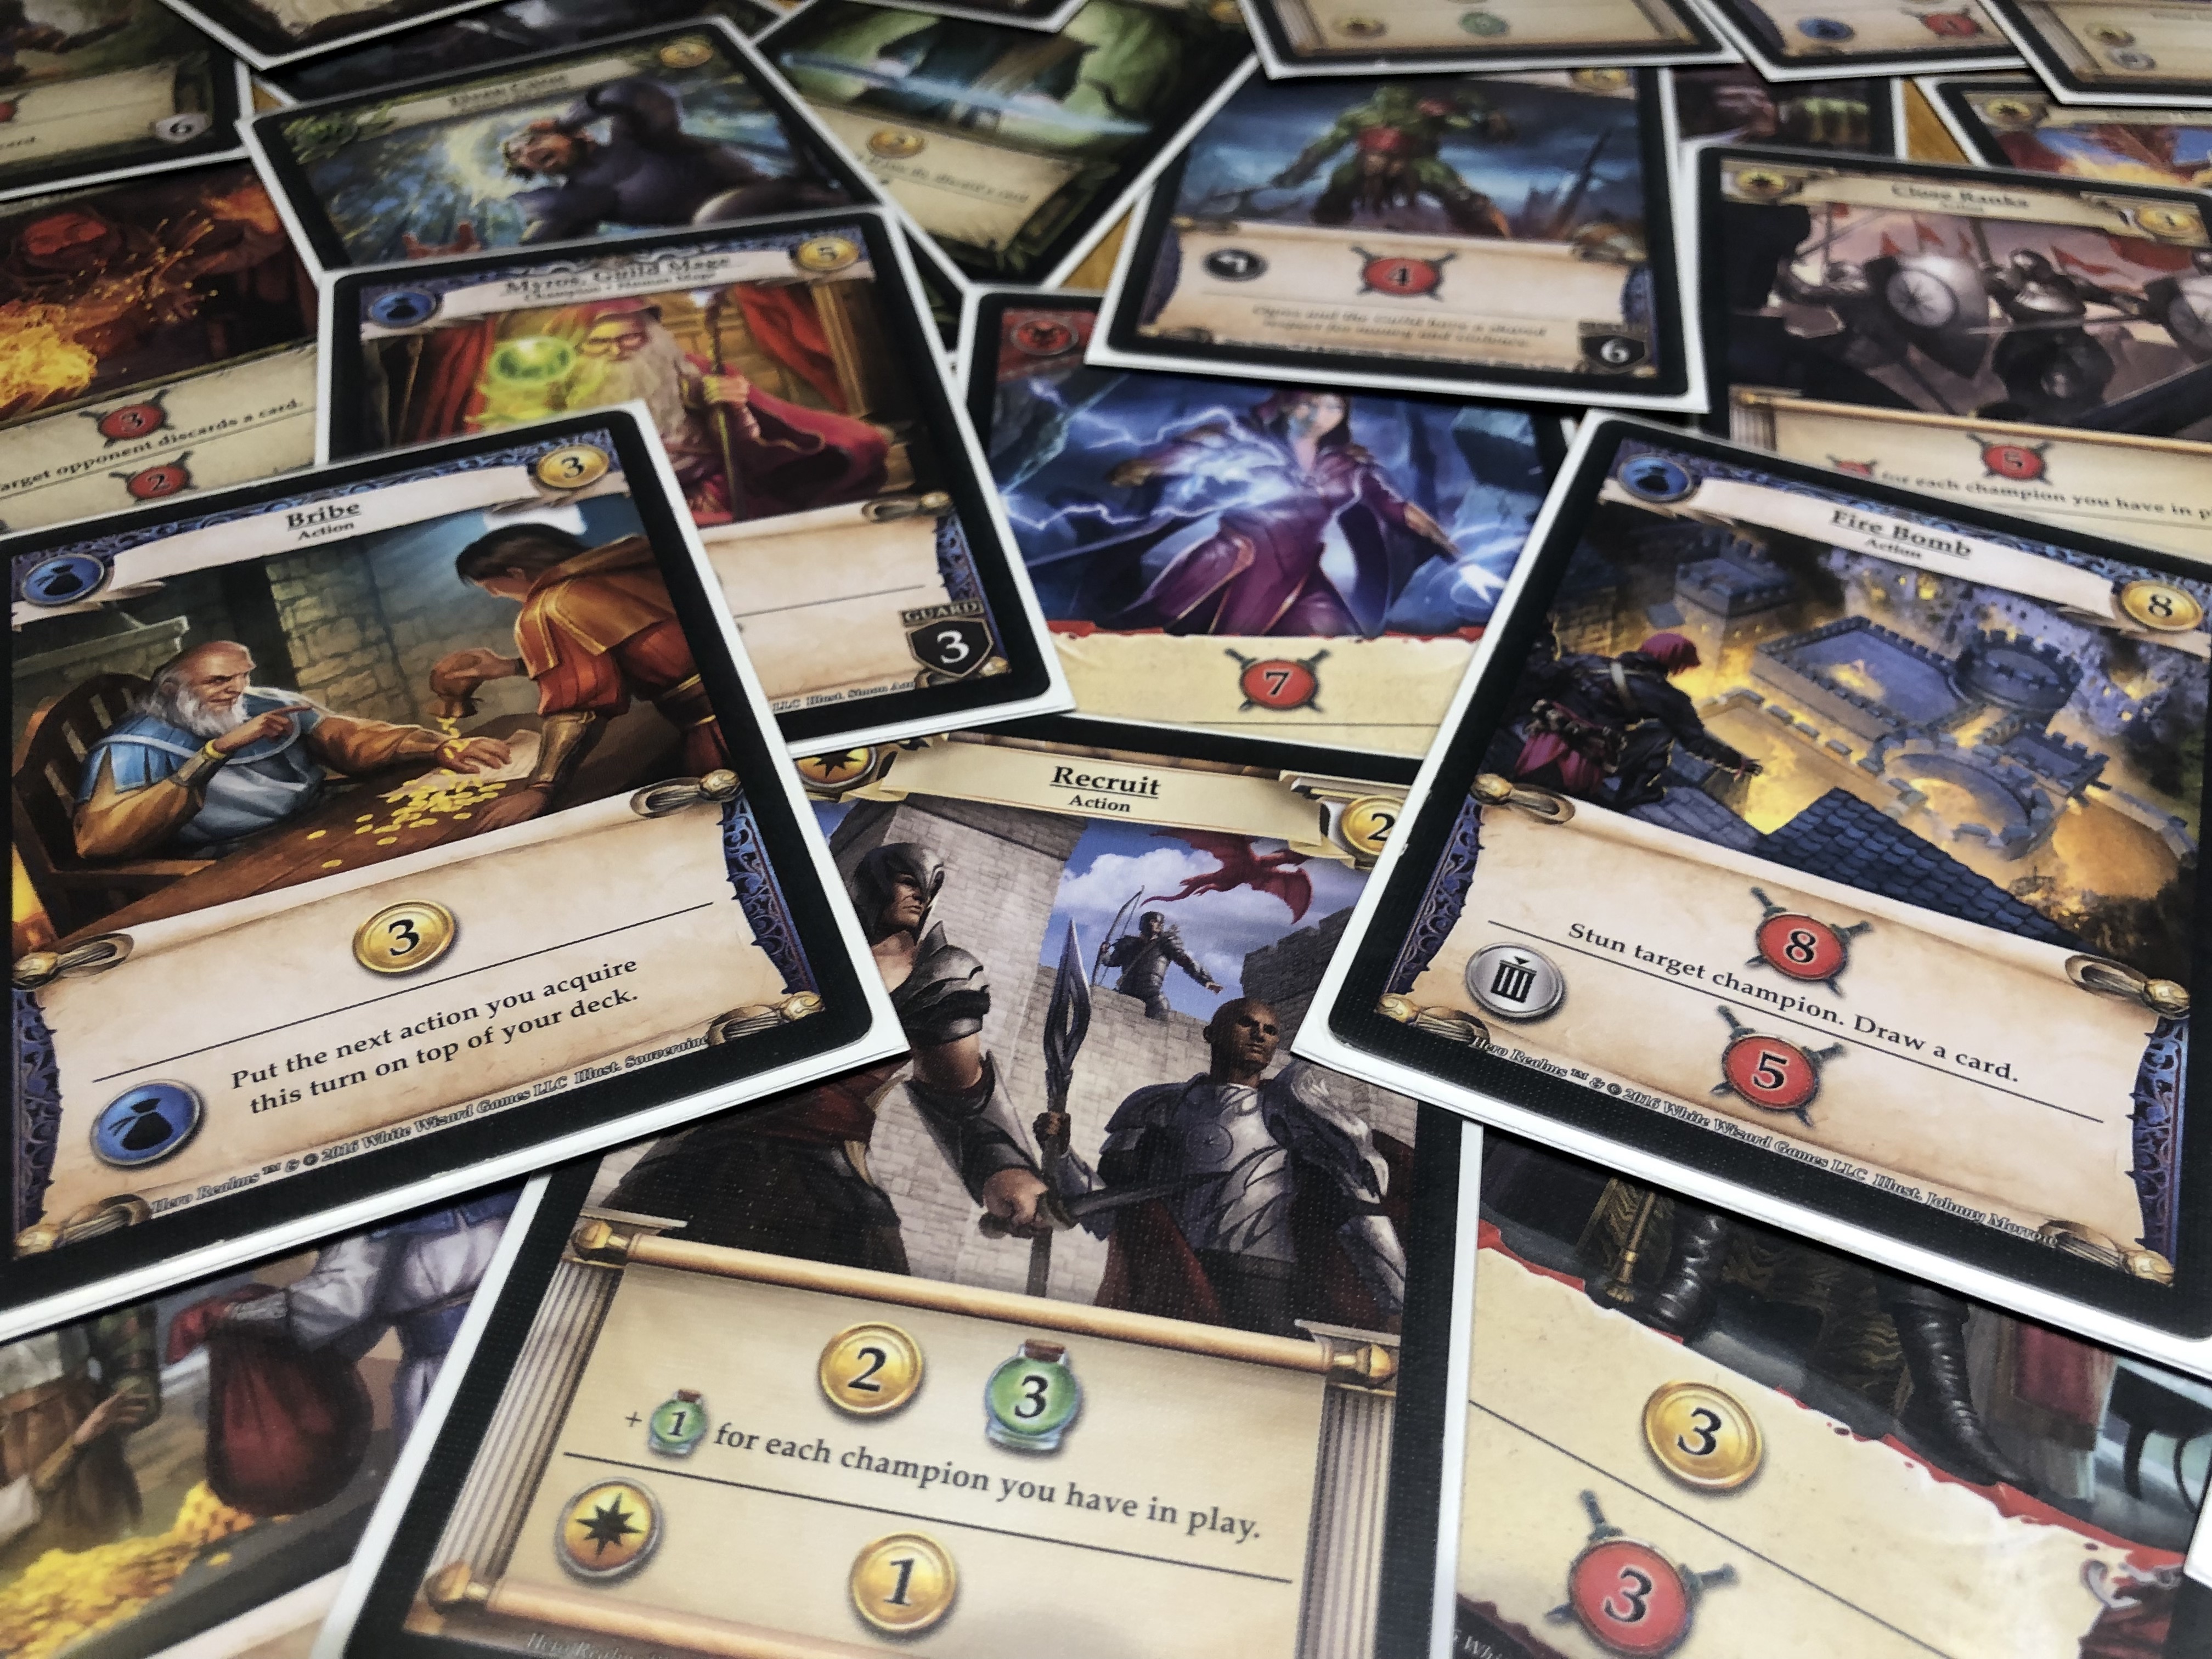
As mentioned above, the wizard’s starting configuration is among the worst in the game due to underwhelming economy and damage output, low health, and weak starting abilities. The wizard’s deck starts with the following:
The above cards are what you will use each game to turn your lowly wizard into a damage-dealing, deck-cycling nightmare (if you can survive long enough to do so).
As you level up your wizard, you will also get the chance of adding the following upgrade cards to your deck:
Optimizing Your Build
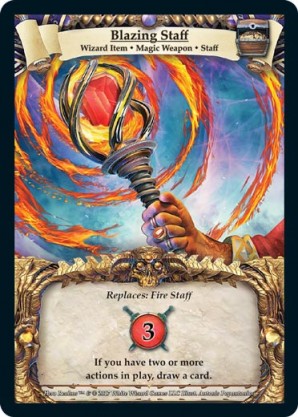
As previously mentioned, the wizard’s starting deck is light on damage and economy, so finding ways to increase these two key aspects is highly recommended. Damage output can be increased by upgrading to the Blazing Staff, which will give your starting staff some extra punch at 3 damage per use. This adds up over the course of a game and can be very helpful in the early game if you need to take out a pesky opponent champion (I’m looking at you, Shield Bearer).
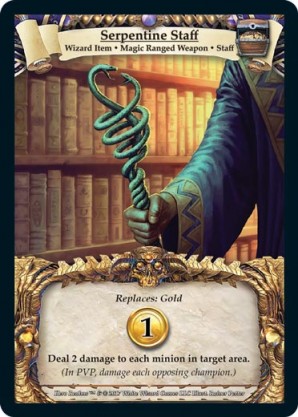
The Serpentine Staff is more situational as it only gives extra damage vs. champions, but it basically acts as a mini-fireball and can be a godsend versus an opponent who is swarming you with champions. The Serpentine Staff can also be a great choice to supplement damage output when facing champion swarms. The Serpentine Staff can even act as a deterrent and make your opponent think twice about choosing a champion-heavy deckbuilding strategy.
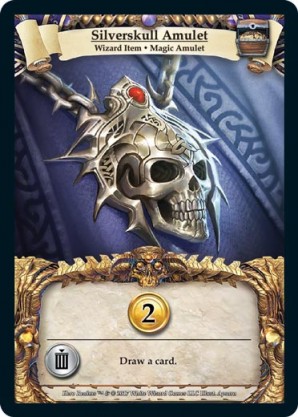
Economy output can be bolstered with the Silverskull Amulet, which is a powerful way to add economic strength to your build. The 2 gold the Amulet provides will help you get your deck engine up and running quicker, and the sacrifice-draw ability can help you dig for that extra gold for a big card purchase, keep a draw chain going, flip your deck at an opportune time, draw for that extra bit of damage you need to take out your opponent, stun a nasty champion, or hit a faction combo.
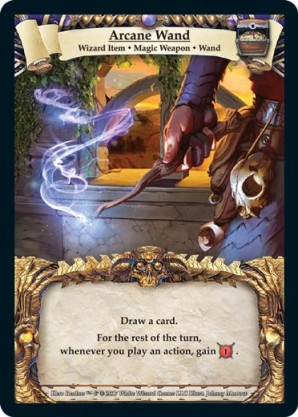
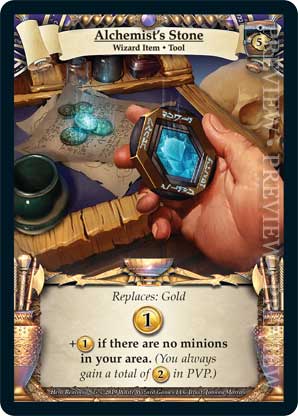
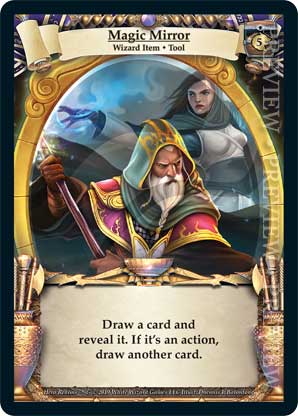
The Arcane Wand can help ramp up the wizard’s damage output later in the game when your deck is saturated with action cards, but it is relatively weak in the early game. If you can buy a lot of early actions however, the Arcane Wand can start doing massive amounts of damage to your opponent. Speaking of buying power, the Alchemist’s Stone is also another avenue to improve your economy, especially if you missed out on the Silverskull Amulet, as it replaces a gold in your deck and avoids clogging up your deck. You can choose this option to sacrifice some of the wizard’s scrying/drawing combination potential in favor of an amazingly strong starting economy (a wizard with a ruby, Silverskull Amulet, and the Alchemist’s stone becomes the richest starting deck in the game). On the other hand, wizard builds, especially those with Pure or Soul Channel, will benefit from the Magic Mirror, which combos magnificently with the wizard’s scrying channel abilities and helps you set up nice draw combos.
All of these choices offer unique pathways for interesting and powerful wizard builds! Test them out in various combinations to see which suits your play style the best.
Wizard Armor
The wizard can choose between the following 2 armor upgrades at Level 9: the Runic Robes or Spellcaster Gloves. These cards are not added to your deck, but rather augment the wizard with new abilities that function until the wizard’s health is reduced to a certain amount.
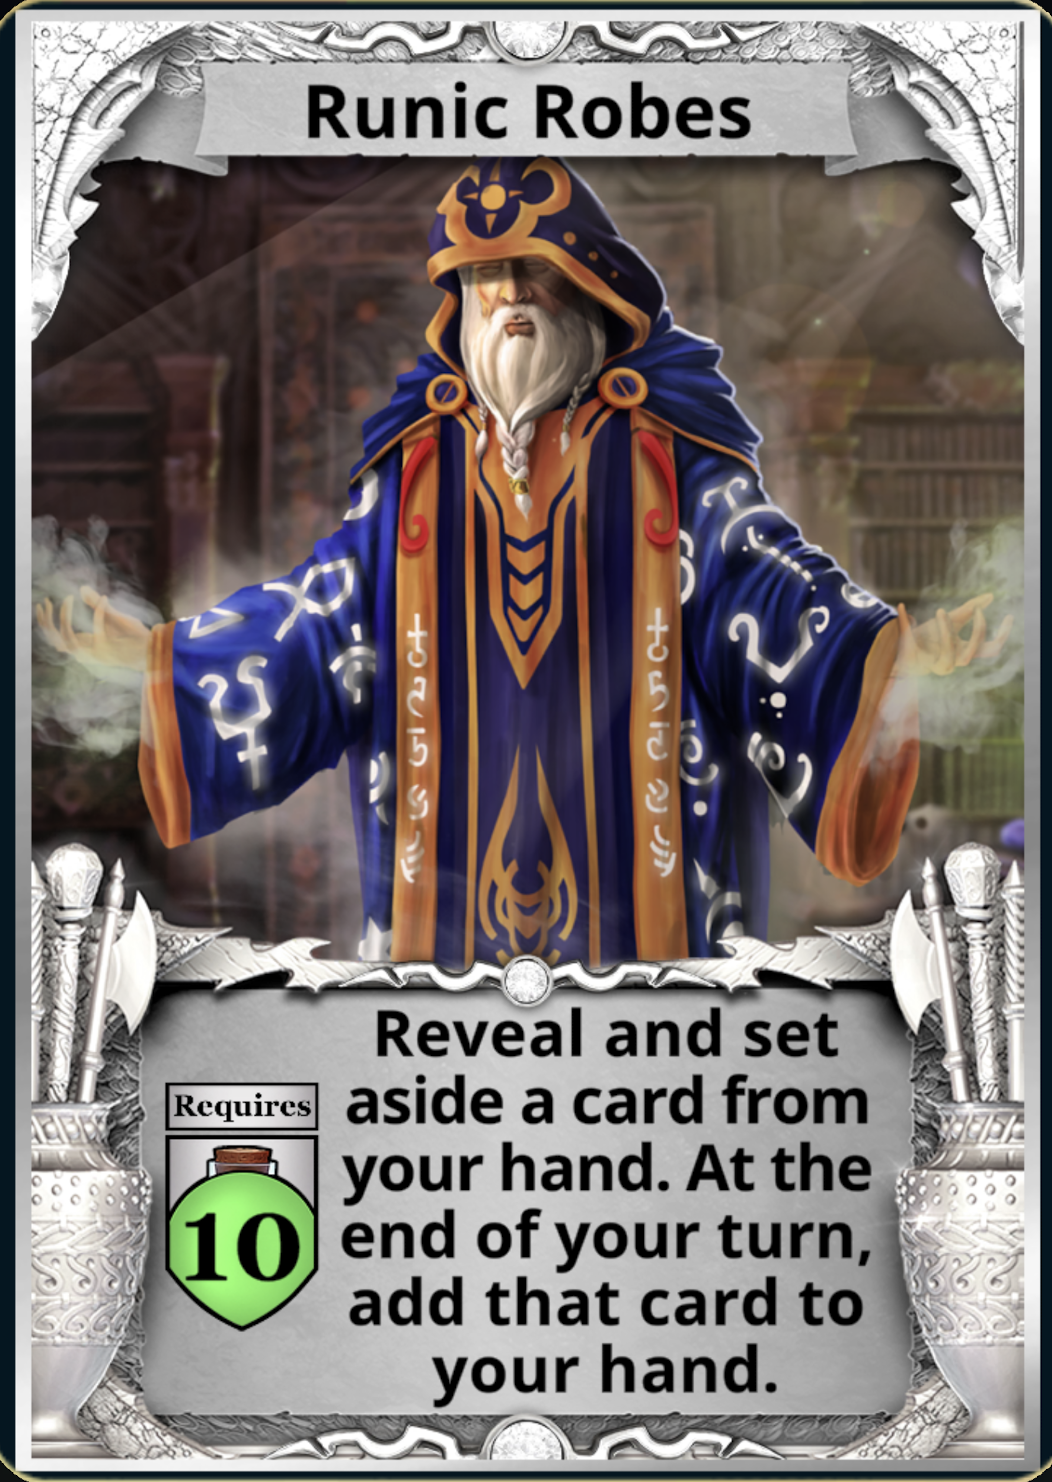
The Runic Robes are a great choice for the wizard’s Level 9 armor upgrade. The robes are extremely versatile and will help the wizard to save gold for the following turn to get a big purchase, hold a card that you can use to faction combo on your next hand, keep a card in your hand to avoid being reshuffled and clogging your deck at the end of your turn, or even protect an important card from the thief’s heist ability by keeping it out of your discard until you can safely reshuffle it. The Runic Robes are also great if you have a card that you just don’t need to use on your current turn, and is one way to offset discard effects caused by your opponent. The Robes help to optimize individual wizard hands by reducing wasted economy and saving up damage if you see a nasty opponent champion about to deploy on the next turn.
Don’t underestimate the utility of using your robes to hold even just a single gold or ignite out of your reshuffle. Or taking a suboptimal turn now to bank your amulet, stone, or spell components for a big buy the following turn. Or if you don’t have anything good to spend 2 gold on, channeling, then banking the extra card you draw into your robes for next turn. It may seem counterintuitive compared to buying a fire gem or something else, but just cycling through your deck, robing your extra card, and healing a bit adds up over the course of a game! (It’s a fine line though, this can be a trap where the wizard ends up just treading water/cycling without doing any substantial deckbuilding).
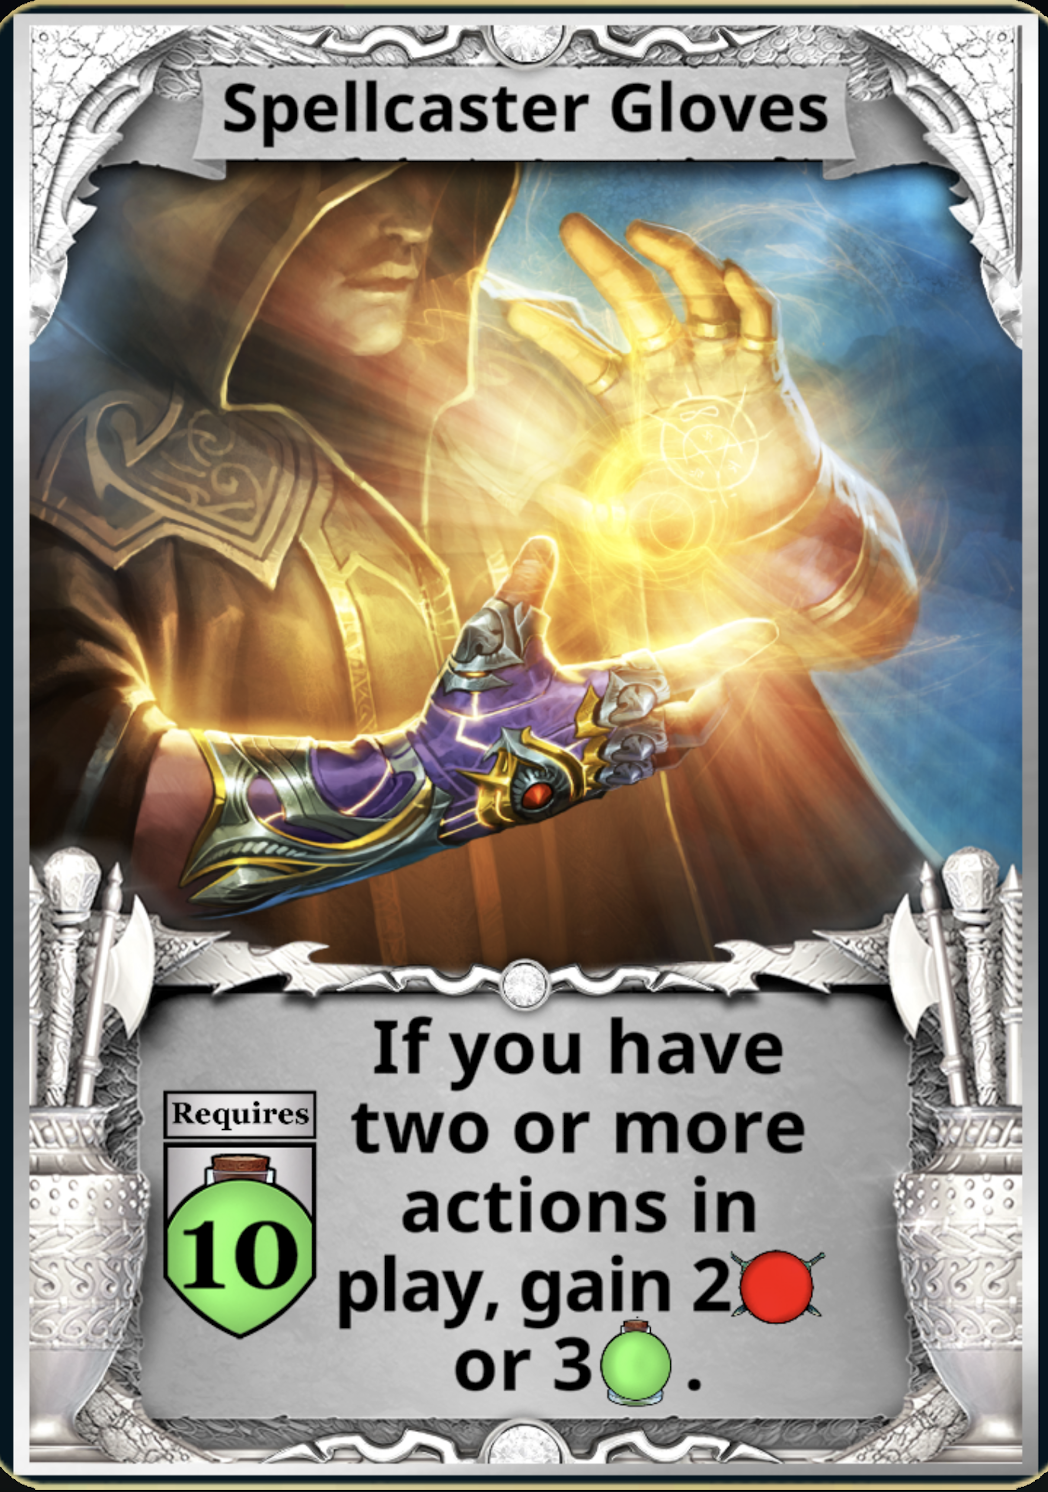
The Spellcasting Gloves can be an effective choice for health-gaining wizard builds, and couple well with both Serene Channel for max power gain, or Soul Channel to help offset the health loss. The Gloves can also work well with the Alchemist Stone for when the Wizard can stack their deck with lots of actions early game to take advantage of the two actions needed to trigger the Gloves’ effects. Add in the Arcane Wand and now you are dealing prolific amounts of damage just by playing actions, which the wizard loves to do anyway!
Final thoughts on robes / gloves: Robes are useful at all stages of the game. In the opening, for juggling economy and shaping reshuffles which can help the wizard get off to a fast start. In mid-late game for lining up faction combos (especially draw and damage, or healing when needed), and of course for thinning reshuffles and banking cards for subsequent turns.
The gloves are less consistent in the early stages of the game until you can populate your deck with actions, and if you end up going champion heavy, they can get even less consistent. But when you can go action heavy, sit back and watch the fireworks. The interesting decision then becomes to press aggro (even when you are behind on health) or heal if you think you will need to buy more time. A really fun build is soul channel, gloves, arcane wand, and mirror. Your economy will be limited, but if you can luck into cheap actions, the wizard can go supernova. This build has a high power ceiling, but is even more market dependent than normal.
The choices you make when building your wizard will determine your playstyle.
Drawing, Scrying, and Controlling Your Reshuffles
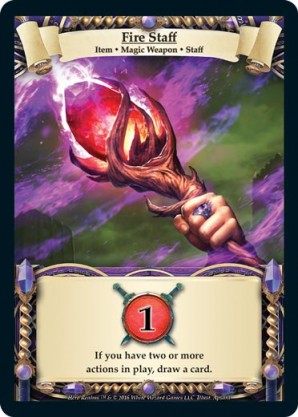
Controlling the timing of your deck cycling is an important aspect of advanced Hero Realms strategy, and as the wizard likes to focus on heavy draw/scry effects and fast deck cycling, paying attention to when and how you flip your deck is very important. Stashing cards in Runic Robes, choosing whether or not to activate the draw from your Fire Staff depending on if you play it before or after actions, sacrificing your Silverskull Amulet for draw, etc. can give the wizard tight control of when you cycle your deck.
Keep a close eye on what’s in your hand/in play and what is in your discard pile. Just because you can flip your deck doesn’t necessarily mean you should! If you cause a reshuffle, but all or some of your most powerful cards won’t be shuffled in, it can be a death sentence for the wizard. Conversely, if you can freeze out a bunch of starter cards or low priority economy cards that won’t go in to the reshuffle, it can be a huge boon for the wizard and help you clinch games, deal massive amounts of damage, or line up some big combo healing or other faction effects on future turns. Other times, your deck is so thinned out due to sacrificing, that you don’t mind freezing out your strong cards on reshuffle because they will come up again soon anyway.
The wizard starts with low health, average or below-average economy and damage output, and straddles a razor thin line on the way to building a winning deck. This is especially true in tough matchups like versus the fighter who likes to go for quick aggro kills. Mastering how and when to cycle your deck can be the difference between winning and losing, and it’s something you should pay close attention to as you start stacking your draw effects.
Controlling your reshuffles is an important part of mastering Hero Realms, especially for the wizard!
Further Strategies
Generally speaking, the wizard wants to build a lean, mean, drawing machine, but will also need to worry about generating economy, and also not dying. This means that action cards that grant draw, economy, and health are a priority for the wizard. And of course, damage too! Ideally you will want to construct an action-heavy deck to take advantage of the fire staff for extra draw, and stack up on additional draw effects to help cycle through your deck as quickly as possible. Depending on your matchup, you will need to also think about damage output and/or health gain to help you cope with your opponent’s strengths.
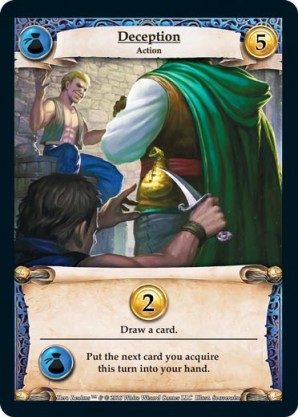
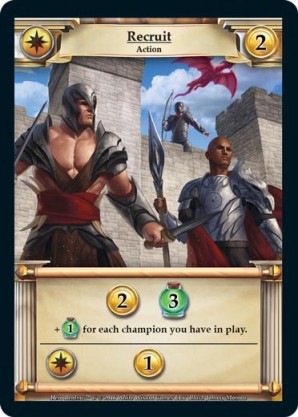
If the wizard can purchase an early Command, which combines draw, healing, and damage, or it’s big brother Domination, you will find yourself in a very strong position. The wizard also loves to combo Imperial effects with Close Ranks, Recruit, Taxation, or Word of Power, and these cards are often a priority when you see them appear in the market row. Deception is another great card to grab early if you can, which, if you can pair it up with other Guild cards as the game progresses, can win games for you.
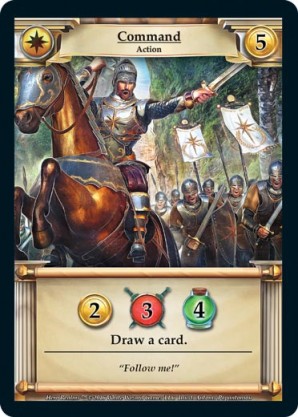
A few of the wizard’s favorite cards to see early game.
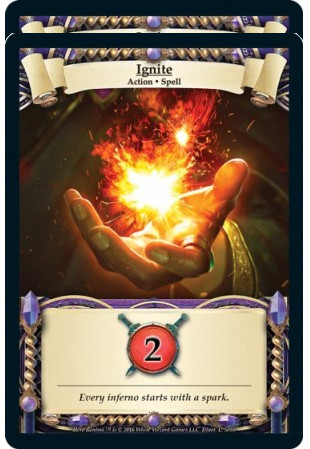
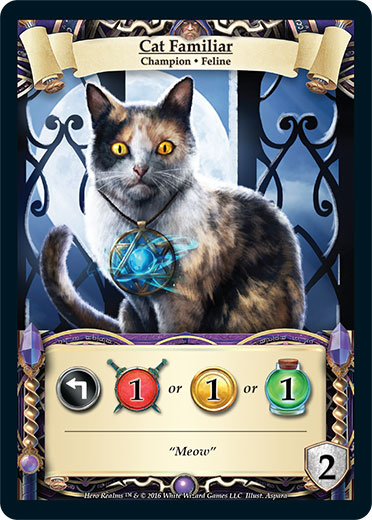
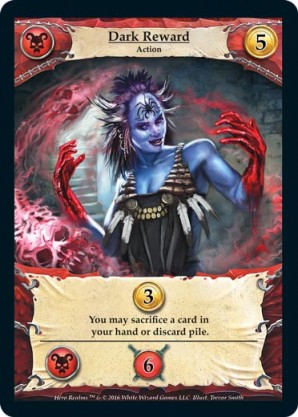
Sprinkling in some sacrifice cards will help keep your deck a thin, well-oiled engine that can cycle quickly. If you are lucky enough to land Life Drain or Dark Energy, you can start synergizing sacrifice with draw and heavy damage. Dark Reward is a great card that combines sacrifice and economy. Don’t be afraid to sacrifice your Ignite cards or your Cat Familiar if there are no other targets available (your cat will forgive you if you get the win and be back at your side next game).
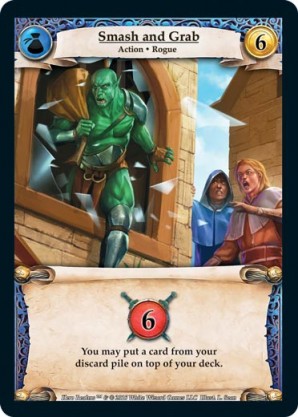
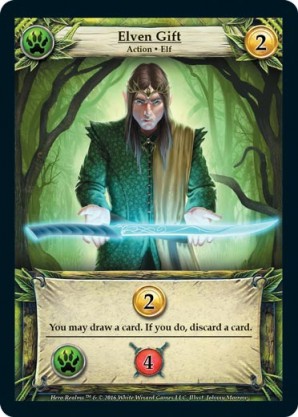
Wild action cards are also great for wizard decks. Elven Gift is the best 2-cost card in the game in my opinion, and especially shines in a wizard deck. Spark and Elven Curse are excellent early game purchases, as high damage and discard effects are always useful. Wild cards are often regarded as providing some of the best cost performance in the game, and of course they are often welcome additions to the wizard’s purchase strategy. Guild actions that can boost gold production, draw, and top-decking are effective choices as well (Smash and Grab is one of my personal favorite cards).
Matchup Considerations
Here are a few quick tips to think about in different matchups:
Vs. Fighters – Facing a well-piloted, optimized fighter is a tough matchup for the wizard. If you are unlucky and the fighter gets nice draws and shuffles and you neglect healing, you could end up dead before your engine even gets up and running. You may not be able to out-rush a fighter in the early or mid-game, so focus on healing early (use either your channel healing and/or buy Imperial actions like Recruit, Taxation, Command, etc) or getting a guard if no Imperial is available in the market. Otherwise, cycle your deck as much as possible, maximizing your health gain, draw, and damage and hope for the best! Check out agentc13’s great advanced strategy article on fighters here to learn more about their play style and how to possibly counter it.
Vs. Rangers – Rangers also like to scry and draw, and love to focus on purchasing draw cards, so try to prevent them from getting anything that can help them outpace your deck cycling. Otherwise, focus on damage heavy cards and try to kill them before they can build a better deck-cycling engine than you. Wild discards are also effective versus rangers to help neutralize their draw/scry strengths. Rangers can race off to quick aggro victories and are another tough matchup for the wizard, so do your best to withstand their early rush with healing while also building up an efficient, draw-heavy deck.
Vs. Clerics – Clerics can be tough in any matchup when they are piloted well. It is extremely important that you do your best to deny clerics any sacrifice cards, especially in the opening and mid-game. Make sure you can stack up on early damage to prevent them from building champion walls. Guild cards that draw and stun champions should be a priority, and if you chose the Serpentine Scepter, chances are your cleric opponent will be sweating a bit. If the game looks like it will go long, be sure to stash some health gain and try to prevent the Cleric from drafting any sacrifice cards. Always try to save your fireball until after the Cleric uses Resurrect! Wild discard options can be great for stalling Cleric champion deployment and/or bless buffing. Clerics have low damage output in the early game, so if you can get your own high defense champion out early, it can be big trouble for the cleric. If you go this route, give priority to champions who can help your draw engine.
Vs. Thieves – Thieves are another tough matchup for the wizard, as their economy and abilities can allow them to jump out to a quick start and outpace you. If at all possible, try not to let a thief purchase any Wild discards, and be careful not to allow them to steal your prized purchases by carefully cycling and using the Runic Robes when necessary. Facing discarding-heavy thieves can be frustrating, but do your best to slowly build up your deck with draw, stash unneeded cards with your Robes to help offset discard effects, and cycle through your deck as quickly as possible.
Vs. Wizards – Wizard mirror matches are my absolute favorite. The result boils down to who can build the best engine and out-cycle and out-damage their opponent, so purchase your cards wisely and enjoy the ride! Building your economy is important to help you buy the big damage bombs, but maintaining a balance to not clog up your deck is also essential. Oftentimes, weaker damage cards that provide draw and/or healing can put a game out of reach for your opponent who is saving up to buy a big bomb.
Generally speaking, in your matchups you should carefully study the abilities and starting decks of your opponents at the outset of your game. This will help you determine the best way to deal with the threats your opponent has, and exploit any potential weaknesses. A wizard with low health is susceptible to rush. A fighter without an expend ability may have trouble dealing with multiple guards. A thief with the heist ability that steals from the opponent will rely and grabbing a good card from your discard pile, so don’t offer them that opportunity.
During the mid-game in wizard matches, you are often faced with a decision to buy a card from the market row or to use your Channel ability. In early game, of course you need to build your economy, damage output, healing, and draw mechanisms to succeed, but in the mid-game, often times it is better to spend your 2 gold on Channel and cycle through your deck rather than buying a card that will only offer a small or medium amount of gain to your deck. Knowing when to switch from deck-building mode to deck-cycling mode is key for good wizard play. The wizard’s strength is cycling quickly and setting up combos, so be sure to exploit that advantage!
Be a Wise Wizard
Hero Realms relies heavily on skill, but there is a lot of luck involved as well. Any character can beat any other character in any match, but the wizard’s margin for error can be especially narrow. When you run into bad RNG, piloting the wizard can feel like you’re playing the game on Hard Mode. To become a strong wizard pilot, there are many aspects to consider: how to upgrade your character, which market row purchases to make, and how to avoid pitfalls that can lead to an early funeral pyre.

Even if you play optimally and avoid mistakes, sometimes the wizard is just going to lose due to bad market row RNG, a strong aggro rush by your opponent, or bad luck in general. Don’t get too frustrated, and keep with it! Be prepared to lose a lot with the wizard (especially at the early levels), but take solace in the fact that you will also experience supreme satisfaction with some glorious victories. Learning to play well with the wizard will teach you a lot about counterplay, and also improve your overall Hero Realms skills.
When things click for the wizard, they can deal out copious amounts of damage and put together amazing chains that can perhaps only be matched by the ranger. Nothing is more satisfying in Hero Realms than piloting the wizard to their full potential, then sitting back and enjoying the fireworks. The wizard is indeed a glass cannon, but a cannon like no other.
The ideas and strategies outlined in this article largely revolve around my own experience and playstyle, and are by no means the only way to play the wizard. Take some time to learn what works best for you, and enjoy piloting what in my opinion is the most exciting character in the Hero Realms Base Set!
For magic users ready to learn more about Advanced Wizardry, check out this guide next!
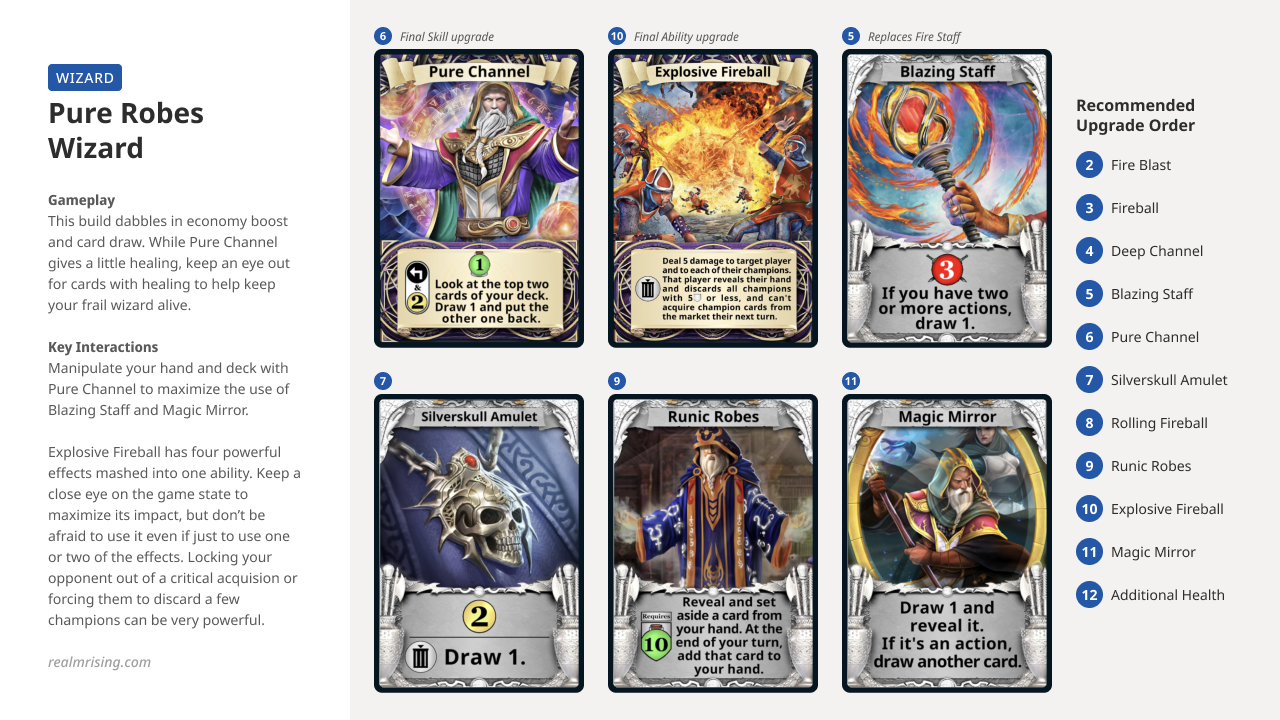
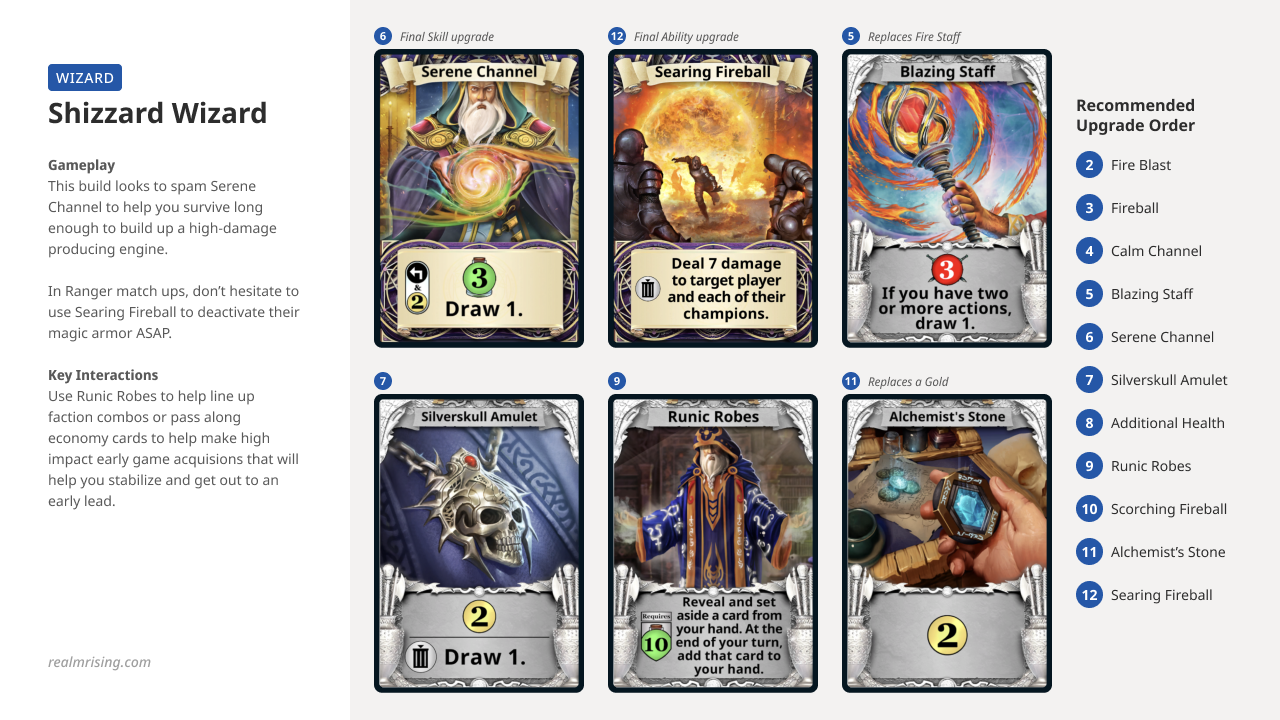
Suggested Builds
Title: Fireworks and Funeral Pyres: Wizard Strategy
Category: Characters
Tags: #Analysis, #Cat, #Hero Realms, #Jigmelingpa, #Strategy, #Wizard
Published on: November 18, 2021
When not bottom-decking Fire Bomb and Domination as an avid Hero Realms player, Jigmelingpa is a weapon of mass instruction otherwise known as Matthew Rooks. A university educator based in Japan, he spends his time enjoying linguistics, games, nature, basketball, movies, music, and eats. He also sometimes plays Hero Realms a little.