Welcome to Advanced Arrow Dynamics, an article about playing a Ranger in the deck-building card game Hero Realms by Wise Wizard Games. This article is co-authored by Tim “agentc13” McKenzie. In this series I will start off discussing the basic Ranger deck, move on to a deeper analysis of upgrades and abilities, then discuss some tips and suggestions on how you can play a Ranger effectively.
The base Ranger deck (level 3 in app) is made up of :
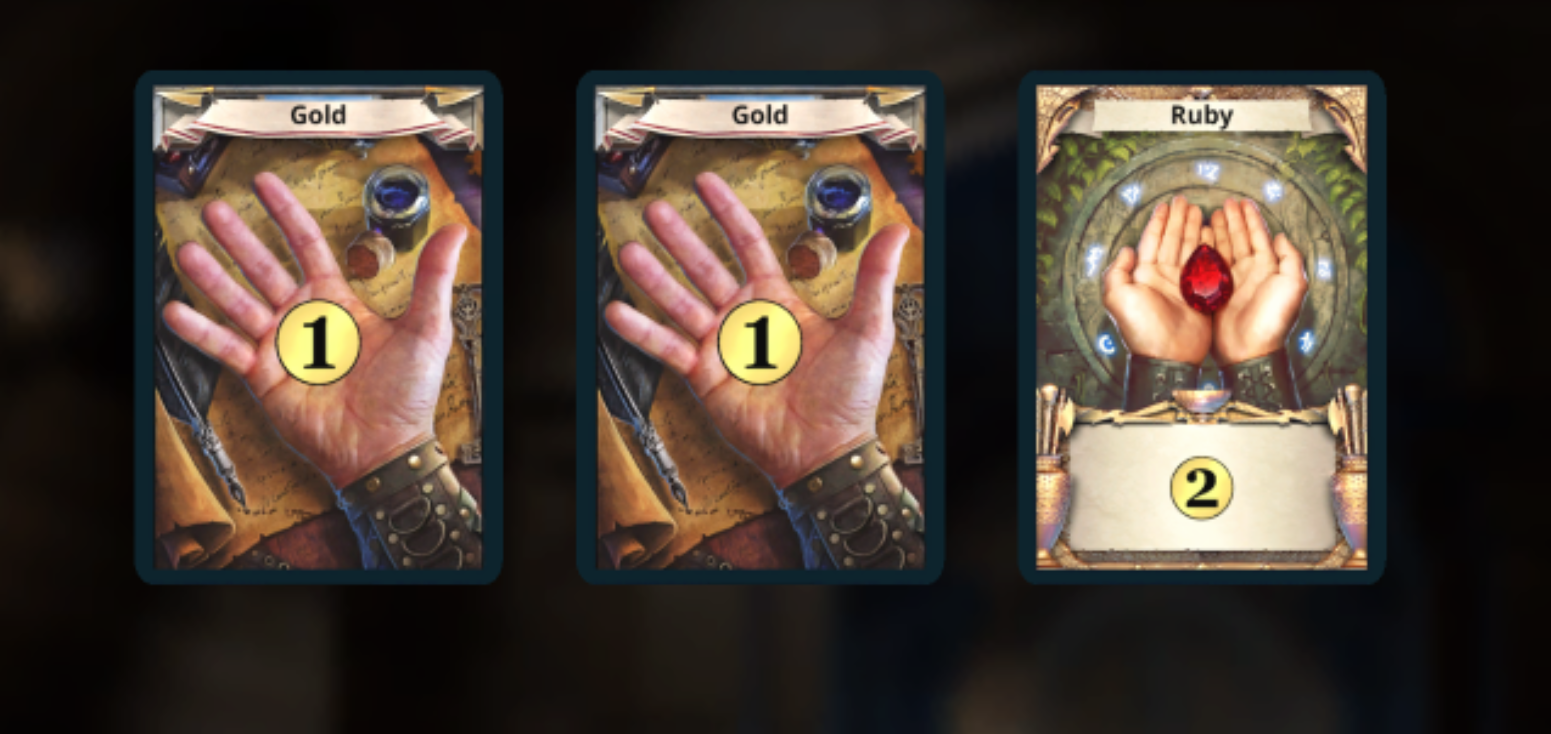
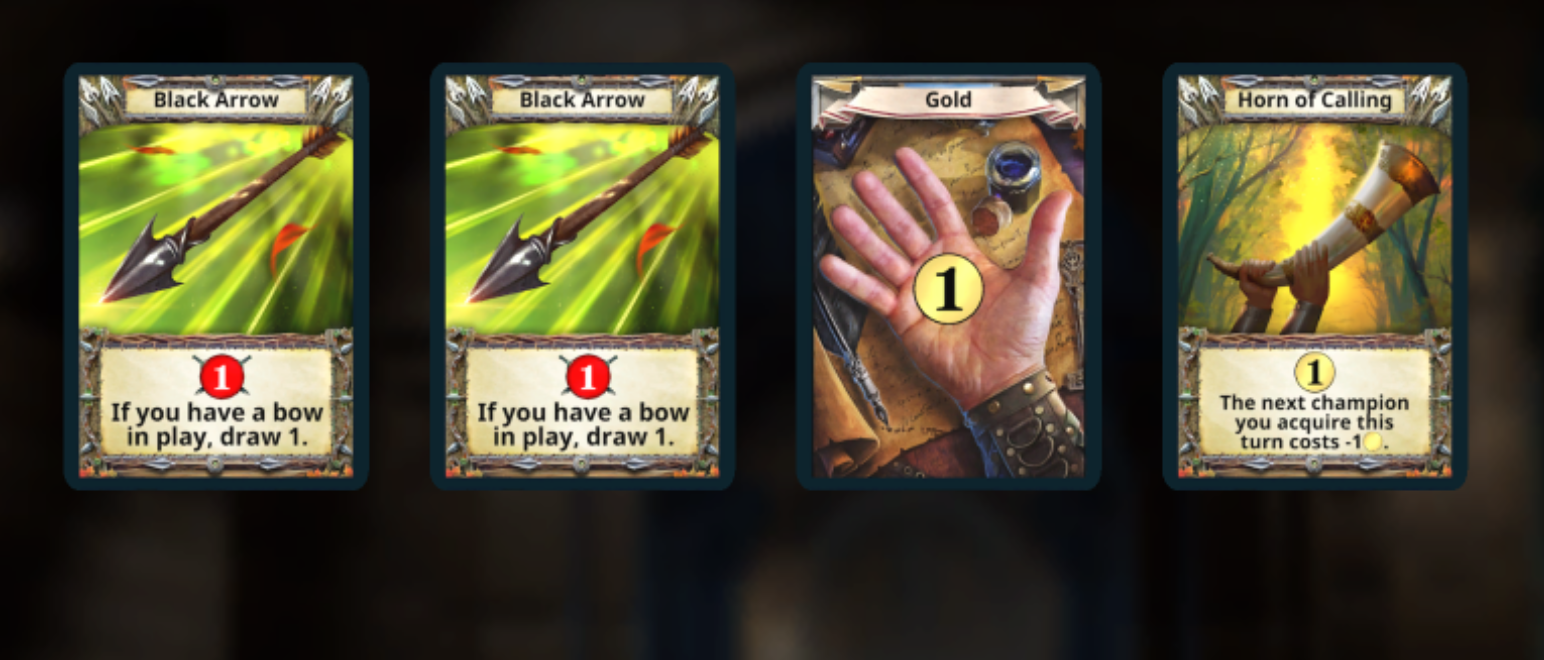
- 5x 1 Gold
- 1x Ruby (2 gold)
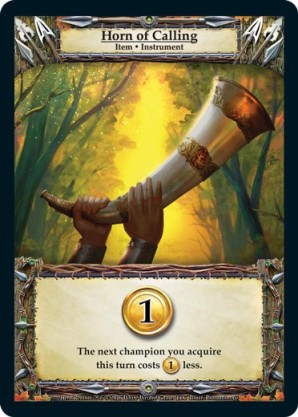
- 1x Horn of Calling (1 gold + 1 gold discount on champions)
- 2x Black Arrow (1 dmg + draw possibility)
- 1x Hunting Bow (2 Damage)
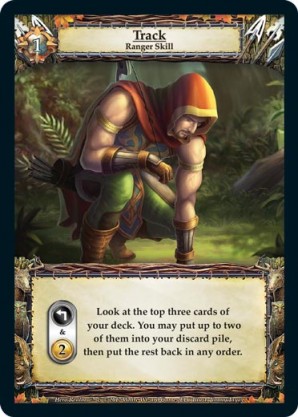
- 1x Track (2 gold to Scry 3/Discard up to 2)
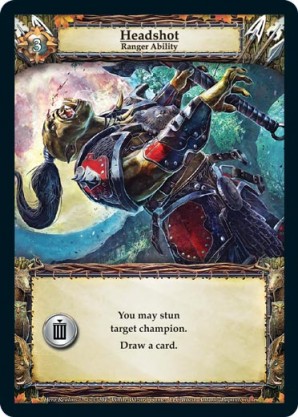
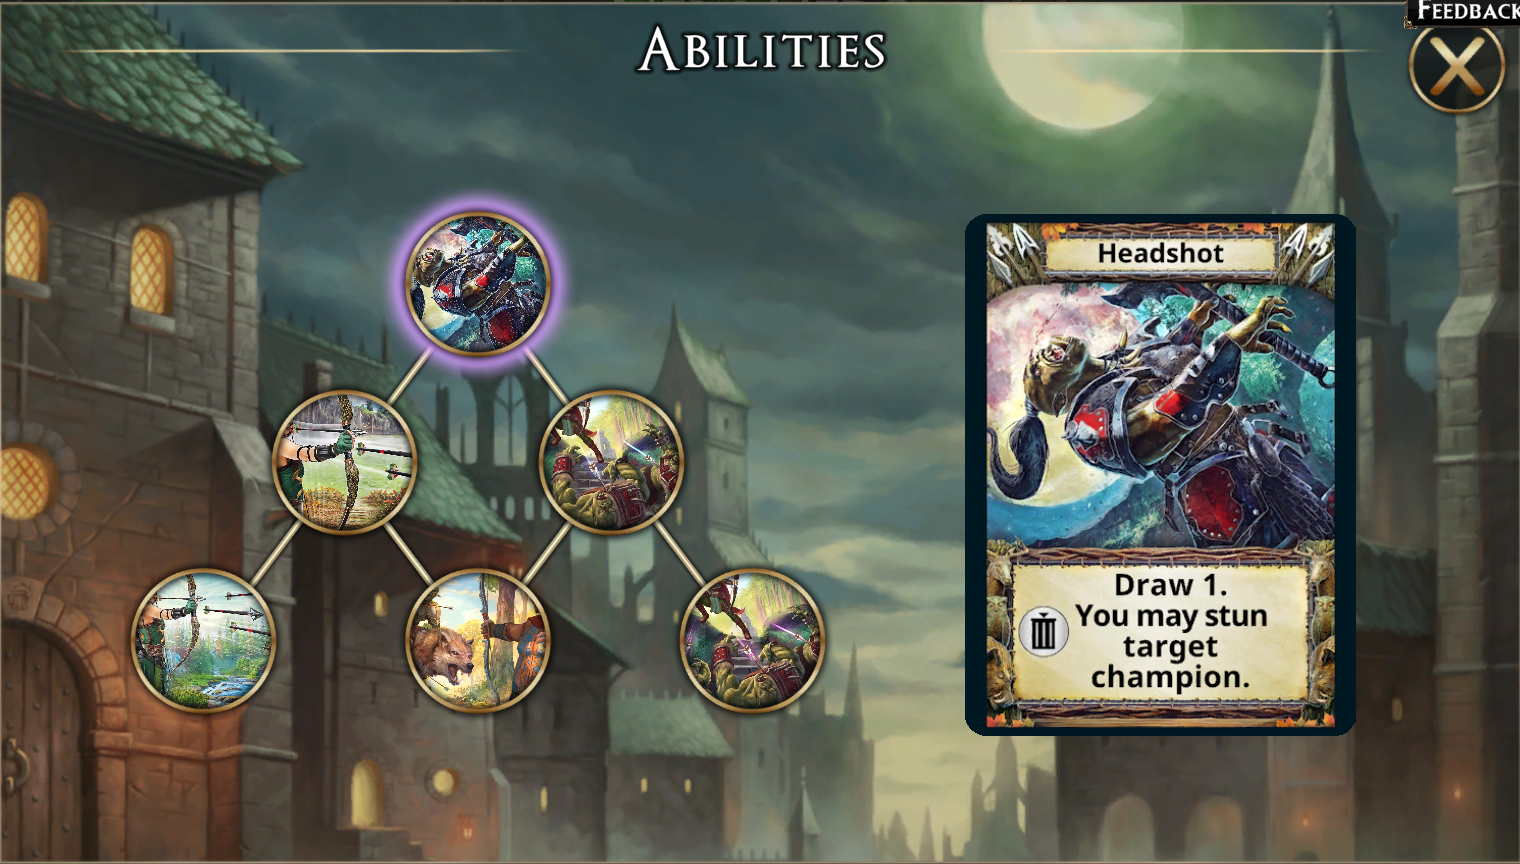
- 1x Headshot (Trash to stun a champion and draw a card)
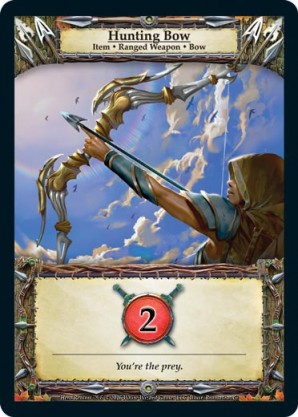
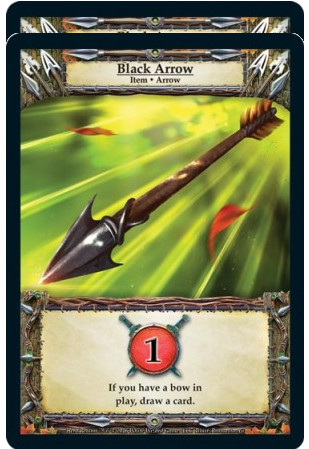
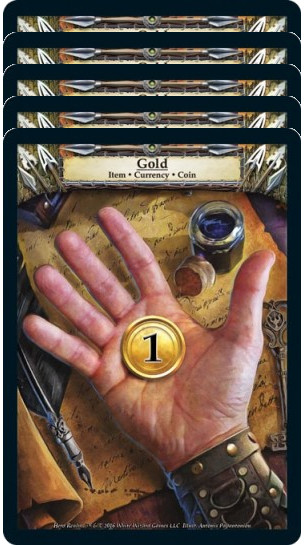
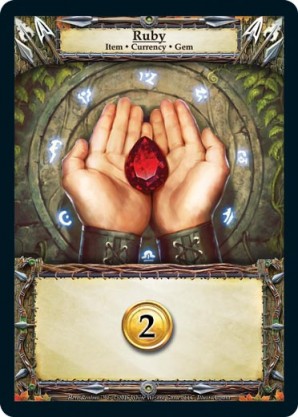
Let’s look at your basic (level 3) hero and discuss strengths and weaknesses. The Ranger starts at 58 base health, the second highest starting health among the hero classes. The Ranger has a gold potential of 8 in their starting deck, though with the Horn of Calling that can go up to 9 when its discount to champions is relevant. In your starting deck, you have a 2 damage Hunting Bow, and two Black Arrows that provide 1 damage and will draw a card if you have a bow in play. While this is not a lot of damage in comparison to what other hero classes can do, they are pivotal pieces to your draw engine.
The Ranger’s strength lies in its draw potential. You are able to use the Track skill every turn (permitting you have the 1 or 2 gold to activate it), allowing you to scry upcoming cards and either discard them or put them back on your deck. This allows the Ranger to cycle through their deck quicker than other hero classes. The Ranger can discard unwanted cards and line up their deck to ensure they are much more likely to draw a card they want with their Bows and Arrows. Another strength of the ranger is using tracking to help you set up ally ability combos. As you level up you can add items to your deck or upgrade your skill/ability to make this engine even more efficient. These features make the ranger a very versatile hero class!
The Ranger deck is all about what Tim (IGN: agentc13) refers to as “card advantage” in his Novice to Expert series. Card advantage improves the overall effectiveness of your deck. The ability to draw cards so you’re not limited to five cards, cycle the starter cards out of your hand for new ones, or sacrifice them out of your deck entirely will increase the efficiency of the cards you play and improve the overall effectiveness of each hand. You can use this “card advantage” to make any deck you build an efficient machine. It can be used to build any deck archetype that will function quickly and efficiently. The inherent strength of drawing cards gets better as the game state progresses and you have better cards in your deck. So, the Ranger’s deck should aim to ramp up and trigger large amounts of “burst” damage later in the game. Since the game is won when you reduce your opponent’s health to zero, having an efficient damage engine is precisely what you want!
Leveling & Upgrades
As you level up in the app, you get to improve your Skill and Ability and gain or replace cards in your deck. The first two upgrades are forced, and they bring your deck/skill/ability to the same makeup as the physical character pack we just discussed. After reaching Level 3, you get to pick from various choices at your subsequent level gains. Let’s begin by looking at what happens in the app at each new level and then analyzing the options available.
| Level | Upgrade |
|---|---|
| Level 1 | Steady Shot - "Stun target non-guard champion with 4 defense or less." |
| Level 2 | Well-Placed Shot - "Stun target non-guard champion with 6 defense or less." |
| Level 3 | Headshot - "You may stun target champion. Draw a card." |
| Level 4 | Skill/Ability/Health Upgrade |
| Level 5 | Item Upgrade (Thandar Replacement) |
| Level 6 | Skill/Ability/Health Upgrade |
| Level 7 | Item Upgrade (Thandar Addition) |
| Level 8 | Skill/Ability/Health Upgrade |
| Level 9 | Armor Upgrade (Lost Village) |
| Level 10 | Skill/Ability/Health Upgrade |
| Level 11 | Item Upgrade (Lost Village) |
| Level 12 | Skill/Ability/Health Upgrade |
The options you choose can greatly affect your Ranger’s playstyle. There are primarily two viable builds that will give your Ranger the best possible chance to win games. Which Track path you choose to upgrade is what differentiates them. Whatever choices you make, there will be certain matchups or individual games where other options would be better, so you need to figure out which choices fit best with your personal deck building biases and will help you more in the majority of the games you will be playing. During the beta testing stage there will be changes made to heroes in order to keep the game balanced, and all of this is subject to change when that happens.
Don’t be afraid to level more than one Ranger in order to try out new builds and see if different choices make the game more enjoyable for you. If you don’t agree with my assessments here, I would love to hear some discussion on why you think I am wrong!
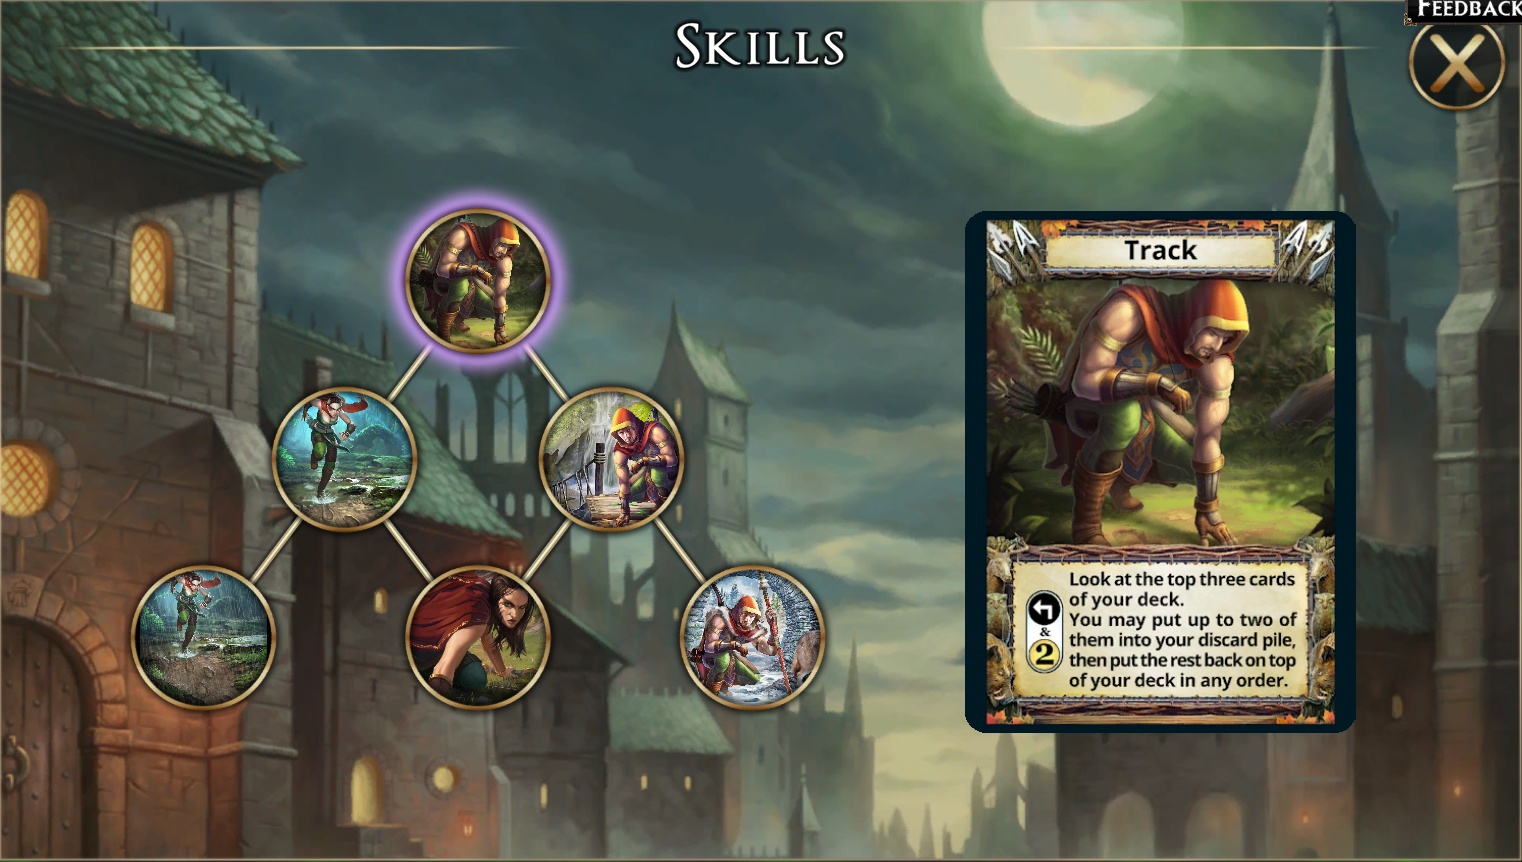
Track
| Level | Name, Cost, & Effect |
|---|---|
| Tier 1 | Track (2 cost): "Look at the top three cards of your deck. You may put up to two of them into your discard pile, then put the rest back in any order." |
| Tier 2 (Left) | Fast Track (1 cost): "Look at the top three cards of your deck. You may put one of them into your discard pile, then put the rest back in any order." |
| Tier 2 (Right) | Careful Track (2 cost): "Look at the top four cards of your deck. You may put up to two of them into your discard pile, then put the rest back in any order." |
| Tier 3 (Left) | Instinctive Track (1 cost): "Look at the top three cards of your deck. You may put up to two of them into your discard pile, then put the rest back in any order." |
| Tier 3 (Middle) | Relentless Track (1 cost): "Look at the top four cards of your deck. You may put one of them into your discard pile, then put the rest back in any order." |
| Tier 3 (Right) | Flawless Track (2 cost): "Look at the top four cards of your deck. You may put up to three of them into your discard pile, then put the rest back in any order." |
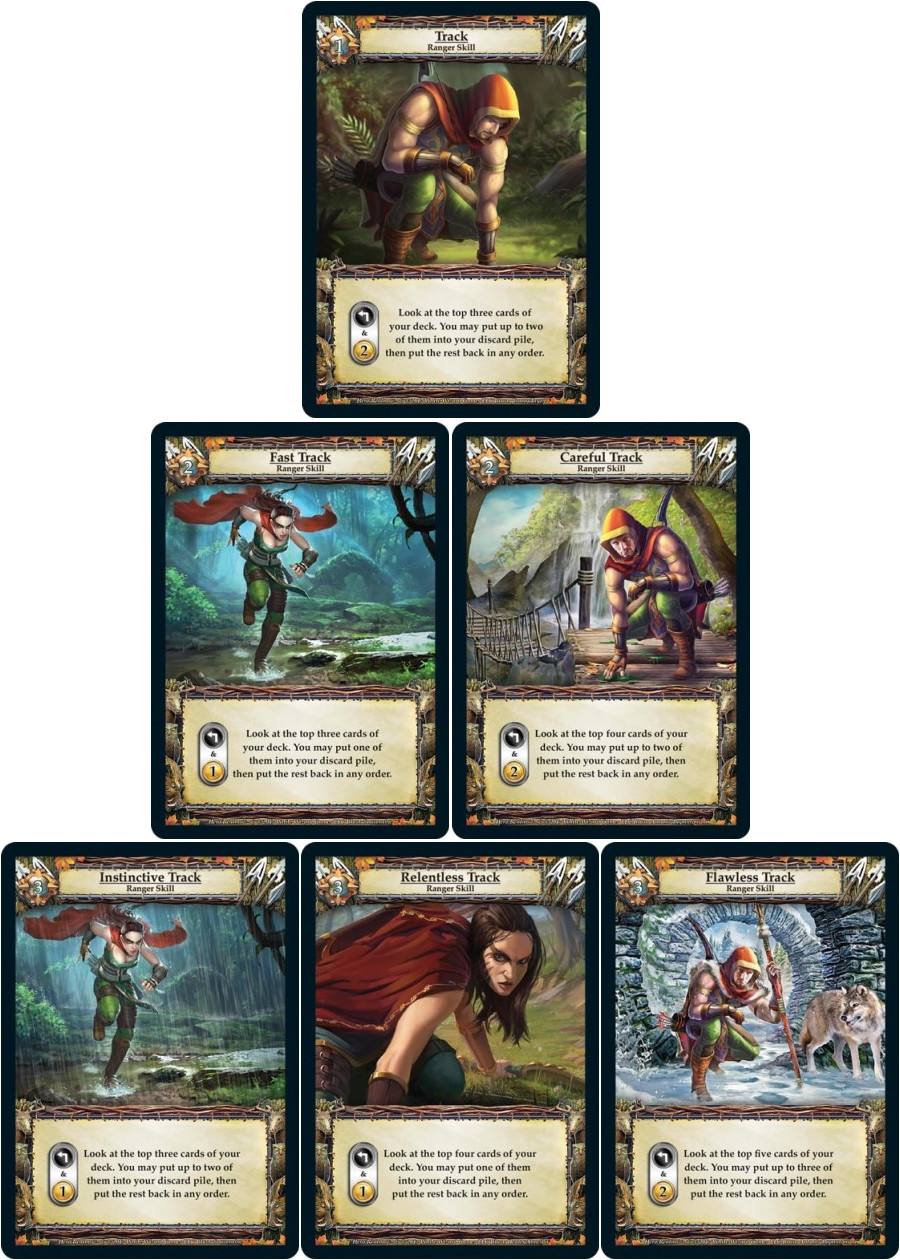
For the Track upgrade tree we have three options to consider. On the right side we have Careful/Flawless Track allowing us to increase the number of cards we get to look at to 4 (discarding up to 3). On the left side we have Fast/Instinctive Track Keeping the number of cards at 3 (discarding up to 2), but decreasing the tracking cost to a single gold. In the middle of the tree, Relentless Track increases the cards to 4, costs one gold, but only lets us put one card into the discard pile.
The choice here is interesting — do you want to cycle more quickly or do it at a lower cost? You can cycle through your deck very quickly with Flawless Track. In fact, that option was so good that WWG nerfed it down to 4 cards instead of 5 during beta testing. Even after that balance change, you will cycle through your deck and discard more of your lower value cards with this upgrade than with your other options. With Instinctive Track, your draw/discard (3/2) is the same as the base Track skill, but it costs 1 gold. This allows you to have increased flexibility for when you use the skill and can help you control when you shuffle a bit more easily. The Relentless Track wants to do both, but doesn’t do either as well, so I think it is our worst option here. The Flawless/Instinctive choice will have a decent impact on how you will play a Ranger, and while the general idea of the class remains the same, the specifics change how you utilize the skill and will affect how you value different cards. For example, the Flawless Track Ranger is a little more likely to want to pick up economy cards in the early game to help pay for their tracking. Either choice is viable at the highest ranks of play, it just changes how you want to do things.
Headshot
| Level | Name & Effect |
|---|---|
| Tier 1 | Headshot: "You may stun target champion. Draw a card." |
| Tier 2 (Left) | Quickshot: "You may stun target champion. You may put an arrow from your discard pile into your hand. Draw a card." |
| Tier 2 (Right) | Twin Shot: "You may stun target champion, then another. Draw a card." |
| Tier 3 (Left) | Snapshot: "You may stun target champion. You may put up to two arrows from your discard pile into your hand. Draw a card. |
| Tier 3 (Middle) | Longshot: "You may Stun target champion, then another. You may put an arrow from your discard pile into your hand. Draw a card." |
| Tier 3 (Right) | Triple Shot: "You may stun target champion, then a second, then a third. Draw a card." |
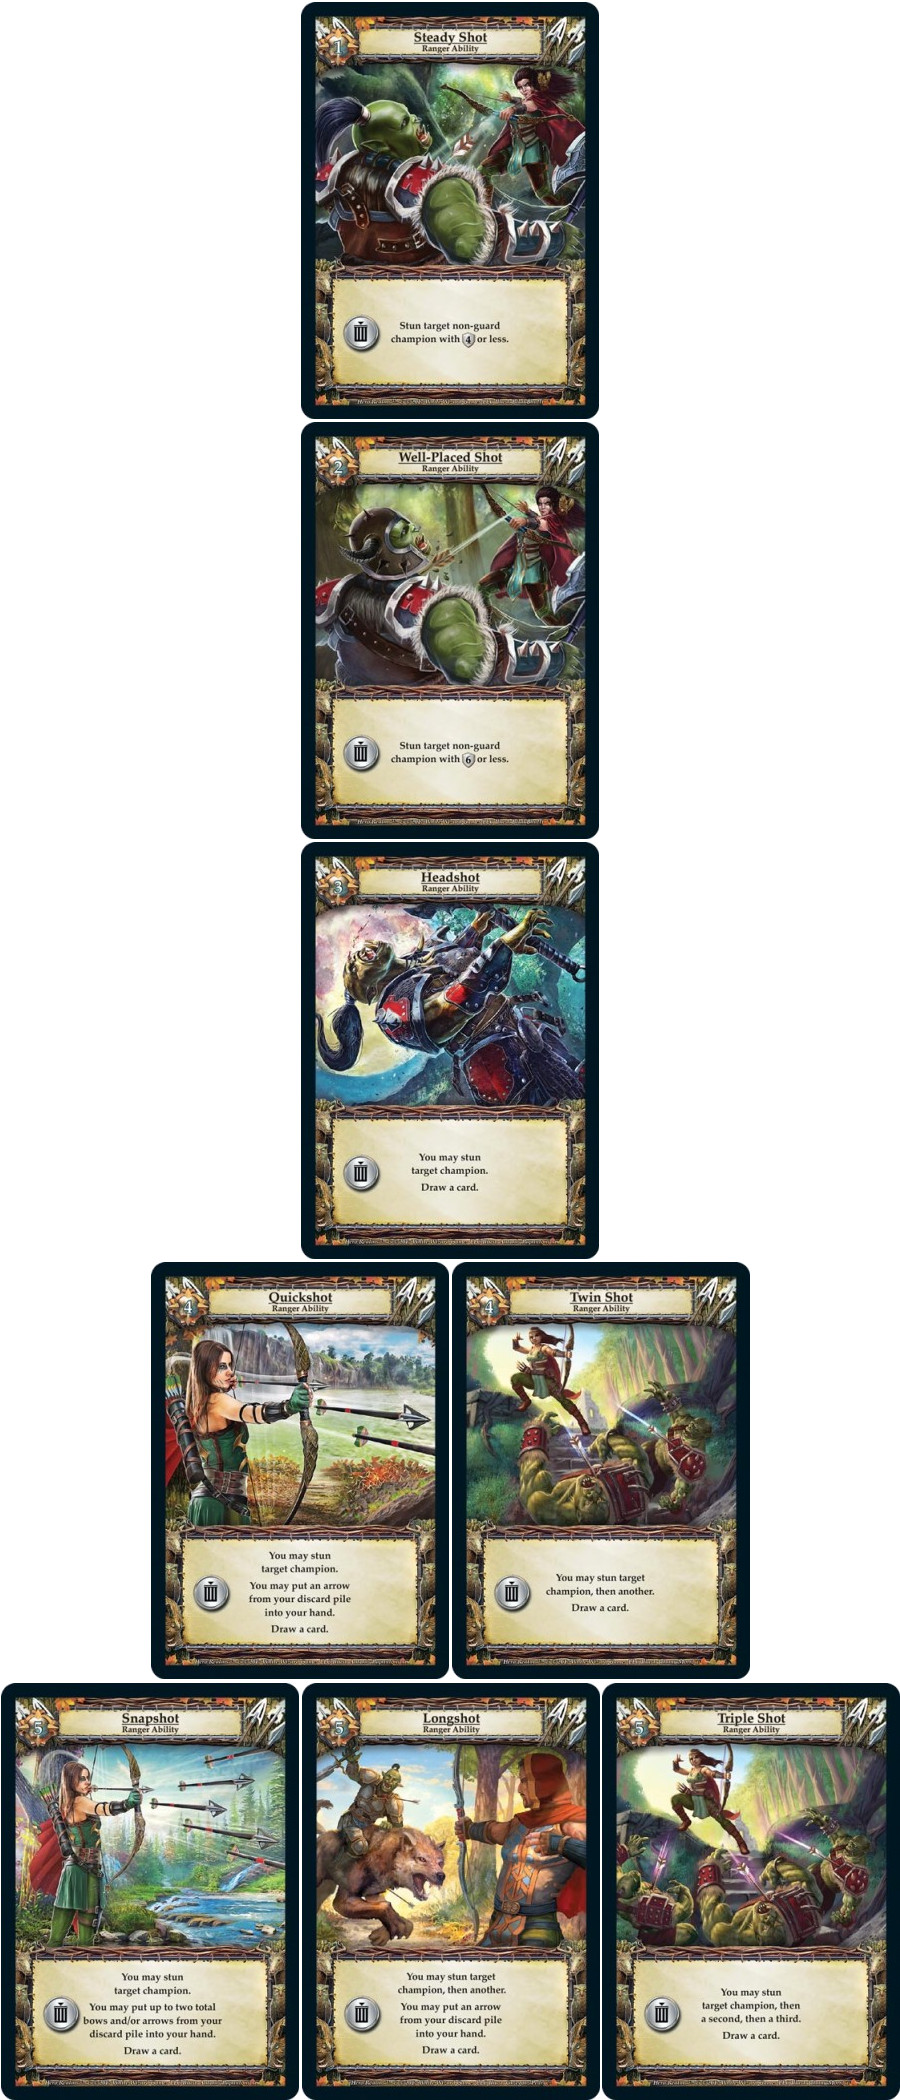
On the headshot tree, all of our choices are going to draw us a card, which is a powerful effect all by itself. They all stun at least one champion. What changes among the abilities is how many champions are stunned compared to how many arrows (if any at all) are returned from your discard pile to hand. Triple shot, as the name suggests, will stun 3 and then draw a card. Longshot stuns two, gets you up to one arrow back, and then draws a card. Finally, Snapshot only stuns one champion but it returns up to two arrows to your hand, then draws a card.
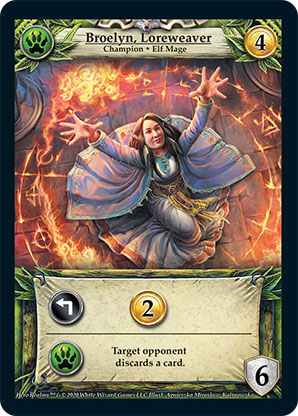
One item of note here is that you must stun any guards that are out before your headshot can target a non-guard champion. Consider the following scenario. Your opponent has an Orc Grunt and a Broelyn, Loreweaver and you have an Elven Curse and four Gold in hand. If you Headshot first, it will take out the Grunt and you’ll have exactly 6 damage to stun Broelyn. Not bad. If you play the Elven Curse, however, stun the Orc Grunt with that damage, and then Headshot, you’ll get to take out the Broelyn and still have 3 damage left over to deal to your opponent — excellent!
No matter which variant you choose, there is a lot of potential value to be had when activating your skill and you will want to maximize that value when the time comes to activate it. When evaluating Triple Shot, consider how often your opponent actually has three champions out. This is pretty narrow and so while the potential to swing a board state is high, it’s not going to come up regularly.
Longshot is a similar story but to a lesser extent. It offers some versatility, and maybe in a cleric heavy meta you may consider it, but in my experience, Snapshot is the way to go. I will go into further detail on this later but with Snapshot, I often am less concerned about stunning a champion and instead more focused on the two arrows plus card I am going to draw. If I have a bow in play, this means I will get three draws off the Snapshot. Furthermore, if I took out an opposing champion, it’s almost like drawing another card since it may have taken about a card’s worth of damage to stun that champion. This is the sort of card advantage that fuels explosive turns and leads to ranger victories. You can use this burst early on to buy something expensive off the trade row or you can use it in the mid game to help line up a huge damage turn.
Ruin of Thandar Items
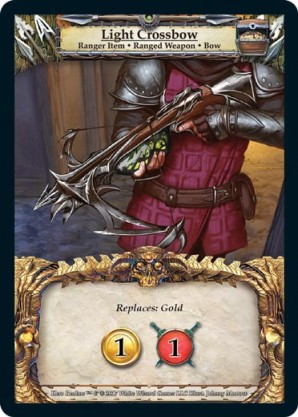
As a level 5 ranger you will face your first item upgrade choice — either Honed Black Arrow or the Light Crossbow. The former replaces Black Arrow while the latter replaces a Gold. While there are Honed Black Arrow builds that focus on an aggressive game plan, I consider those to be off-meta and not something I have tested extensively myself.
What I have played a lot of, and absolutely recommend here, is the Light Crossbow. Replacing a Gold here is nice but the true value is that the Light Crossbow counts as a bow. This means it will trigger your arrow draws which is essential to the Ranger strategy. The Light Crossbow helps the Ranger deck feel complete and run much more smoothly as it doubles the number of bows in your deck allowing you to have more turns where you’re combining bows with arrows and drawing extra cards.
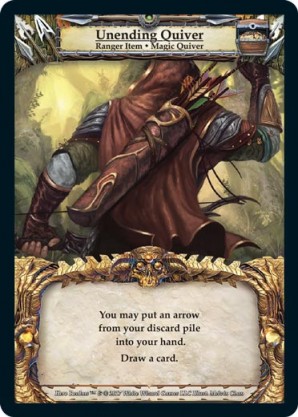
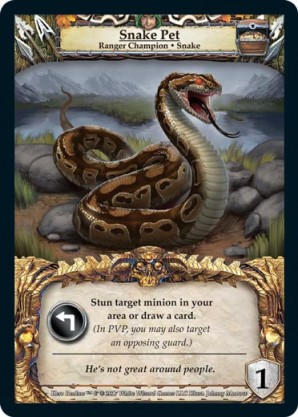
The next item choice your Ranger will be presented with is at level 7 and this item will not replace anything but instead be added to your deck. There are two options here and again I’d have to recommend one greatly beyond the other. First is Snake Pet and while this adorable little snek does have a pair of powerful abilities, our second choice is a much better compliment to the synergies we’re working towards with our ranger and that’s the Unending Quiver.
To speak briefly on Snake Pet, if you do decide to try it, keep an eye out for guards. Getting the snake to survive more than one turn is a bit of a rarity due to its one defense. On those occasions where it does survive, one or more guards protecting it are usually responsible.
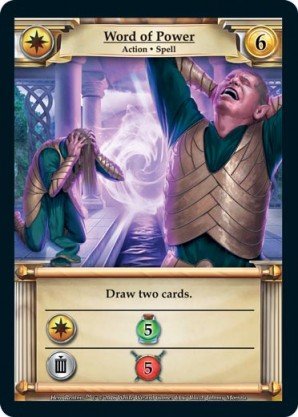
Focusing on the Unending Quiver then, this item is another crucial piece of the Ranger kit that helps it play so smoothly for those explosive turns that put a Ranger far ahead in a given game. The quiver returns an arrow from your discard pile to your hand and then draws you a card. We’ll get more into some of the strategies here in a later section but suffice it to say this is often a draw two in your deck. Consider that Word of Power is a 6 cost with draw two as its primary effect and we get to have Unending Quiver in our deck every game, for free!
Lost Village Item Upgrades
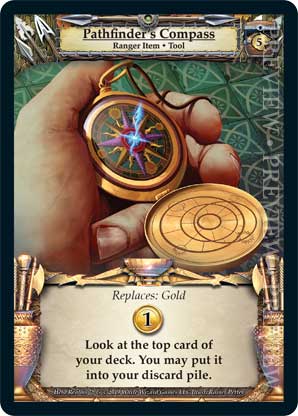
For those noticing a trend among item choices so far, the level 11 selection will be no different. Pathfinder Compass has already been buffed once as of the writing of this article and I expect it to be tinkered with some more before it catches on in popularity. The reason it’s been buffed once so far but still not widely employed is because the option it’s competing against is another arrow.
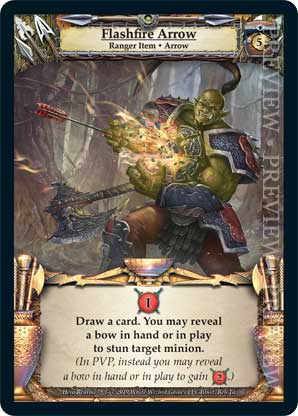
Flashfire Arrow draws a card automatically without needing a bow and instead adds a two extra damage should you have a bow in play. Drawing a card all by itself is great because it helps us set up our turn. Imagine we have a hand with Flashfire Arrow, a Black Arrow, and three gold. We can Track to try and find a bow while discarding something like gold that we do not want. Then we can play the Flashfire Arrow to draw the bow which will then get us further drawing off the other arrow in hand.
Furthermore, Flashfire Arrow can also be returned with the Unending Quiver or Snapshot so it’s easy to see how this is one more lethal acquisition to the ranger’s arsenal. Pathfinder Compass is intriguing as it functions like a miniature Track, which seems decent, but for the build and play style I’m recommending, it’s not as good as Flashfire Arrow.
Lost Village Armor Upgrades
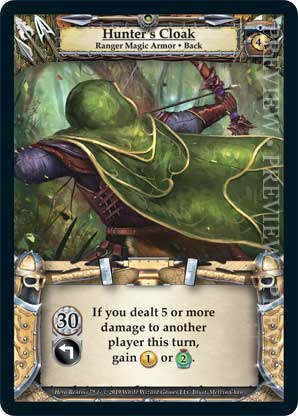
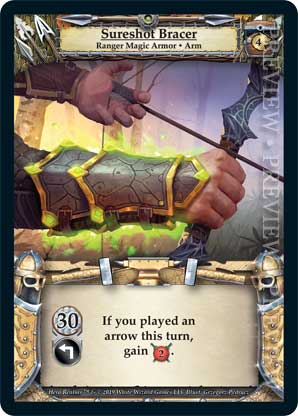
The level 9 armor upgrade is the next piece of the Ranger kit to discuss. Our options here are the Hunter’s Cloak or the Sureshot Bracer. The bracer gets you two extra damage if you played an arrow this turn and the cloak gets you 1 gold or 2 health if you’ve dealt 5 damage.
I will take a moment to discuss the Bracer build, though for me this is hypothetical and/or secondhand as I have not played the build myself. Rather than focus as much on the bow/arrow synergy of the kit, the build takes a focus on damage, grabbing Honed Black Arrow at level 5 and Sureshot Bracer at level 9. Your strategy plays out similar to a fighter, buying cheap efficient damage and going for a quick victory. This is the off-meta build I alluded to earlier. I hope to test it out in the future and would perhaps write more about it at that time.
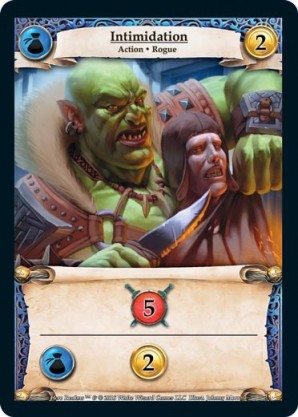
The option I’d recommend here then is the Hunter’s Cloak. There are a lot of great uses for this piece of armor. The little bit of economy it provides can be just what you need to make a critical purchase. Also, consider the following situation — your hand consists of a Hunter’s Bow, two Black Arrows, an Intimidation and an Orc Grunt. You have no gold to track before drawing your cards off your arrows. If you play Intimidation and deal 5 damage to your opponent, the cloak can be activated for one gold. If you have Instinctive Track, one gold is all you need. The last great part about Hunter’s Cloak is the healing it provides. This can help against aggressive opponents and is just nice to have in any match up on those turns where you don’t need the one gold.
Final notes on the Leveling Process
Somewhere along the road to level 12 you will have to decide if you want to add Steady Shot to your Ranger or an additional 8 hit points bringing your total to 66. Steady Shot provides a second use of your once-per-game ability though it is the level 1 version. Admittedly, this is quite weak — stun target non-guard with defense of 4 or less. It’s narrow and situational. The 8 HP on the other hand is guaranteed to be useful and helps keep your Hunter’s Cloak online for longer. Therefore I would always recommend taking the extra life here.
Another relevant discussion point is the order in which you level up your tracking, headshot, and health. I would recommend leveling up your tracking skill at levels 4 and 6. Tracking is one of the most important aspects of the Ranger and rushing to max it out makes sense. Then when you get to 8, it’s actually a great time to grab the HP. It helps you in the aggro match-ups and as mentioned above, helps to keep you above the HP threshold for activating Hunter’s Cloak which you acquire at the very next level. While the upgraded Headshot is great, the base version grants you the stun and card draw so it’s already quite serviceable.
Playstyle Tips and Considerations
Unending Quiver Deep Dive
The Unending Quiver is an awesome item and a more in depth breakdown of its uses is certainly in order.
The first way to use it is to simply return an arrow from a previous turn to your hand but remember, you’ll likely want to Track before using it to help improve the quality of your draw.
On the subject of tracking, this is another incredibly synergistic way to use your quiver. Supposing there are no arrows already in your discard pile, if you have an Unending Quiver in hand, use your Track ability, and then see an arrow among the revealed cards, you should almost certainly discard it so that you have a target for the quiver. You can even line up hands where you discard an arrow and put a bow on top of your deck so that when you use your quiver and return the arrow, you actually draw a bow and then can draw further off the arrow you returned plus any others you may have in hand.
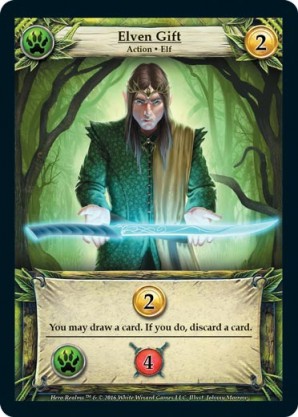
Another strategy for utilizing the quiver can be applied when you have cards like Elven Gift that require you to discard a card. Again, supposing you didn’t already have an arrow in your discard pile to return, playing your Elven Gift and then discarding an arrow when you have quiver in hand is a great synergy. Every class loves Elven Gift for its own reasons, and this is a huge one for the Ranger.
The last application to discuss is when facing discard effects, such as the Thief’s ability. Obviously they prioritize discard as a strategy but you can essentially negate a discard effect if you have an Endless Quiver in hand and discard an arrow to an arrow-less discard pile. The reason I emphasize there being no arrows in the discard pile for these synergies is because if you already had a target for your quiver to return, it’s usually not as impactful to put a second arrow in your discard. If you have a quiver and an arrow in hand and someone is making you discard, you should almost always discard the arrow since the quiver can return it.
Turn Order and Tracking
S_Freak laid out a great article on turn order that goes very in depth and I would consider anything I say here as building off of those concepts so do yourself a favor and check that out first if you haven’t already. The quick recap is that the order you play out your turn is critical. Be very aware of what in-game actions will eliminate your use of the Undo button and be sure you’re committed to a particular decision before taking one of these actions. When thinking about the Ranger specifically, deciding at what point in your turn you will track is essential. In the upcoming section, I will break down some situations where you would consider tracking. All game information — the board state, market row, each player’s deck/discard, and cards in hand must be factored into your decision. Tracking wisely is key to unlocking the power of the ranger. The whole kit together runs like a well oiled machine and tracking is the engine that drives it.
Tracking before drawing any cards is one of the most common times to activate your skill. Tracking at this time helps ensure that the quality of the cards you draw is high since you can discard any bad cards coming up that you would have drawn. This also helps you set up some of your most synergistic turns where you do something like this: Imagine you have a Flashfire Arrow but no bows in hand. You track and see Gold, Hunter’s Bow, Black Arrow, Unending Quiver. Here I would discard the Gold and the Arrow and then put the bow and quiver on top of my deck. Once I play the Flashfire Arrow, I draw the quiver. I play that and then get back the arrow I discarded off track. I draw the bow off the quiver and now get two extra draws off my arrows in hand — nice! This is a good chunk of damage, definitely enough to activate my cloak, gets me two extra draws, and helps me cycle through my deck quickly so I can set the whole thing up again. This is a small example only using starter cards but once you mix in the right market cards, it’s easy to see the potential for tracking to set up an explosive turn.
You might also want to draw a few cards, then track, then continue drawing. The board state would be something where you know all the contents of your upcoming draws, want to draw it all, and will still have some draws left over. In this situation, you’ll want to draw your remaining deck and then flip the deck with a track rather than activate card draw which will flip your deck and give you a blind draw. Imagine you have a single copy of the Rot that’s all that’s left in your deck and you have a bow and two arrows in hand plus enough economy to track. Here I would probably draw the Rot, sacrifice a gold in my discard pile, then track to optimize the draw off my second arrow. As always, be careful when flipping your deck and be sure you’re aware of the implications/consequences.
Furthermore, there may be times where you want to track simply to flip your deck. This will be covered in detail in the upcoming shuffling section but is most common when your current hand is mostly bad cards and you want to keep them out of the upcoming deck.
Also, on the subject of sacrifice, there will be times where you track specifically so you can get something in the discard pile that you want to sacrifice, likely a Gold. While all classes value sacrifice, this built-in way of getting cards to the discard pile gives the ranger great synergy with sacrifice and therefore is highly valued. A single sacrifice effect goes a long way with the Ranger as you are also cycling through your deck quickly and using that card often.
Sometimes it’s also possible to track in a way that helps you generate economy. This is easiest to do with the 1 cost Instinctive Track but is possible with the 2 cost Flawless Track as well. If your deck has any cards that produce more economy than the cost of tracking AND you have the ability to draw cards in hand, then it is possible to track, draw those cards, and come out ahead. There are many variables to take into account here though. Would you have a better chance of coming out ahead if you simply drew your cards rather than track? How many cards that produce a good amount of economy are actually in your deck and what are the odds that you might draw them? It doesn’t come up a lot but keeping an eye out for situations where tracking is actually profitable is another arrow to store in the proverbial quiver. 😉
There are also situations where I want to dig through my deck for a specific card. You might have to do this if you’re trying to faction a card in hand or don’t want to bottom deck a big bomb. This means I will want to dig through my deck as deep as possible — seeing more cards increases the chances I will run into whatever it is I’m searching for. In these circumstances, I also recommend tracking before drawing any extra cards as this will improve the quality of your draws and potentially help you get further in your deck. On the other hand, you may actually want to track just before using your last draw effect. This gives you the greatest chance to run into the card you want naturally. Supposing you do draw the card you can then re-evaluate the situation.
The last situation I’ll discuss where you might want to track is to set up your following turn. This is most common when you don’t have any draws in hand and the cost of tracking doesn’t impact your market purchases. I recently had a game where on turn 1 all I did was track instead of even buying a Fire Gem. This let me set up an explosive second turn where I bought a Fire Bomb without even having to use my skill.
Remember, you can do some damage to trigger your cloak so that you can afford to track before using any card draw effects. Instinctive Track synergizes nicely here since you only need to deal 5 damage to your opponent to be able to track but it’s still great with the more expensive Flawless track since it helps pay the cost.
Honestly, a whole article could be written on interesting tracking situations (and I just might!) but the best advice I can leave you with is to be thoughtful of as many aspects of the game as possible in deciding when to track. When in doubt, follow Logvin’s Law — track early, track often! A level 12 Ranger could realistically be tracking on almost every single turn of the game.
Shuffling
The next topic is shuffling. Another foundational article that I would consider a must read has already been written by Darklighter so for the purposes of this article I will assume that you are familiar with the shuffling concepts he presents. If not, read it here.
To sum up briefly, you will want to trigger a mid-turn reshuffle if your current hand contains mostly bad cards because this will temporarily “sacrifice” them for the next deck cycle.
You will want to AVOID a mid-turn reshuffle if your hand is mostly good cards because otherwise you will miss out on those cards for the next deck cycle.
Another situation where you may want to track and force a deck flip is if you make a strong purchase and want to draw that card you bought sooner.
You can also flip your deck intentionally to keep things safe from thieves that would steal from you! Darklighter calls this Defense Against the Heist Arts.
Sometimes if you’re towards the bottom of your deck and your hand is all gold you may want to track and flip the deck. This will keep all of that gold out of the deck, temporarily “sacrificing” it for one deck cycle. This type of tracking can be called “taking out the trash”.
Lastly, you want to be careful NOT to intentionally shuffle in such a way that your bows and arrows are split up unless there’s some really good or important reason for doing so.
Cards Types to Set your Sights On
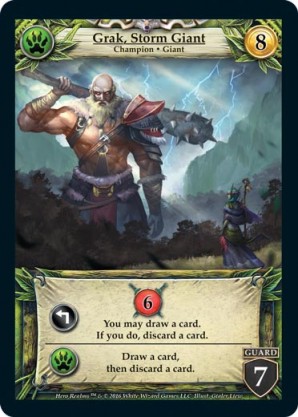
Sacrifice, card draw/cycling, and high damage-high power cards are what you want in your Ranger deck. You want a thin deck in general where you put bows and arrows together to draw and play a few powerful cards as many times as possible by cycling through your deck quickly. You are unlikely to “go wide” with a lot of cheaper champions. You are much more likely to “go tall” and purchase a smaller number of more expensive champions. Using your Horn of Calling to help buy a couple of more expensive champions can be very effective. The Ranger also loves champions that are able to draw cards, particularly through their primary ability. Grak, Storm Giant is the perfect example of what we’re looking for.
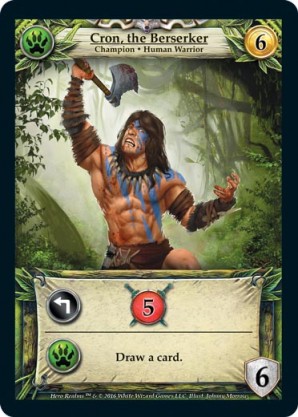
With Ranger you can often end the game having only bought three or four cards off the Market Row the whole time. Something like Cron the Berserker, Command, and an Elven Gift would likely be enough to close out a game against most opponents.
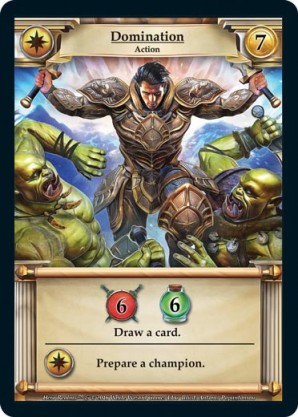
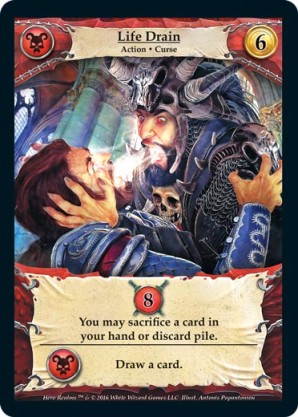
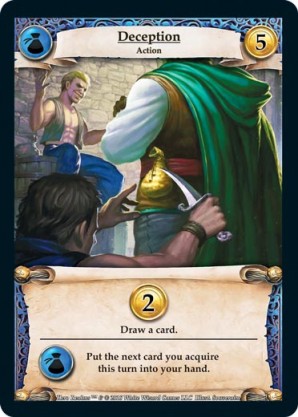
The point here is to not over-clog your deck. Ideally every card you buy either draws/cycles, sacrifices, or is high impact, i.e. damage. These attributes are often overlapping on the very best Ranger cards. Some examples of this would include Rampage (damage + cycling), Domination (damage + card draw), and Life Drain (damage + sacrifice). Also worth mentioning is Deception (economy + draw). The Ranger has an edge in activating its powerful faction ability, but even if it’s the only Guild card you purchase the combination of draw and economy is still very valuable to the Ranger. Be sure to prioritize these multi-function cards.
Following this strategy, you can sometimes win almost as fast as a fighter — though they will more consistently have those quick wins. The trade-off is that you have a better mid to late game and have more agency in your purchasing and tracking decisions; you’re less one dimensional.
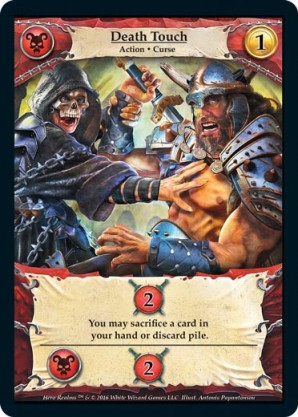
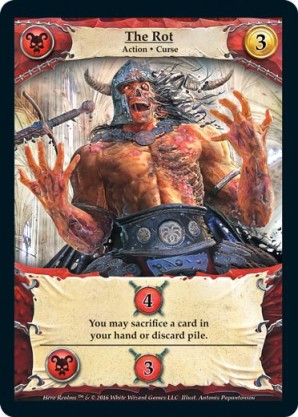
As a quick note, be careful not to “over sacrifice” on Ranger. A lot of times, one sacrifice card is enough since you cycle through your deck so quickly BUT you still may want to buy the second or more just to keep it away from your opponent. In these situations, it is sometimes correct just to scrap away your Death Touch and hang onto The Rot (for example). If you do decide to continue sacrificing your starting gold, remember to replenish your deck with economy cards (even fire gems are a great choice!) in order to be able to activate your Track skill.
Mini Smooth Heist
One more concept I would like to put out there is what I call the Mini Smooth Heist. Now it’s nowhere near as versatile and impactful as the actual Smooth Heist but the Ranger can do their own imitation if you know what to look for and how to set it up. Take a look at the following example.
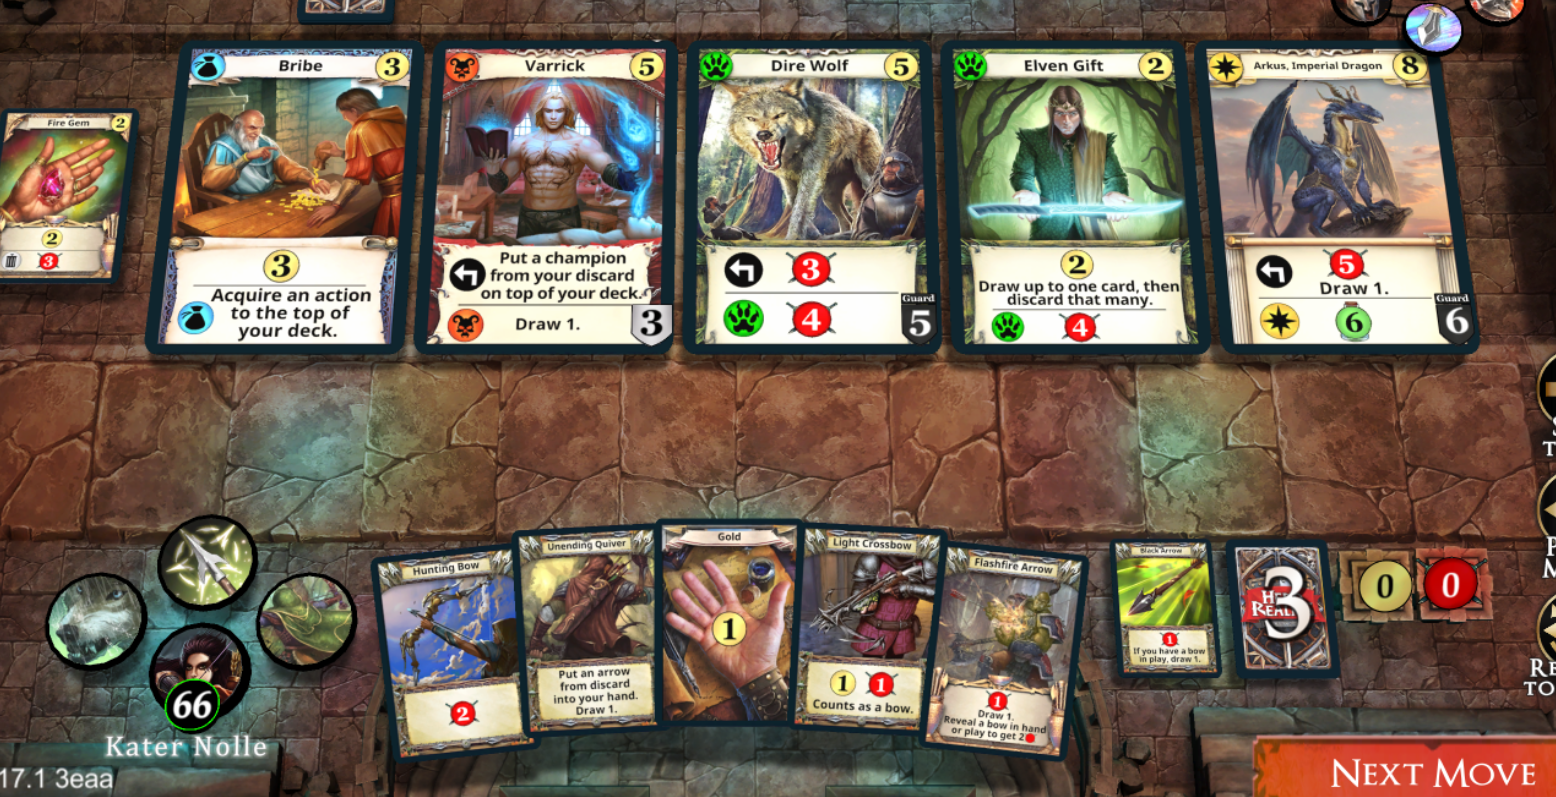
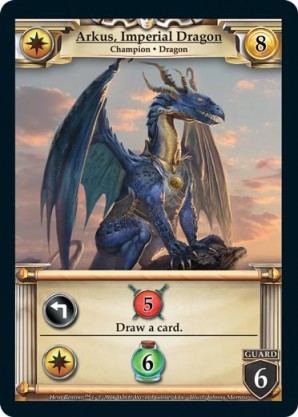
First I played my Crossbow, then my Unending Quiver to draw a card and get back one of my two Black Arrows. Then I played Hunting Bow, Flashfire arrow, and Black Arrow from hand. This drew the last card in my deck. Next we use our Snapshot ability which actually took out a champion, not pictured here. This brought back an arrow, flipped the deck, and drew me a card. Sometimes you want to do a purchase in the middle here before you flip the deck. In this instance I was pushing for Arkus so I did not buy anything. We play the Black Arrow to draw and now our whole deck is in hand or in play! From here we can put it all out and we’re sitting at 8 gold, 8 damage, champion cost reduced by one. We still haven’t tracked or activated our cloak. Buying Arkus leaves us with 1 gold remaining.
Here’s how it can be “like” Smooth Heist just a little bit. If your deck is empty, and Arkus is the only card in your discard, then playing an additional draw effect will bring the Arkus straight to your hand ala Smooth Heist! Even if you can’t draw another card, you may be able to track. This will flip your deck and put Arkus on top ensuring you’ll have it on your next turn to make an immediate impact on the game. You could also be in a position where you didn’t quite draw all of your deck but you can still track, forcing your deck to flip, and getting the Arkus to the top. Keep an eye out for all of these possibilities. In this instance though, I was too tempted by the Elven Gift so I dealt my damage, activated my cloak for 1 gold to bring me up to 2 and bought the gift rather than doing any tracking and deck flipping.
From here we’re in a great position to just cycle as fast as possible and try to play these two cards over and over. At this time I’m also keeping an eye out for any other high impact cards like an Elven Curse, Intimidation, or maybe The Rot. By using our ability to get this advantage early, we gain a large amount of tempo over our opponent and can surge ahead to a quick victory.
Taking Aim Toward Specific Matchups
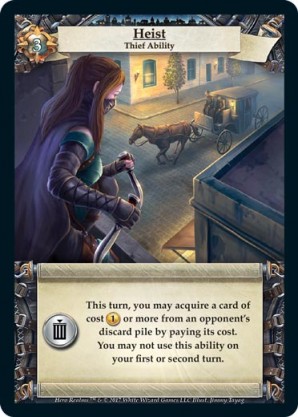
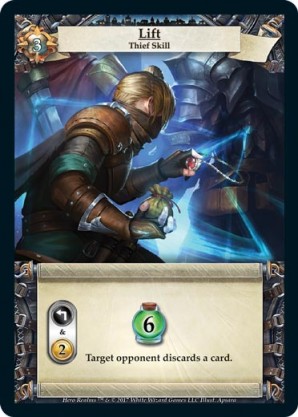
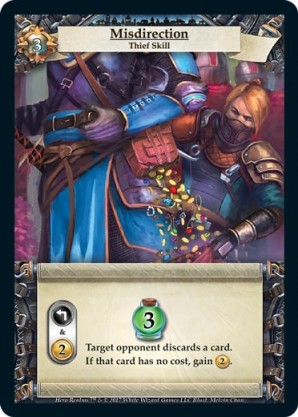
In the Thief matchup, as mentioned above, keep in mind to discard an arrow to their skill if the situation calls for it. If they have any version of the Heist that steals from your discard pile, be sure to practice your Defense Against the Heist Arts! The level to which an aggressive strategy is likely to be successful corresponds to how much life they gain off their skill. Lift is hard to run over with an aggressive game plan (but not impossible!) and Misdirection is a lot easier with Distracted Exchange Thieves falling somewhere in the middle. Overall I like Instinctive Track more than Flawless Track against Thieves as the cheaper tracking cost means you’ll be able to afford it more easily under the duress of their discard which will help keep your deck flowing and cycling smoothly.
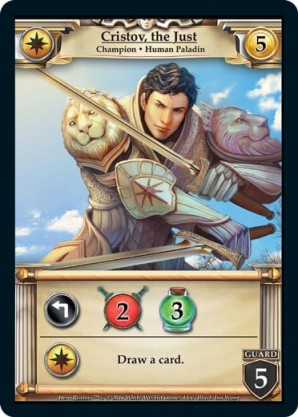
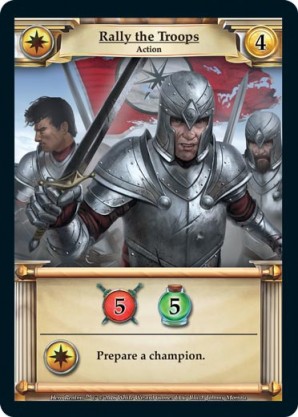
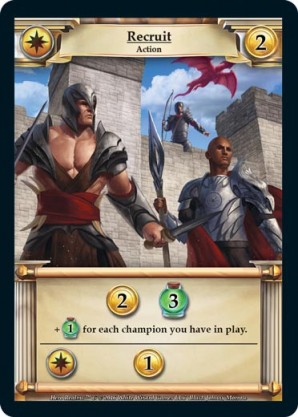
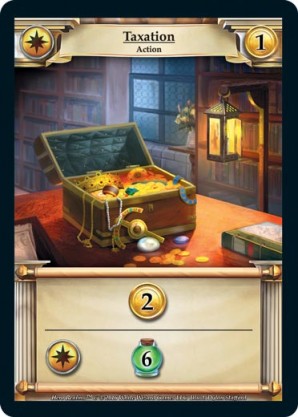
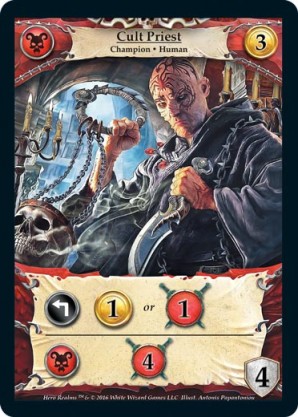
In the Fighter matchup, you want to prioritize strong defensive cards from the start. Command, Cristov, and Rally the Troops are obvious highlights but as an early economy card, Recruit is great as well. I wouldn’t go for Taxation unless I thought I could get about two more Imperial cards. Even non-Imperial cards can offer defensive benefits in the form of champions. Guards are great here but even non-guards are going to absorb some damage since the Fighter is unlikely to want them to stick around. I wouldn’t buy just any champions that come up on the row though. I’d avoid Cult Priest, for example, unless perhaps there were some other enticing Necros cards around.
Speaking of red cards, sacrifice can be a bit of a trap versus fighters since they can often end you before the sacrifice has much of an impact on your deck. If you have to decide between purchasing a strong defensive card and a sacrifice card, it’s usually correct to take the defensive card. You also still want to be buying the strongest offensive cards though as they’ll help you end the game and you also don’t want them in the Fighter’s hands. I consider this a tough match up but keep these ideas in mind and you’ll have a good chance against them!
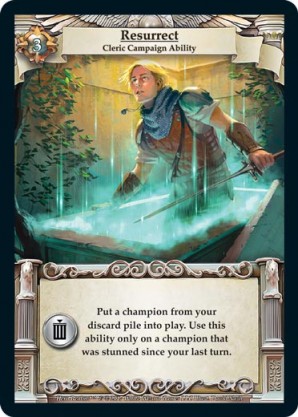
Clerics have the ability to take you to the long game and this is a bad place for you if you’re not ready for it. As always against clerics, don’t let them get any sacrifice if you can help it and also play keep away with good champions. They’ll often still end up buying the worse champs that are left on the row and this can give you an advantage as yours may be stronger. Cleric is also low on damage in their starting deck so they can have a hard time dealing with opposing champion walls. Keep theirs knocked down while keeping yours up and you’ll be well on your way to victory. Also note that unless you can set up a mini Smooth Heist or other explosive buy, it can be good to save your Snapshot until just after they use their Resurrect. This will let you regain control of the board state and swing the advantage back your way.
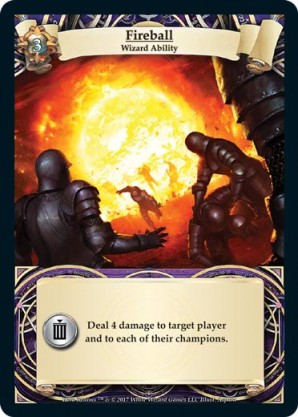
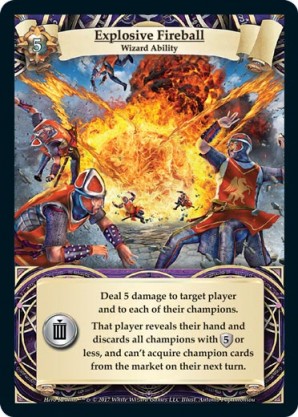
Wizards are squishy so keep the Imperial cards out of their hands and blitz them as fast as you can with your barrage of arrows and impactful market cards. Be wary of their Fireball and try to not play into them having a situation where it generates them a ton of value, particularly if they have the near-ubiquitous Explosive Fireball. If you make it super transparent that you’re going to be trying to make a big purchase of a 7 or 8 cost champion on the following turn, a wise Wizard will see it coming and fireball you out of that buy, costing you a lot of the value your turn would have had. Supposing you spent your previous turn setting up that purchase with a track, they almost deny you two turns of value — the setup turn as well as the pay-off turn.
The mirror matches against opposing Rangers are intense and quick affairs. Racing to whatever bombs you find on the row is often the determining factor. Tracking well can help you get an advantage over a less-skilled player. Stick to your fundamentals and play off what the market row offers you while adapting to what your opponent is doing.
Well there you have it, folks! Over 6,500 words on the Ranger brings today’s course on Advanced Arrow Dynamics to a close. I very much look forward to any conversations that may come from this article and hope you have found some insights here. Questions, differing opinions, comments, and any feedback is all welcome. Feel free to reach out to me over Discord. See you all in Thandar!
Title: Advanced Arrow Dynamics:
Category: Characters
Tags:
Published on: June 6, 2022
Hey everybody, DblDubz here. I love the Realms Rising community and have an absolute blast playing in the community organized events. Even if it's just a little bragging rights, playing with something on the line against people you know, just makes it that much more exciting to me! That's part of why talking strategy and working together to optimize our play is something I love doing.
A few other facts about me -- I come from a competitive Magic: the Gathering background and have played fewer than 50 games of Star Realms! I'm also married and have a one and a half year old son, both of whom I love spending time with.
Chat me up on the Discord server or send me a challenge in game any time!