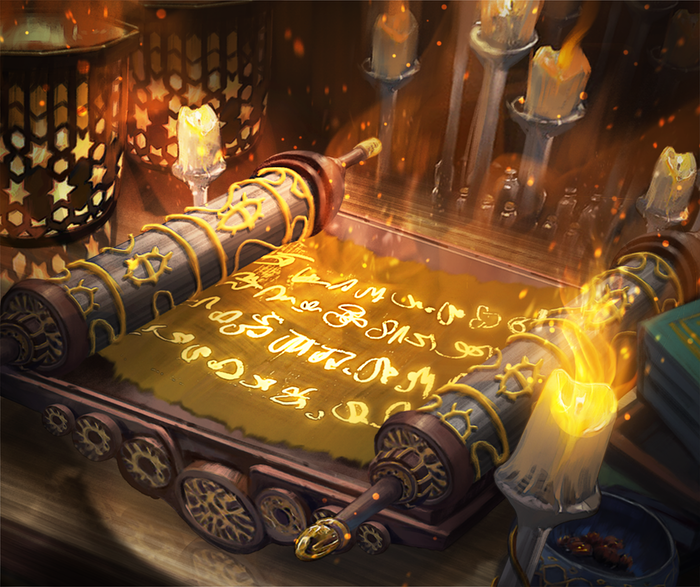
Ever just smiled and nodded along when your friends were talking about turn order? Are you tired of feeling miserable because you don’t know what they are talking about? Look no further! Just read this Scroll of Turn Order and you will never have to change the topic again, but can happily join the conversation instead!
Turn order is a concept that many new players struggle with. As the name states, it is the order in which you should play out your turn to optimize your game. In this guide I will provide some guidance for you to follow as you are trying to learn the art of Turn Order.
Some concepts in this guide will overlap with some mentioned in Darklighter’s Reshuffle Guide. If you haven’t already read that one, I strongly urge you to do so as soon as possible! There is gold in there.
Before we start, I would like to introduce you to your two new best friends when it comes to managing turn order.
The Undo Button is what comes to your rescue, when you make a turn order mistake. You can undo your moves all the way back to when “new information was revealed” – which translates to latest card draw (your or your opponent’s), last buy from the Market Row or to when you got a glimpse of your opponent’s hand. Don’t be afraid to use the Undo Button and be wary of triggering “new information” without thinking your turn order through.
The End Turn Button allows you to end your turn without playing all of your cards. So if you find yourself in a situation, where you really don’t want to trigger a shuffle, you are able to not play the card that would trigger it and then end your turn with this button. The cards not played goes directly to your discard though, so you should be really sure that it is worth it!
Alright, let’s get into it.
1. Topdeck Something (maybe)
Topdecking is a rare mechanic in Hero Realms – and for good reason. It can be immensely strong if used correctly. In regards to turn order, you need to look at your hand, your abilities and your deck.
Look at your hand. If you have a card that allows you to draw or cycle in your hand, it might make sense to topdeck something to ensure that you trigger a nice ally effect or to just ensure that you get enough damage in hand to take out a champion wall (or kill your opponent). The same considerations have to be made if you don’t have a draw in hand, but can draw with one of your class abilities or skills.
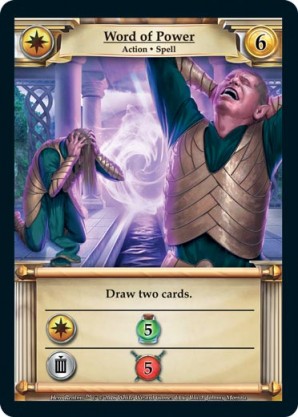
2. Draw is Important
Use your draws before almost anything else. You need to have the most information possible about your current turn before you make the final decisions on what to do. If you have four draws in hand, it is impossible to know how much gold you will have to spend or how many ally abilities will trigger before you are done.
Here, it is important to keep an eye out for bottomdecking or an Unwanted Reshuffle. Some draws are optional – ally effect draws and skill/ability draws – and you might not want to use them, if it means bottomdecking your best cards. This makes it important to use your mandatory draws before the optional ones, if you are close to triggering a shuffle.
Once you have the turn order practices cemented in your brain, you might even want to try and think about the Unwanted Reshuffle a few turns ahead and make a plan to prevent you from bottomdecking important cards. This is easier said than done though!
3. Cycle Through Your Deck
Using draws before cycles is a good idea, because you will have more cards in hand before choosing what to discard.
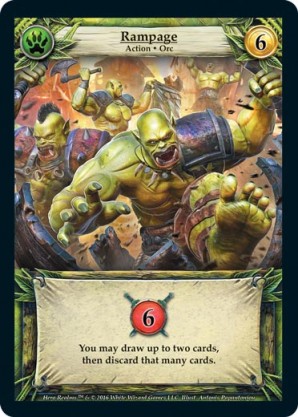
Cycling with cards like Rampage or Elven Gift merit almost the same considerations as the draws. Just remember that these are always optional and that you can escape an Unwanted Reshuffle by not activating these.
If you decide that you do want to flip your deck, then it is extra important to use cycling effects after draws. Because you want the cards that you discard to enter your new discard pile and not the discard pile that you are about to turn into your new deck. That way these discarded cards are temporarily sacrificed out of your deck and you won’t have to draw them again until after your next shuffle.
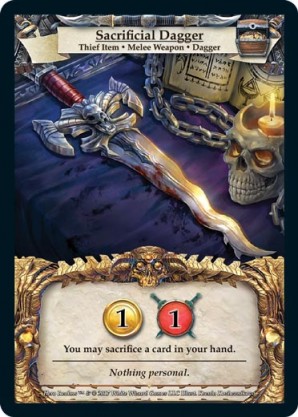
4. Sacrifice to the RNG Gods!
It doesn’t always matter when you play your sacrifice. If it is early in the turn and you already have something in your discard pile that you would like to sacrifice, then by all means just go for it. Sometimes you need to play a sacrifice early to be able to activate an ally draw (like with Life Drain). On the other hand, it is never a bad decision to wait until you have completed more important tasks (see above).
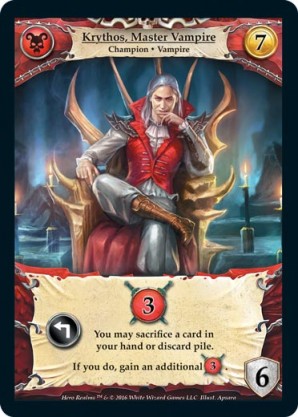
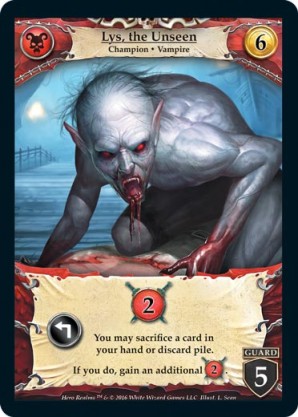
If there aren’t any good choices though, make sure that you both draw and cycle before sacrificing. In the case of Krythos or Lys it might even be necessary to Eat Cheap (buy a low cost card) in order to sacrifice it to unlock the extra damage.
Sometimes though, there just aren’t any good choices at hand. You might be thinking about letting that sacrifice go to waste this time around. It might even be the right call. Before you do, think about it one more time. Is there anything in your hand or your discard pile that is only half-way good? If so, you might want to sacrifice it. I always think of sacrifice as an Inverted Draw, because you are removing something unwanted from your deck that you will then not draw in future decks. The more times you get to use that sacrifice, the more Inverted Draws you will add to your deck – making it leaner and drawing into valuable cards more often. In essence, you will draw your better cards more often throughout the rest of the game.
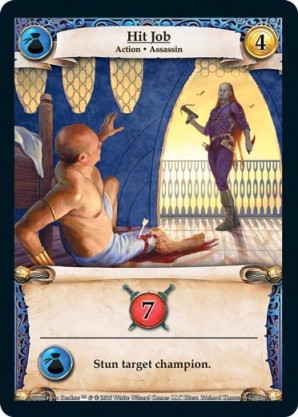
5. Use Your Stun Effects
Always use your stun effects before dealing out damage. Your stun effects are only useful to take out champions and if you end up spending damage on these, that stun just goes to waste.
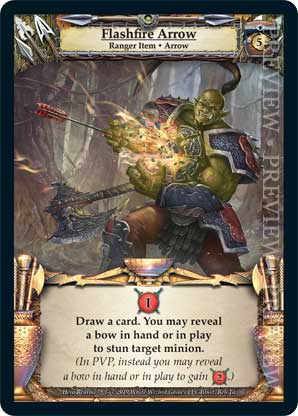
Use your stun intelligently though. If you trigger it, when your opponent has guards in play, you can only stun their guards. Maybe they have a non-guard champion out that has a higher defense than their guards? If so, try to take out the guards with regular damage and save your stun for the big champs! Think hard about doing this for cards like Fire Bomb that has both a stun and a draw as main effects. The stun happens first, so you get to use your Undo button if you play it too soon. But you may have to jump down to this point on the list and damage some guards before you play it to get the full effect!
6. Go Shopping
It is not until this point that it is safe to “Play All”.
Now that you have all the gold in hand that you are going to get, it is time to think about spending it. Remember to think about your class skill. How important is it that you use it this turn? Make this decision early, so you won’t end up using your gold without thinking. But be prepared to reevaluate during this step if you flip something good onto the Market Row.
This point is also your second topdecking opportunity. Look at the remaining cards in your deck. Are you going to bottomdeck something that you don’t want to? If the answer is yes – can you prevent this by topdecking something? Bottomdecking your best cards can lose you a game, so try to keep an eye out for this!
7. Devour Your Opponent
When all of this is done, it is finally time to deal out some damage. This is also the time to consider if you need to sacrifice any cards that have a self-sacrifice option – like Fire Gems.
Before the Reshuffle
Quite often you will get to a point where the list above will force a Reshuffle with your next draw. If that happens; abandon the list! Instead, jump down to follow this list instead.
The considerations to be made before the Reshuffle are already thoroughly explained in Darklighter’s guide, so here I will just provide the turn order.
Sacrifice → Buy (maybe) → Flip your deck → Return to the list above.


Special considerations
As you might already know, nothing in Hero Realms is as simple as following a list. In the following segment I am going to highlight some of the class specific considerations that will affect your turn order.
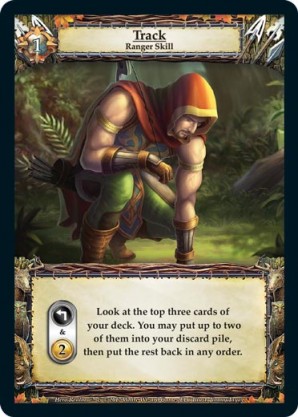
Track
The Ranger’s class skill – Track – adds a unique opportunity to control your turn order. In all its variations you get to look at a certain amount of cards from the top of your deck, discard some and put the rest back on top of your deck in any order. This allows you to stack your cards in the order you will need them to make the most of your cards – and the ability to discard the cards you won’t need is very strong.
The Track skill also has an increased risk of throwing you into an Unwanted Reshuffle, so keep an eye out for that. On the other hand, the Track skill also makes the Unwanted Reshuffle less dangerous, because you can run through your deck much faster than any other class.
For more insights on the Ranger and the Reshuffle, be sure to check out Darklighter’s guide!
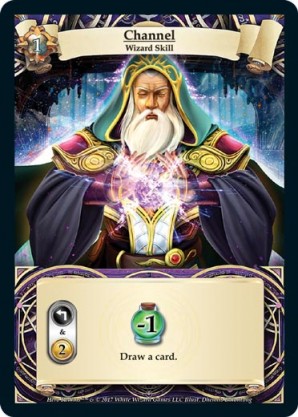
Channel
Like the Ranger, the Wizard’s class skill – Channel – offers some extra chances to control your turn order.
The right side of the skill tree only allows you to draw a card, which might not offer a lot in terms of turn order control, but it still adds an optional draw into all turns where you have 2 gold available. You can use this optional draw to try to control your Reshuffle or to start up a draw chain if you have no draws in hand.
The left side and the middle option however, offers you control similar to the Ranger’s Track skill. In this case you get to look at two or three cards, pick one to draw and put the rest back on your deck in any order. The considerations to be made here are similar to that of the Ranger.
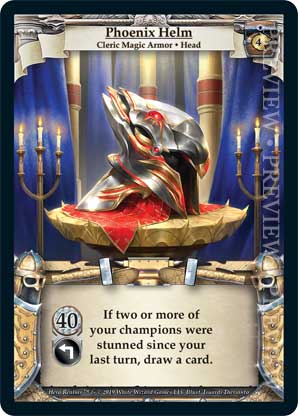
Phoenix Helm
At level 9, the Cleric is able to choose the “Phoenix Helm” as an armor upgrade. This allows the player to draw a card if two or more of their champions have been stunned since their last turn. The draw can be activated at any time during the player’s turn – or not at all – making it an optional draw.
The consideration to be made here, is that the Helm is deactivated, if the player goes below 40 health. If the player is able to heal themselves up over the “40 hp”-mark, the draw becomes accessible if the “two champions stunned”-condition was met.
As the optional draw is part of the second bullet point in our list above – always remember to keep an eye on your health and your Helm, and if possible, heal up early on your turn to get access to your draw.
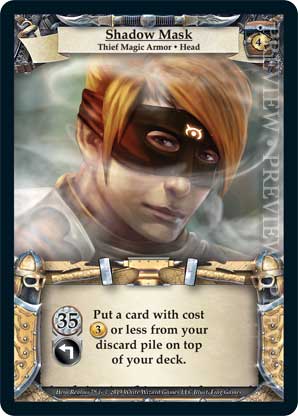
Shadow Mask
The Thief can get an armor upgrade called the “Shadow Mask”. This allows you to pick a card from your discard pile of cost 3 or less and put it on top of your deck.
As you might imagine, this ties in nicely with the topdecking steps on the turn order list. Remember to think about whether or not you can topdeck something and then draw it to make the most of your ally effects or if you can topdeck something that will make your next turn better.
If you are planning for a longer game, topdecking your cheap sacrificers like Death Touch or The Rot is also a good strategy, because you get a few extra of those inverted draws in there early.
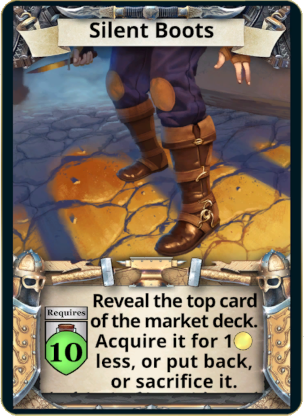
Silent Boots
A quick comment is also needed on the other Thief’s armor; Silent Boots. It allows the player to look at the top card of the Market Deck and either buy it for 1 gold less, sacrifice it out of the game or put it back.
The trick here is that looking at the top card is “revealing new information”. So if you do this before you have enough gold in play to buy the card, that option is unavailable to you and you can’t “undo”. So remember to play all of your gold before activating this ability.
It is a good idea to use this ability before buying anything. Like with the draw, you need all the information available in order to make informed decisions.
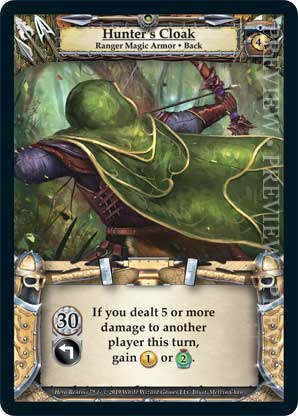
Hunter's Cloak
Another armor upgrade is the Ranger’s “Hunter’s Cloak”. This one requires you to change up your turn order – I know! Just as you have finally learned it!
The Cloak grants you extra gold (or life gain) if you deal 5 damage to your opponent. This also means that it might be a good idea to preplan your turn here. When you get to the “Go Shopping” step – pause for a moment and count your gold. Look at the Market Row. What do you want to buy? Is there something good that you could buy if you had just one more gold? If the answer is yes, you should try to deal those 5 damage to your opponent before buying. That might mean using your stun effects and at least some of your damage at this step. Sometimes it might even be worth it to leave a non-guard champion in play to be able to get that extra gold.

Runic Robes
Yet another armor upgrade throws us for a loop. This time it is the Wizard’s “Runic Robes”.
The Robes allow you to store a card in them and then carry it over to your next turn and this offers a great deal of control over your turn order. If you have a card in hand that will force an Unwanted Reshuffle or if you have a sacrifice in hand, but nothing at all you want to use it on, you can store it in the Robes and then use it next turn instead.
They are also very useful for connecting cards of the same faction to activate your ally abilities, or keeping a thief’s “Heist” ability from stealing a powerful card.
Starting Deck
Those were the standing abilities that you are able to use to optimize your turn order. But there are also quite a few cards in the class decks that require you to think about the turn order in some way before you play them. I will not go over them here. Instead I will encourage you to always make sure that you understand the mechanics presented in your deck and that you think carefully about how you want to play your turn before you do it. Make a plan and be ready to adjust!

That is the end of this guide. Although you have now gotten a list to follow, always remember that Hero Realms is a dynamic game where everything depends on how your and your opponent’s decks are built. Optimal turn order varies quite a bit given the circumstances of an individual game. Even the best players of the game will struggle with what to do and when to optimize their turn. The quest for optimal never ends, but hopefully this article serves as a solid signpost for which way to go if you are unsure.
Title: Scroll of Turn Order
Category: Gameplay
Tags: #Guide, #S_Freak
Published on: March 27, 2022
I specialize in dry humor, stats analysis and heckling. I am a Danish gamer, writer, and relentless perfectionist.
If you have any edits, ideas for more content or just a desire to game, feel free to reach me on Discord. I won't bite unless you ask me to.